In this guide, you will learn how to cancel automatic payments via the Hyonix dashboard.
How to Cancel Automatic Payment with Cards
In this guide, we will demonstrate how to cancel automatic payments with a card.
1. Get started by opening the Hyonix Dashboard here.
2. Next, click the “Billing” drop-down menu on the left side and select “Manage Credit Cards“.
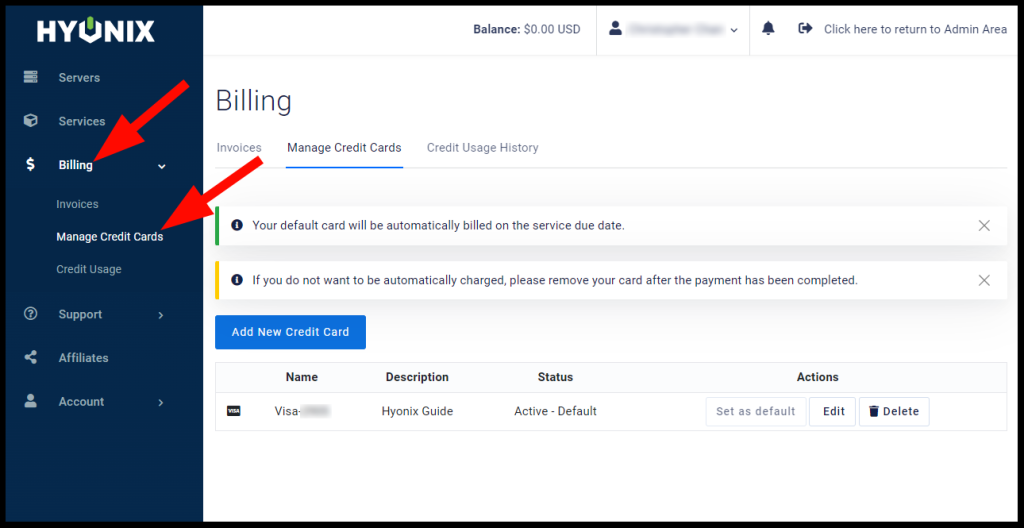
3. Next, select “Delete” to remove the card.

How to Cancel Automatic Payment with PayPal Billing Agreement
Please go to your Billing -> Manage Paypal -> Click Cancel Billing Agreement

How to Cancel Automatic Payment with PayPal Subscription
In this guide, we will demonstrate how to cancel automatic payments with PayPal subscriptions.
1. First, go to your PayPal account and open the settings page.

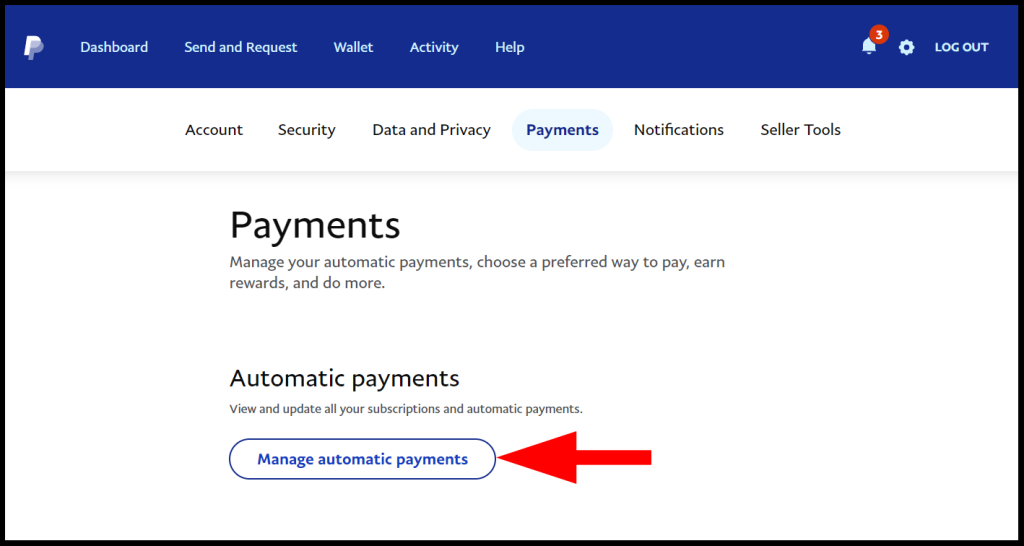
2. Next, select the “Payments” option which will take you to the below screen.
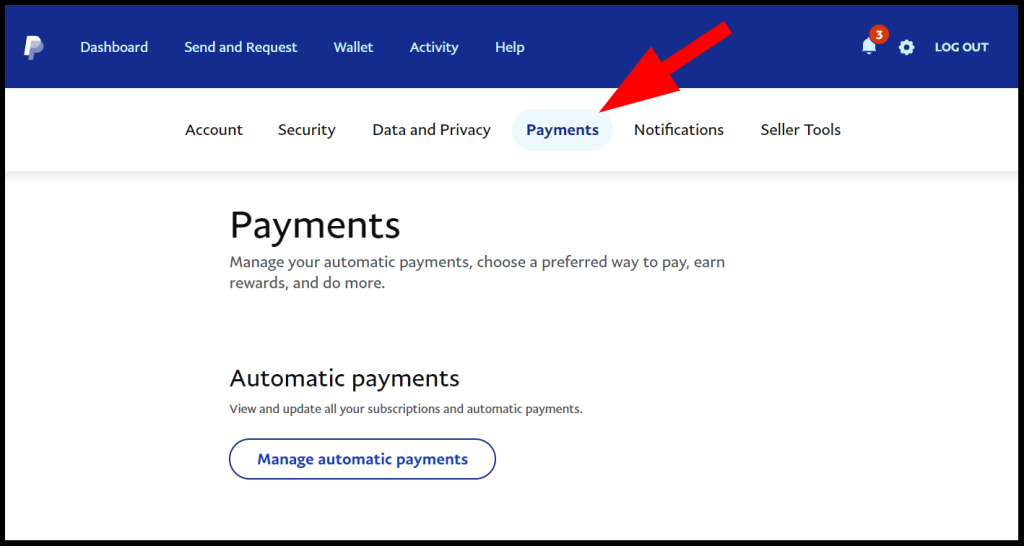
3. Afterwards, click the “Manage automatic payments” button.
4. Lastly, cancel the subscription with Hyonix.
How to Cancel Automatic Payment with Hyonix Credits
In this guide, we will demonstrate how to cancel automatic payments with Hyonix credit.
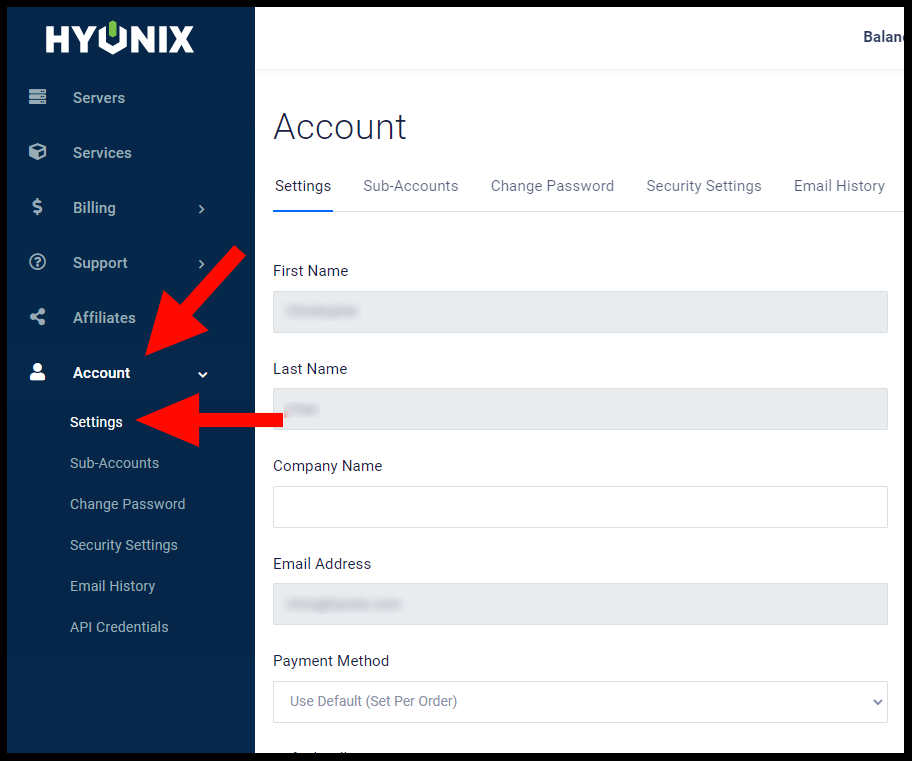
1. Get started by opening the Hyonix Dashboard and click the “Account” drop-down menu on the left side and select “Settings“.
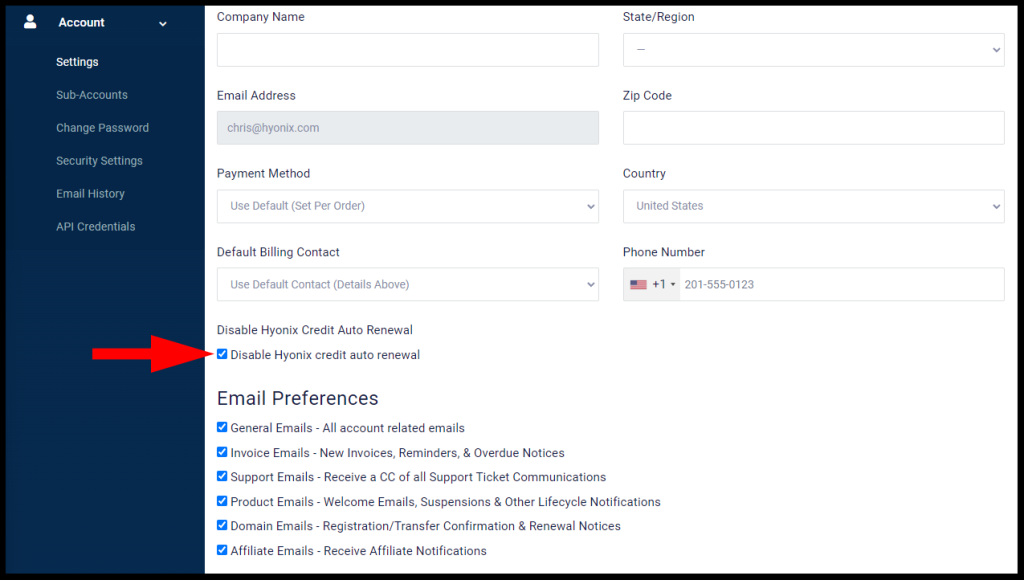
2. Afterwards, tick the checkbox for the “Disable Hyonix credit auto renewal” option.
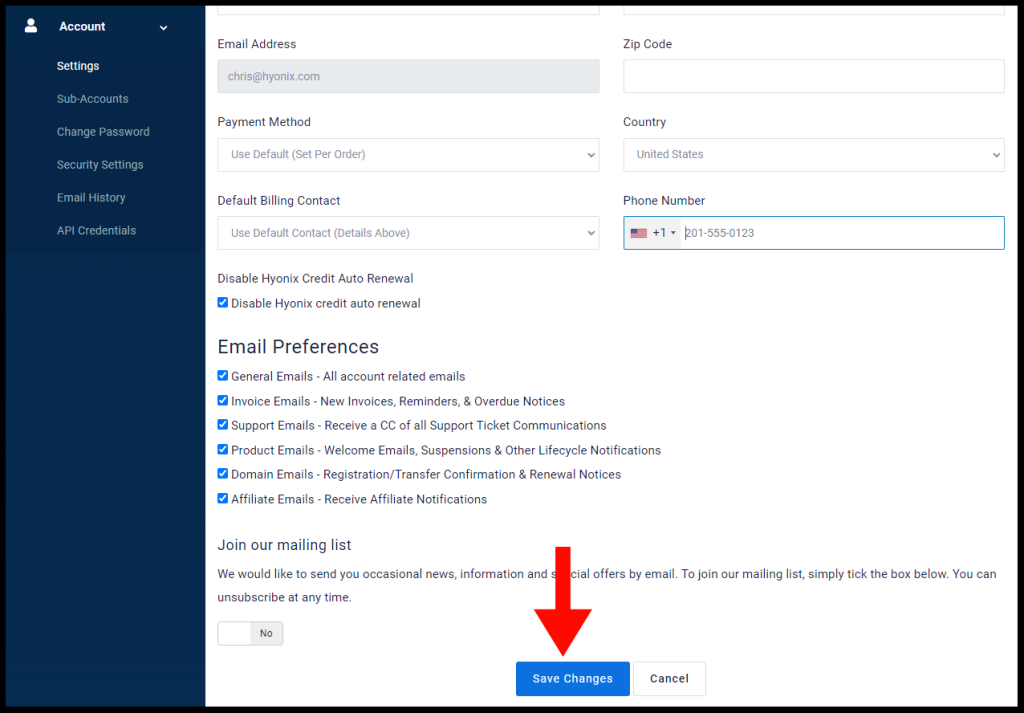
3. Lastly, scroll to the bottom of the page and click “Save Changes“.
How to Cancel Automatic Payment by Canceling Your Service
In this guide, we will demonstrate how to cancel automatic payments by canceling your Windows VPS service via the Hyonix dashboard.
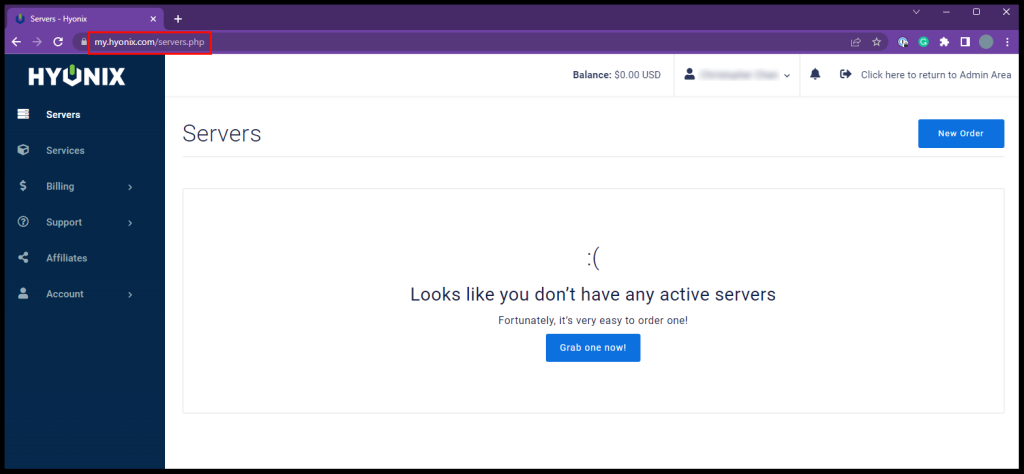
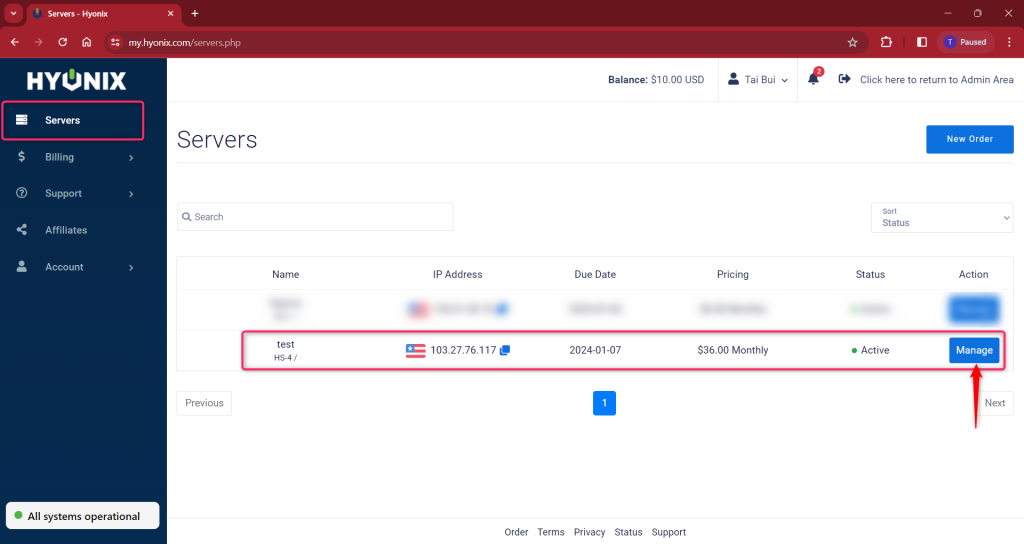
1. Get started by opening the Hyonix Dashboard here and click Manage next to the service you wish to cancel.
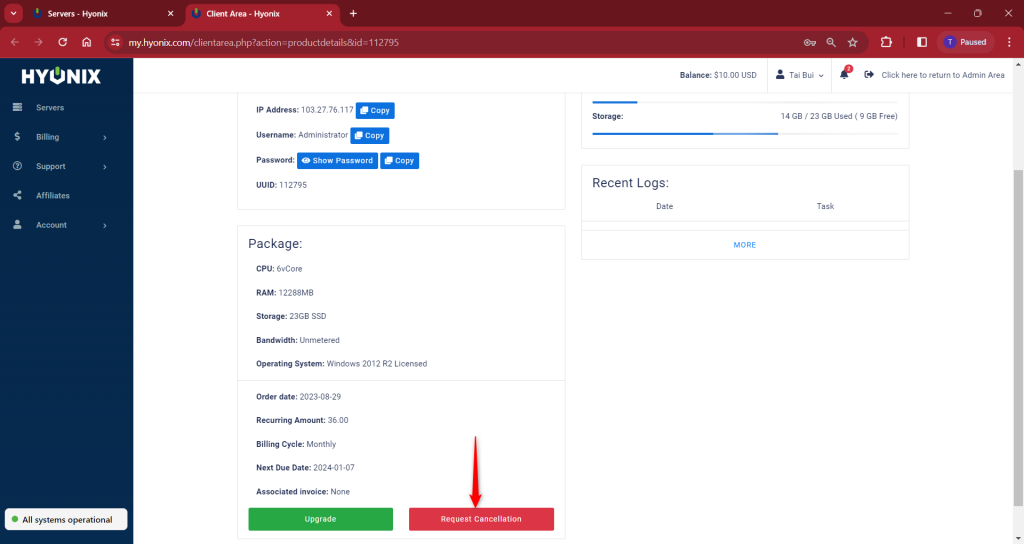
2. After you reach the server settings, select “Request Cancellation“.
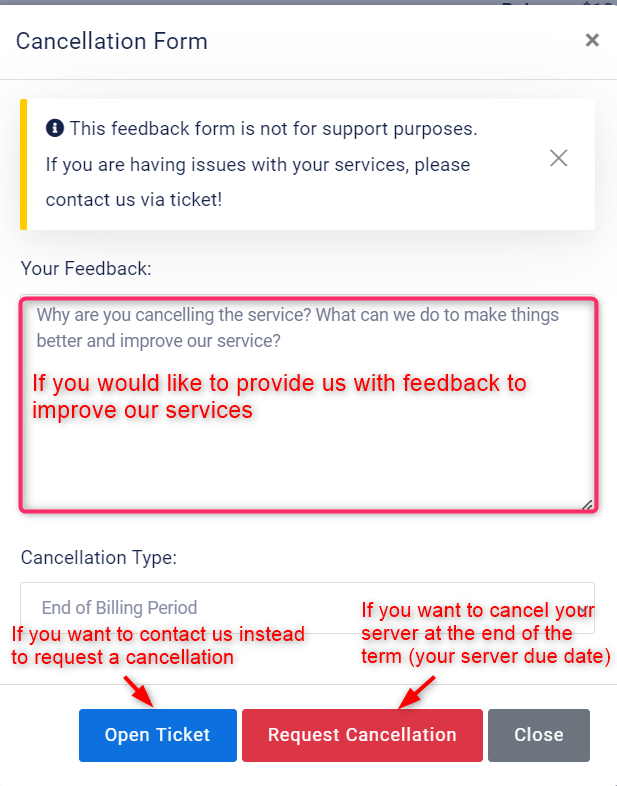
3. Next, the “Cancellation Form” page will pop up with a field where you can fill in feedback (Optional). Then, select “Request Cancellation” to cancel the service.
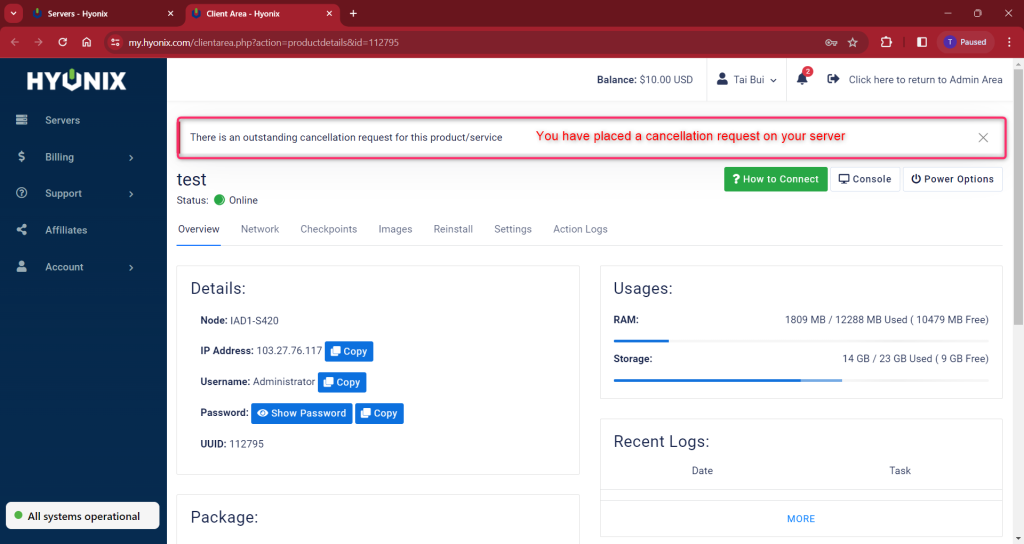
4. Lastly, you will see “There is an outstanding cancellation request for this product/service” to confirm.