If you are facing any trouble while processing the purchase of your favorite Windows VPS with Hyonix, check out this article where we will walk you through how to place an order with Hyonix.
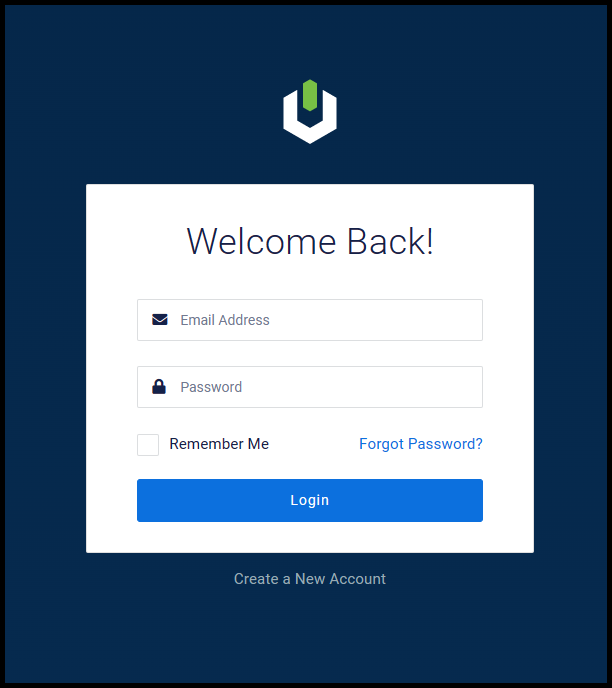
1. First, log in to the Hyonix portal using https://my.hyonix.com.
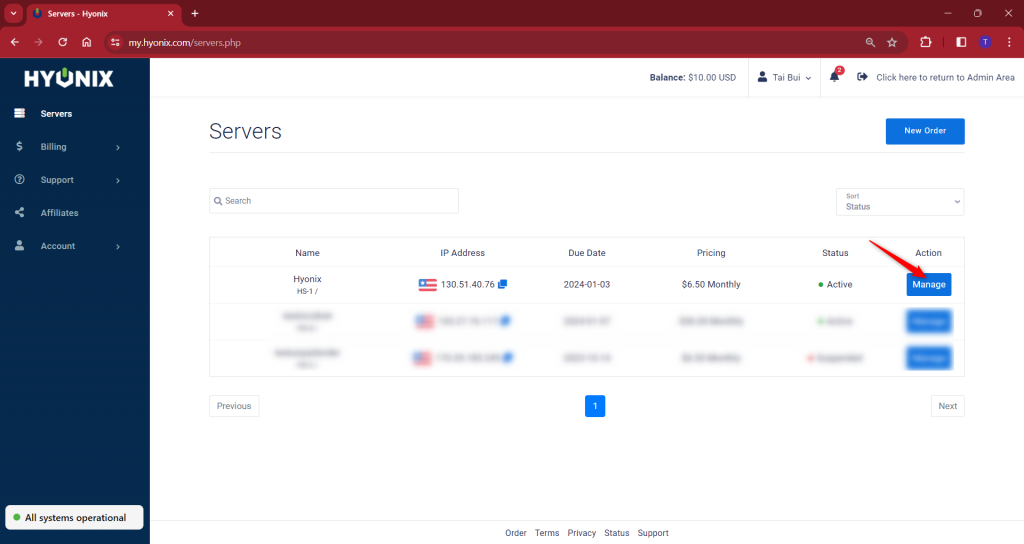
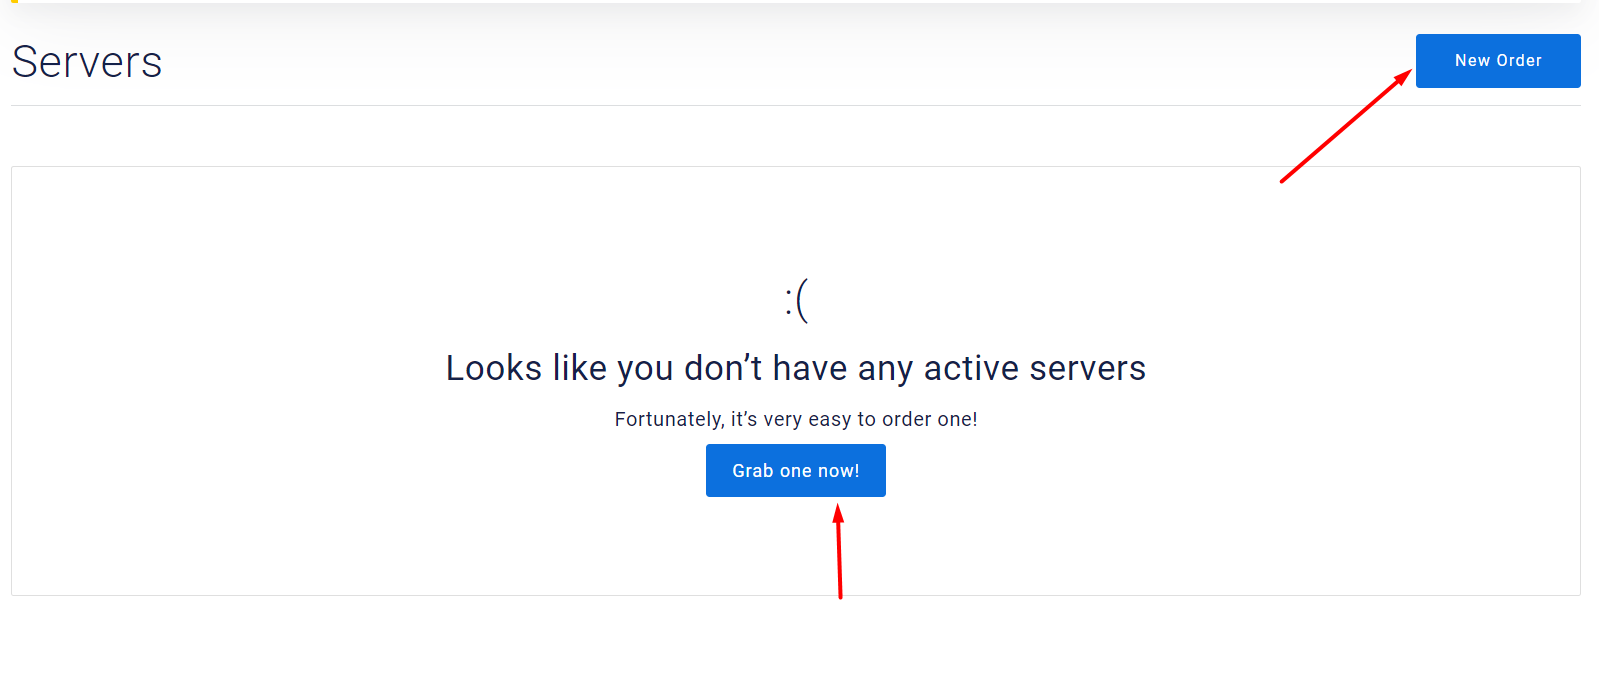
2. Once you have logged in, click New Order at the top right corner.
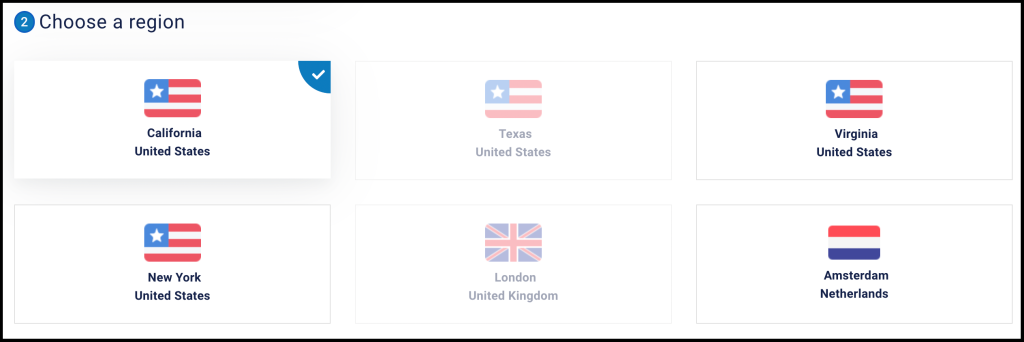
3. Now, choose the available desired Region for your Windows VPS.
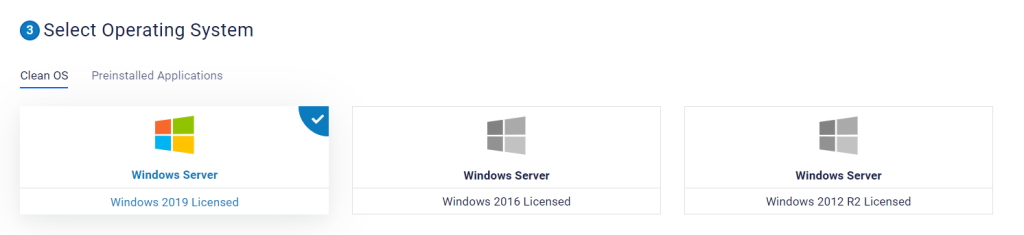
4. Once you have chosen the desired region, you can then select an operating system.
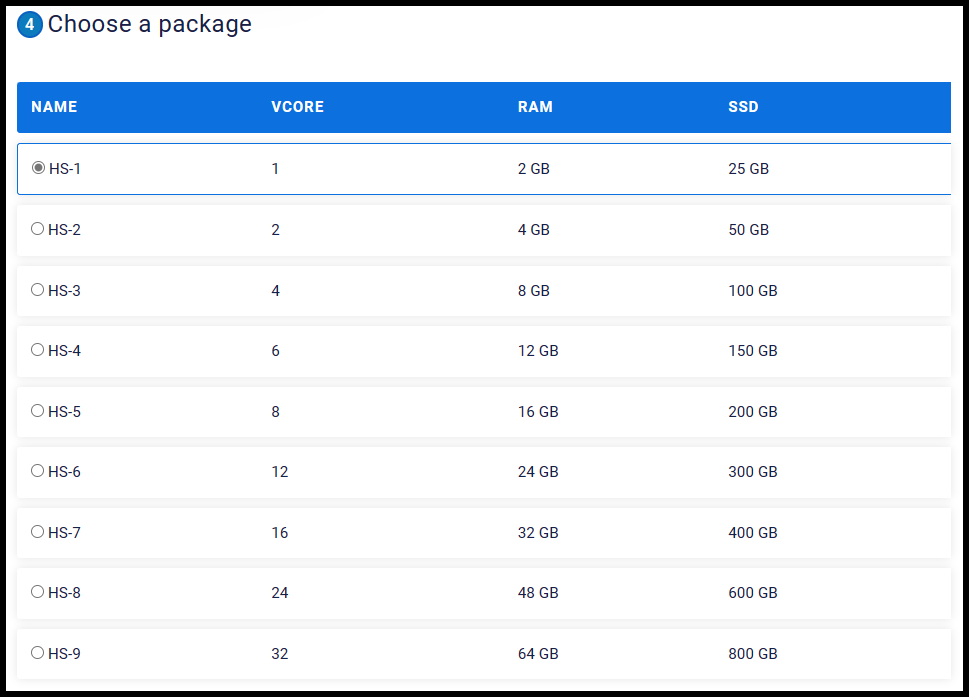
5. Next, select the desired package from the list.
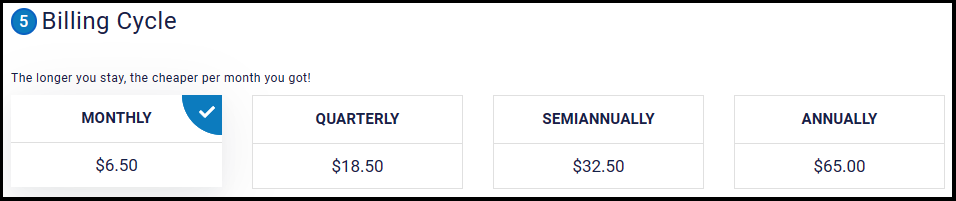
6. Then, select a billing cycle (Monthly, Quarterly, Semiannually, or Annually).
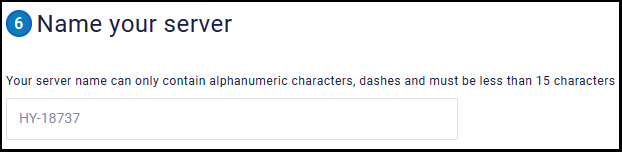
7. Optionally, you can name your server for better reference. If no name is given, we will randomly give the server a name for you.
8. You may also specify the quantity of servers you’d like to order and a coupon code if you have one. Once done. you can click Checkout

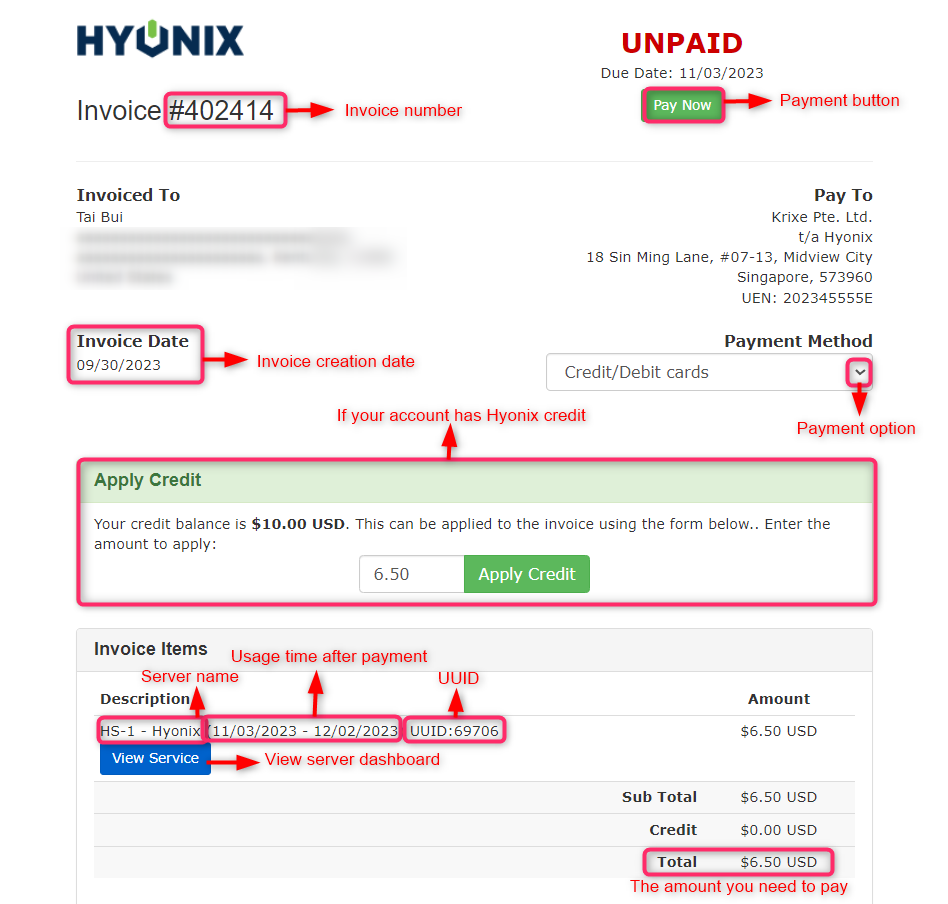
9. You will then be redirected to the Hyonix invoice which you will need to pay in order to receive the server. You can select a different payment method in the drop-down menu under Payment Method. Once you have selected the payment method, click Pay Now.
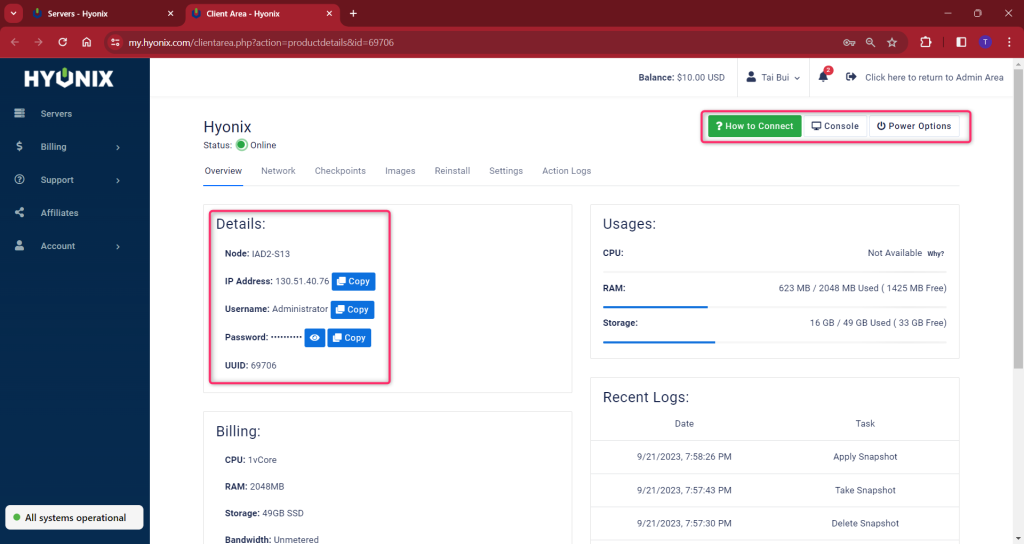
10. Once you are done with the payment, your server will be deployed within 5 minutes from the payment. You will receive your server credentials via your email and your server dashboard.