From time to time, Windows checks for updates and automatically installs them. However, these updates may not always be compatible with your specific use case. Fortunately, it is possible to revert to a previous version of Windows that was functioning optimally. This guide will cover the steps to revert Windows updates on a Windows VPS.
When installing or uninstalling Windows updates we recommend taking a snapshot of the current state of the VPS. If you’d like to read more about taking snapshots of your Windows VPS, please check the guide here.
Windows Server 2016
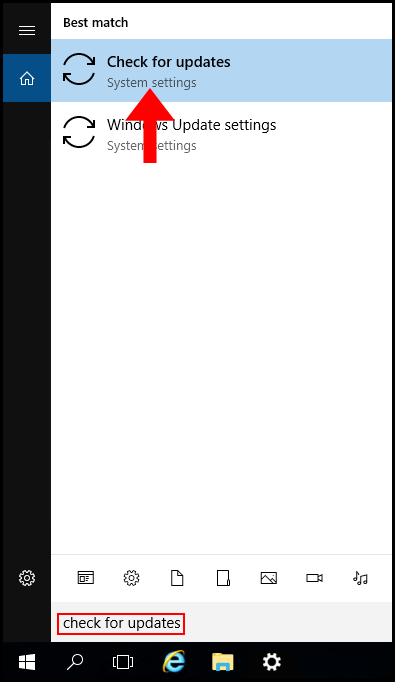
1. To start, log in to your Windows Server 2016 and use the Windows search function to search and open Check for updates.
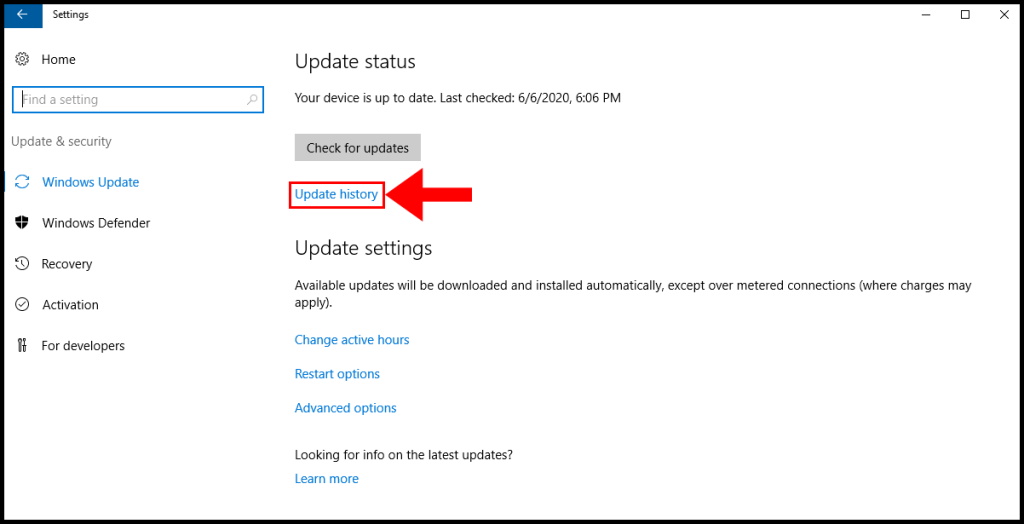
2. In the Windows Update window, click Update history to move on.
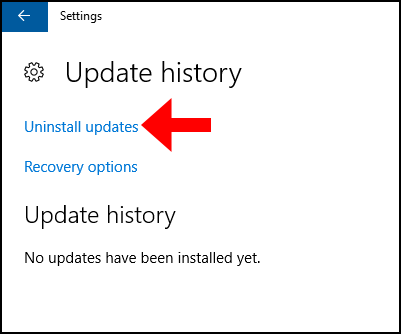
3. Now navigate to “Uninstall updates“.
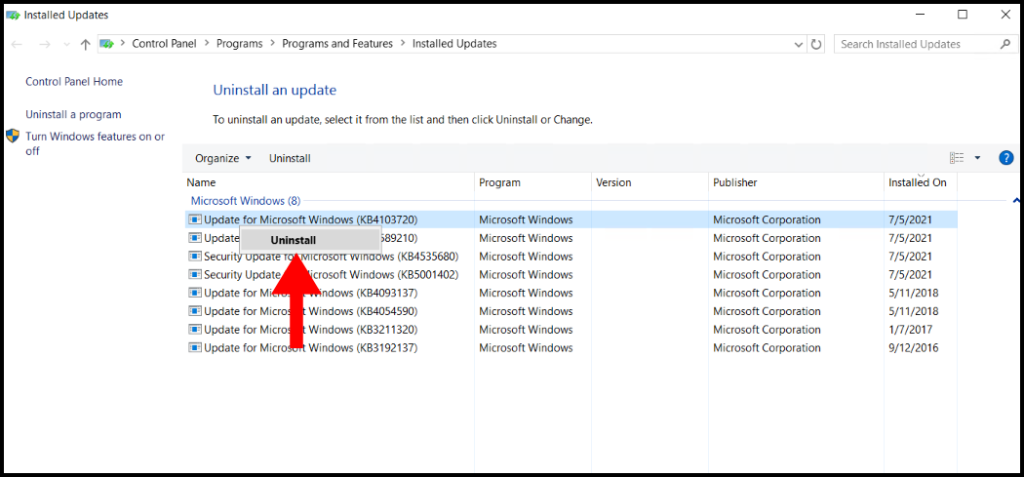
4. Then the Installed Updates window will appear with a list of updates, right-click the update you’d like to uninstall and click Uninstall.
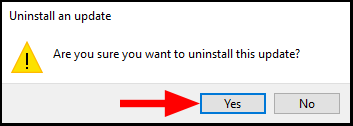
5. A pop-up will appear prompting you if you are sure you want to uninstall the update, click Yes to move forward with the uninstall.
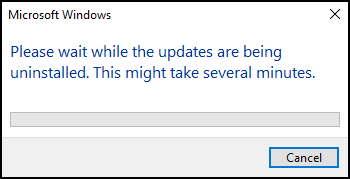
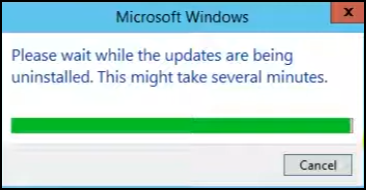
6. Now the uninstall will begin, do not close out of this window. Once it is done, move on to the next step.
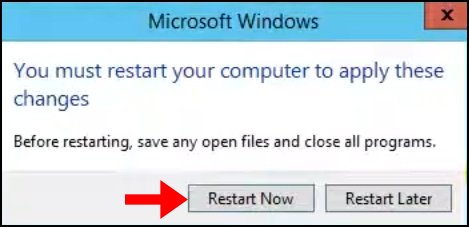
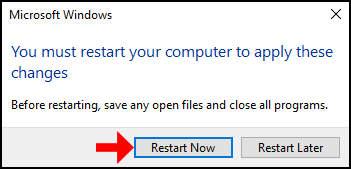
7. Once the uninstall is complete, it will prompt you to restart in order to for the changes to go into effect. Click Restart Now to restart the server. We have successfully gone over how to revert Windows updates on Windows VPS for Windows Server 2016.
Windows Server 2012
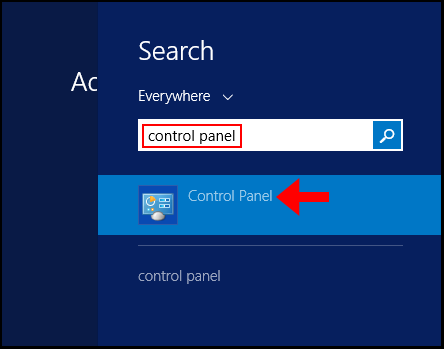
1. To start, log in to your Windows Server 2012 and use the Windows search function to search and open Control Panel.
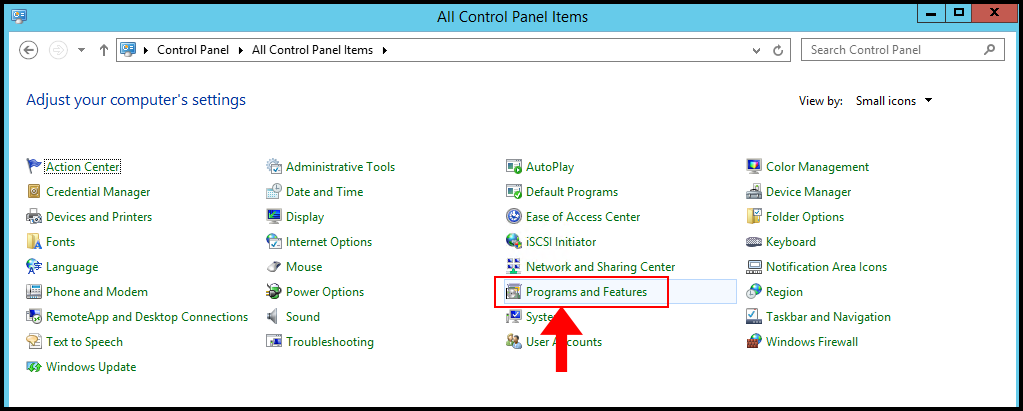
2. Then, click the Category drop-down next to View by and select Small icons from the drop-down menu.
3. Next, locate and click Programs and Features to continue.
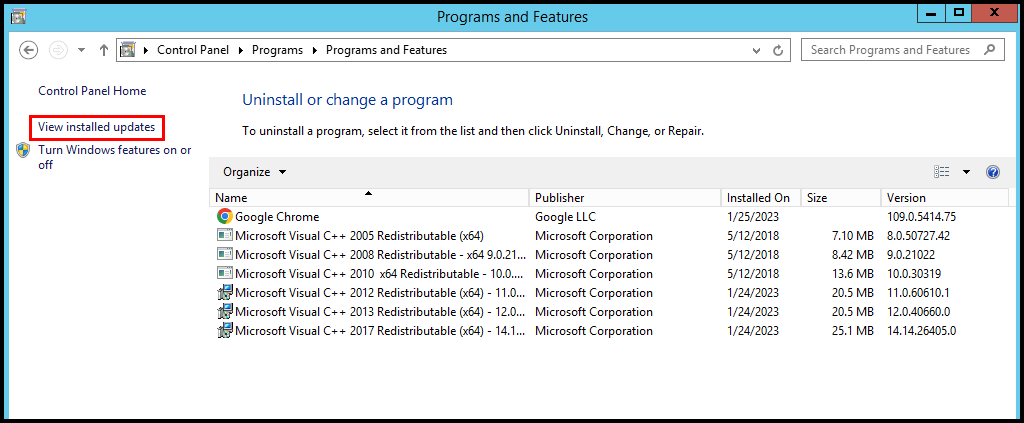
4. Then on the Programs and Features page, click View installed updates on the left-hand side.
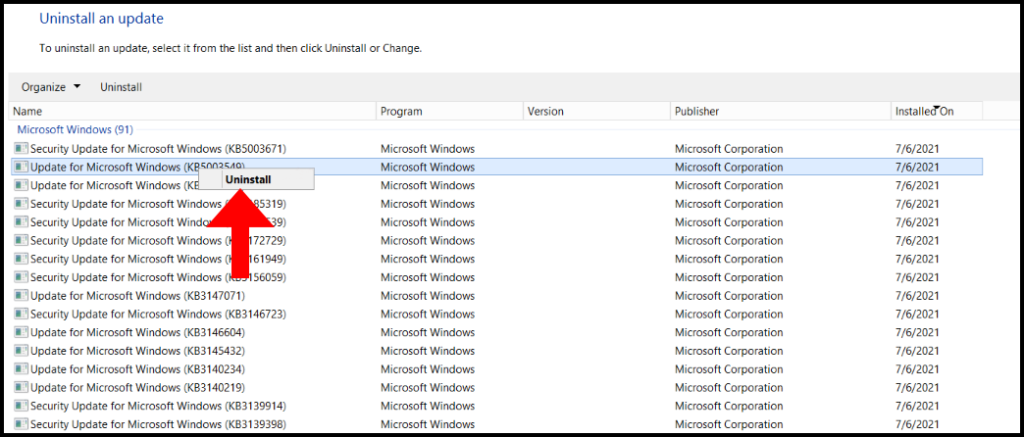
5. Right-click on the update which you want to remove and click Uninstall to revert the update. We have successfully gone over how to revert Windows updates on Windows VPS for Windows Server 2012.
6. A pop-up will appear prompting you if you are sure you want to uninstall the update, click Yes to move forward with the uninstall.

7. Now the uninstall will begin, do not close out of this window. Once it is done, move on to the next step.
8. Once the uninstall is complete, it will prompt you to restart in order to for the changes to go into effect. Click Restart Now to restart the server. We have successfully gone over how to revert Windows updates on Windows VPS for Windows Server 2016.