In this article, you will learn how to re-install the Windows VPS in the Hyonix portal.
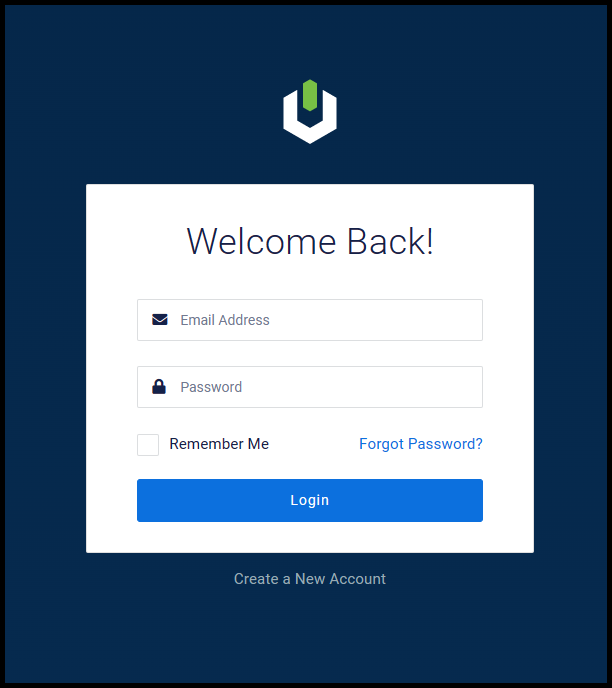
1. To start, log into the Hyonix Portal at https://my.hyonix.com.
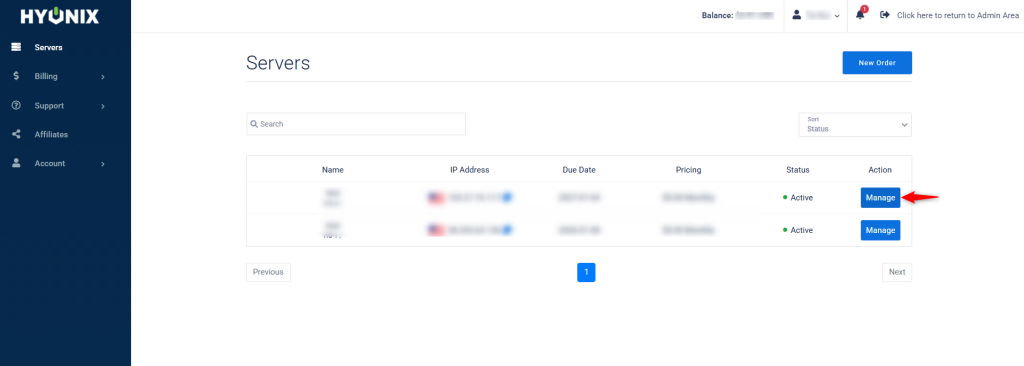
2. Then, select the Manage button icon of the server you’d like to re-install.
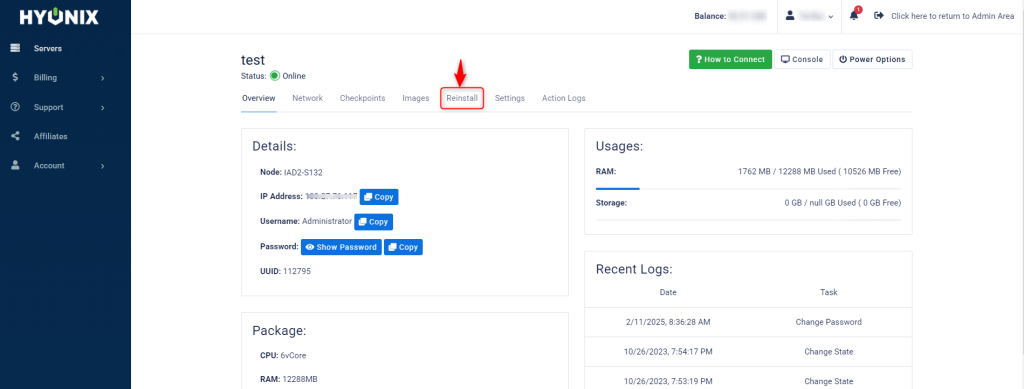
3. Next, navigate to the Reinstall page.
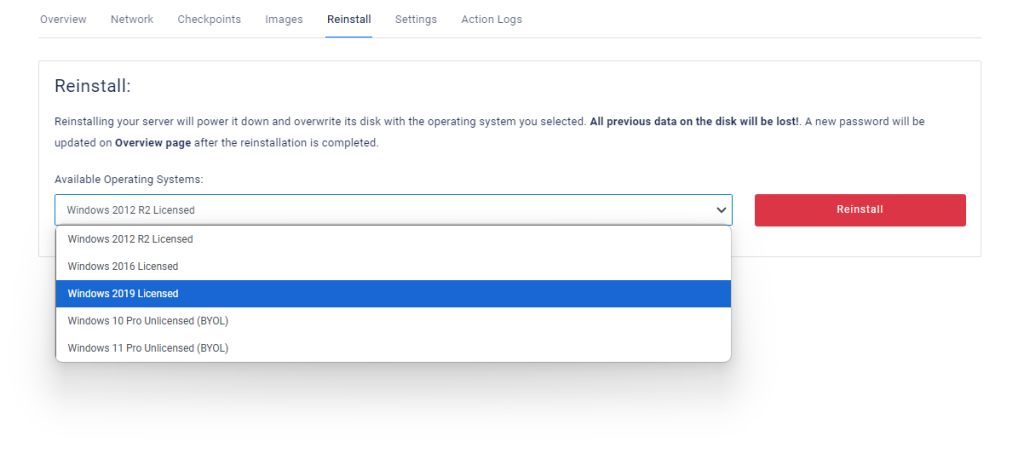
4. Once you reach this page, select an operating system from the Available Operating Systems drop-down menu. Then, select the Reinstall button.
5. Next, a confirmation screen will pop up. If you are okay with the warning message, select Reinstall to begin the reinstallation.

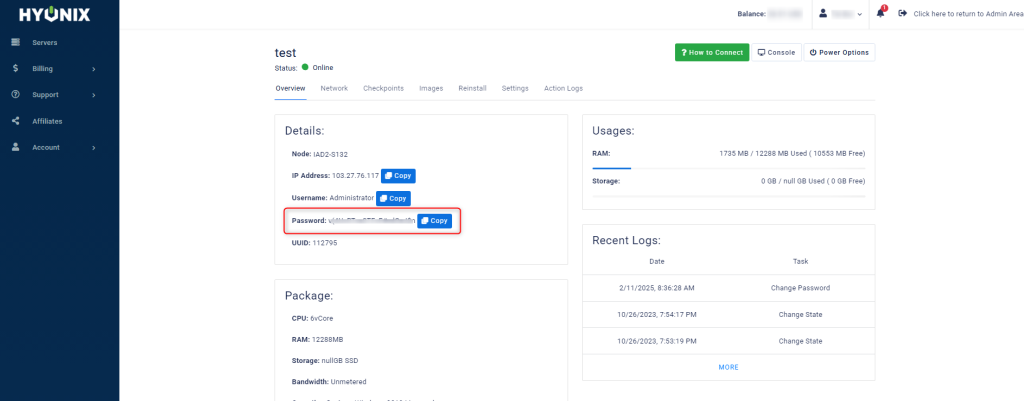
6. Once the reinstallation is complete, a new password will be updated on the Overview page. You have successfully completed a re-install of the Windows VPS via the Hyonix portal.