Discover the step-by-step guide on How to Manage Disks and Partitions Management in Windows. Managing disks and partitions can be crucial for maintaining the performance and stability of your system. Windows has a built-in tool that can assist in performing various disk and partition management tasks. In this guide, you will learn how to use this tool effectively to create and resize partitions, format and manage disks, and more.
With the Disk Management application that comes with Windows systems, we can perform the following jobs:
- To set up a new drive, see Initializing a new drive.
- To extend a volume into space that’s not already part of a volume on the same drive, see Extend a basic volume.
- To shrink a partition, usually so that you can extend a neighboring partition, see Shrink a basic volume.
Overview of Disk Management Utility
In this section, we will be doing a brief overview of the Windows Disk Management utility.
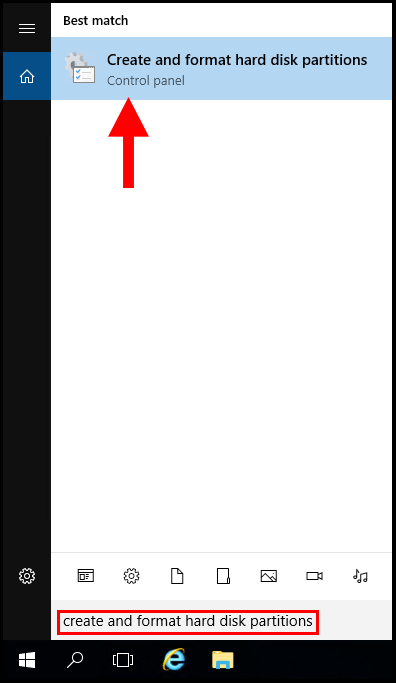
1. To start, log in to your Windows Server, then search and open Create and Format hard disk partitions.
2. A quick look at the Disk Management window will help you identify the following:
A) You can find all the available disk partitions along with Capacity, Free Space and Status, File System, and Volume Name.
B) You can see the top Menu with the option File, Action, View, and Help.
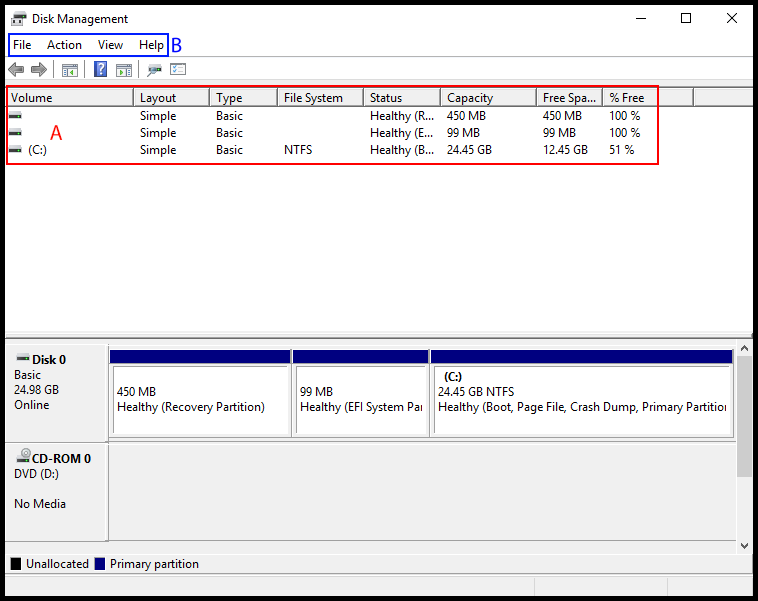
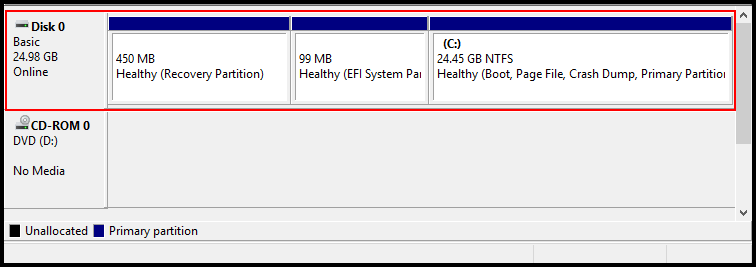
Disk 0 is a local C drive, which consists of 3 Partitions:
Recovery Partition: This partition stores tools which will be used to recover or repair the Windows operating system if something goes wrong.
EFI System Partition: This partition is used to boot your server.
Boot, Page File, Crash Dump, Primary Partition: This partition is used to store program data, page files, crash dump, and operating system files.
Initialize Hard Disk
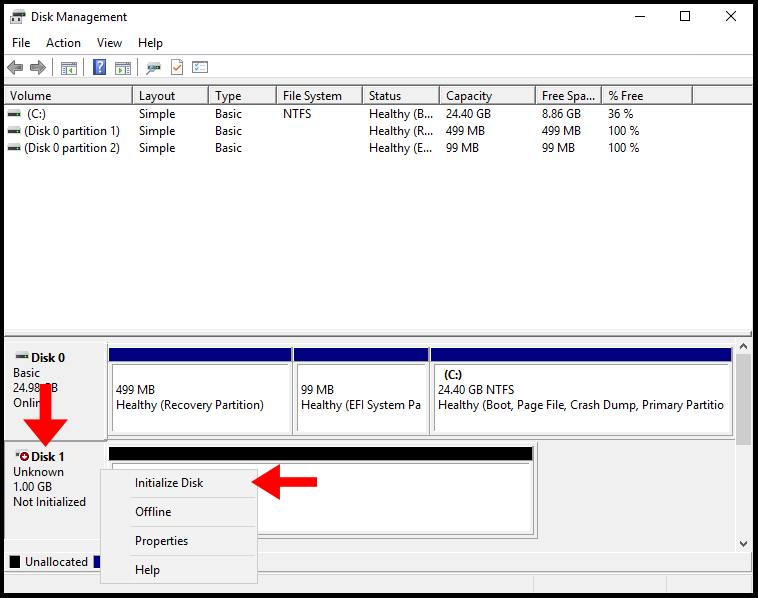
Once you attach any new hard disk to the server, you will need to initialize the hard disk to be able to use it.
1. To start, log in to your Windows Server, then search and open Create and Format hard disk partitions.
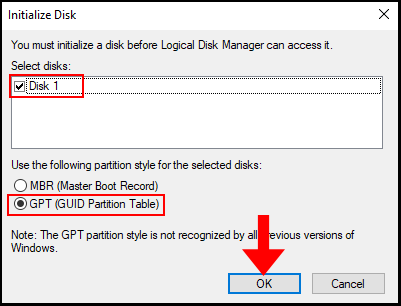
2. Now you will see a disk that is labeled as Not Initialized, in order to initialize it right-click on the disk and click Initialize Disk.
3. Now to Initialize the disk, select the Disk and for the partition style click the button GPT (GUID Partition Table), then click OK to finish the initialization.
Create Simple Volume
Once you initialize the hard disk, you will need to format it to create a local drive to store data.
1. To start, log in to your Windows Server, then search and open Create and Format hard disk partitions.
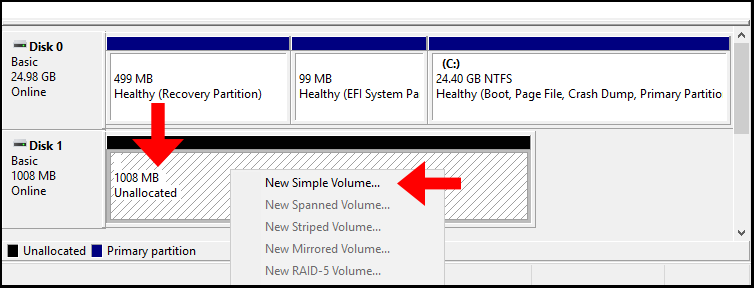
2. Now in the Disk Management window, we will see the disk is now Online. Next, right-click the unallocated space and click New Simple Volume.
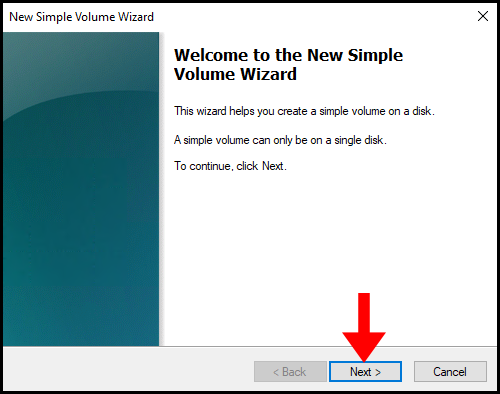
3. The New Simple Volume Wizard will open, click Next to continue.
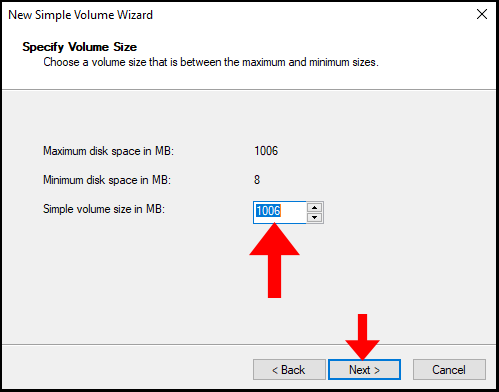
4. Then in the Specify Volume Size section, enter how much disk space we would like for our partition in the Simple volume size in MB, in this case, we will be utilizing the full amount which is 1006 MB. Click Next to move on.
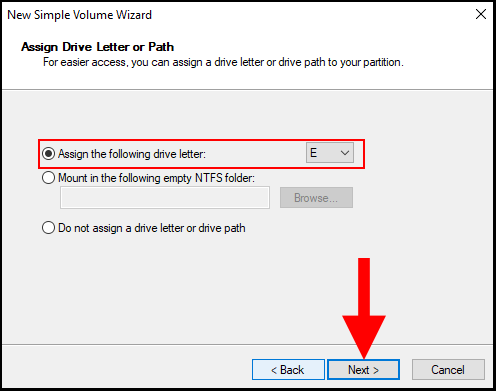
5. In the next section, you can assign a Drive Letter to your newly initialized partition. In this case, we will be assigning it the letter E. Click Next to continue.
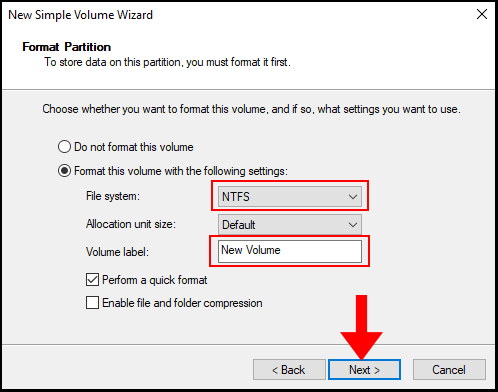
6. In the Format Partition section, make sure the File System is selected as NTFS. Additionally, you may change the Volume label, in this case, we will leave it as default. Click Next to move on.
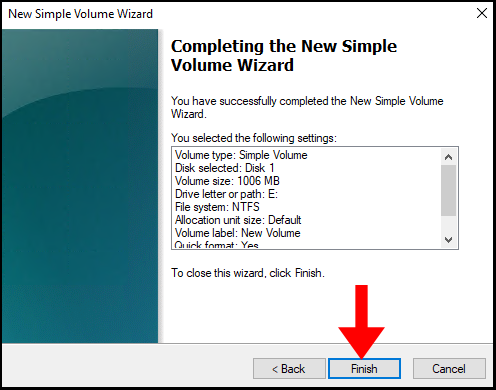
7. The next page, will confirm that we have successfully completed the New Simple Volume Wizard and Windows has formatted the partition. Now we can click Finish to close out of the wizard.
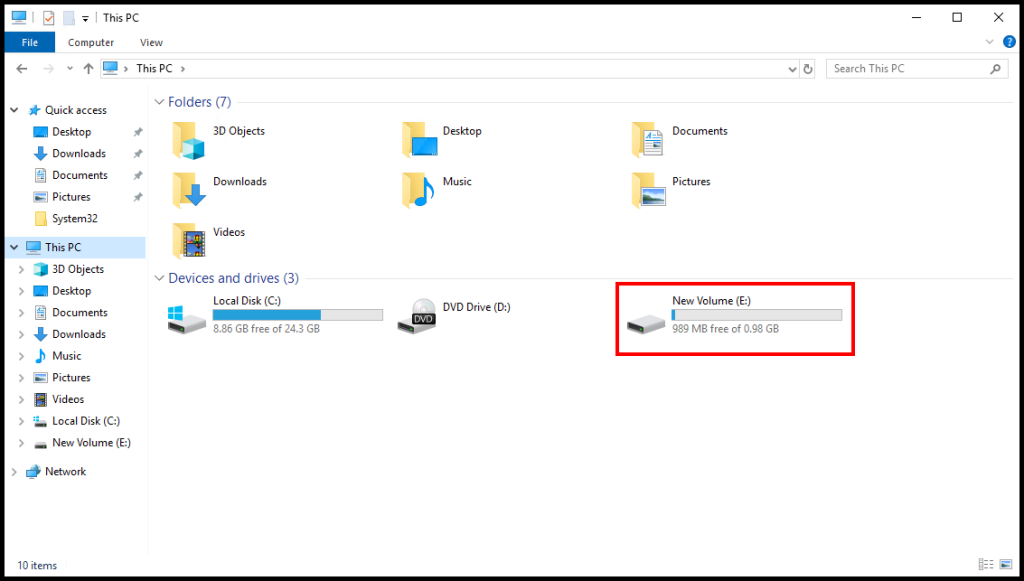
8. Lastly, to verify we created the partition we can go to File Explorer and verify that there is a new drive with our selected drive letter and volume label.
Shrink Present Volume
In this section, we will go over how to use Disk Management to shrink an already-created volume.
1. To start, log in to your Windows Server, then search and open Create and Format hard disk partitions.
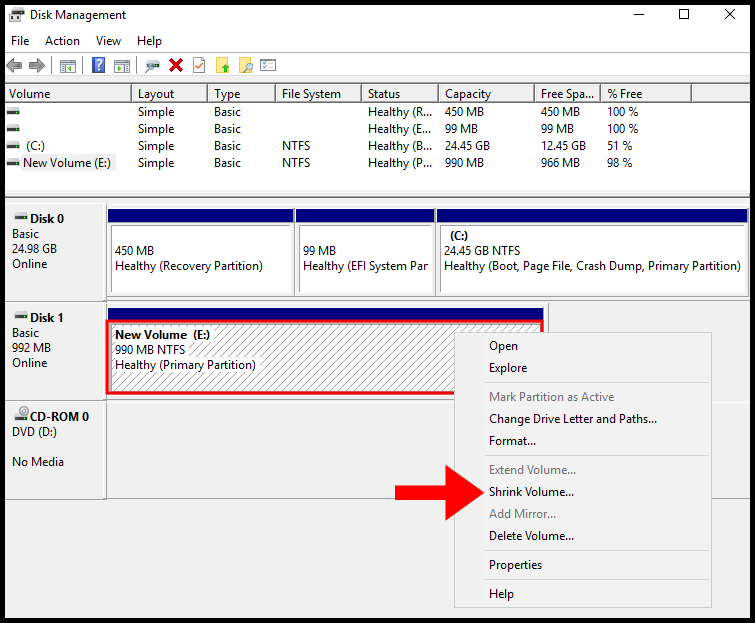
2. Then in the Disk Management window, right-click an already created partition and click Shrink Volume.
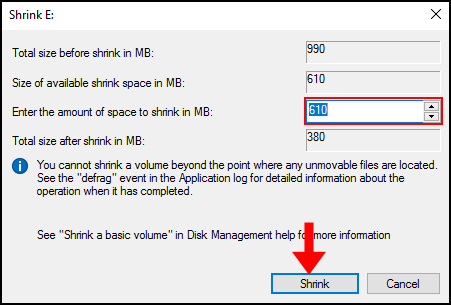
3. In the next window, you can specify how much MBs you would like to shrink the partition by:
Total Size before shrink in MB: Total Capacity of the Partition in MB.
Size of available shrink space in MB: Amount of space available to shrink from the partition in MB.
Enter the amount of space to shrink in MB: Amount of size in MB you would like to shrink.
Total Size after shrink in MB: The remaining size of the partition after the shrink in MB.
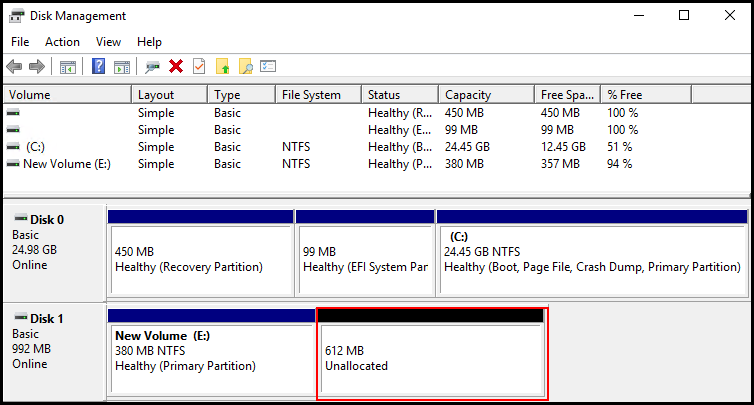
4. Now, we will see the Unallocated space in the Disk Management window as seen below.
Extend Present Volume
In this section, we will be going over how to extend a current partition to unallocated space on the same disk.
1. To start, log in to your Windows Server, then search and open Create and Format hard disk partitions.
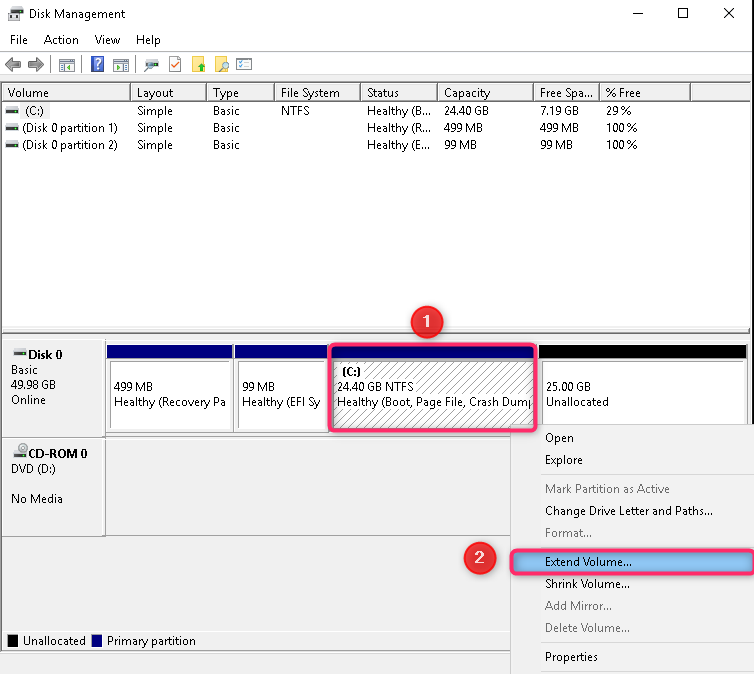
2. Then, right-click on the partition that you’d like to extend.
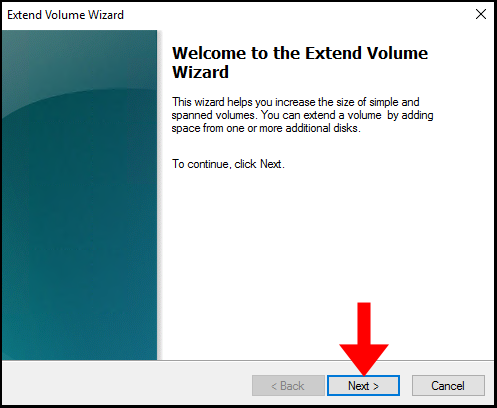
3. The Extend Volume Wizard will open, click Next to continue.
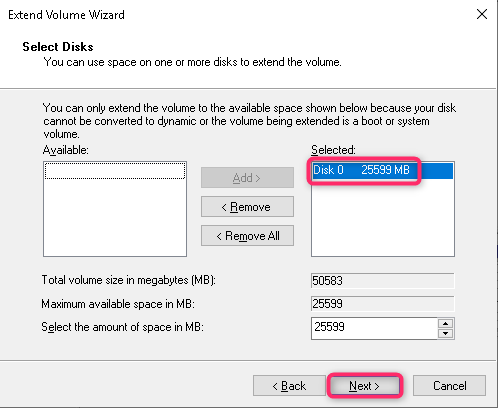
4. On the next page, under Available select the disk you’d like to extend to and then click Add.
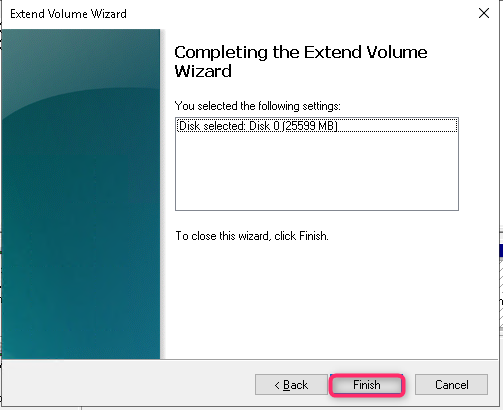
5. On the last page, review the changes you’ve selected and click Finish to finalize them.
6. Now we will see that the partition has been extended as seen below.
