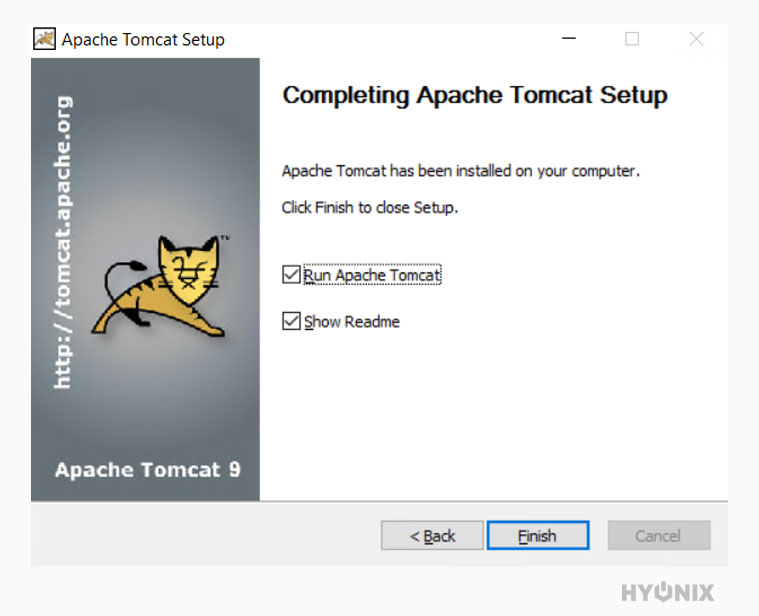
Apache Tomcat is required to run Java code; when you install Tomcat, it will install Java Servlet, JavaServer Pages, Java EL and WebSocket, which providers Java HTTP server to host Java code.
In this article, you will learn about: How to Install Tomcat 9 on Windows Server?
1. Visit the below URL and odnwload the TOmcat 9 windows MSI Installer.
URL: https://downloads.apache.org/tomcat
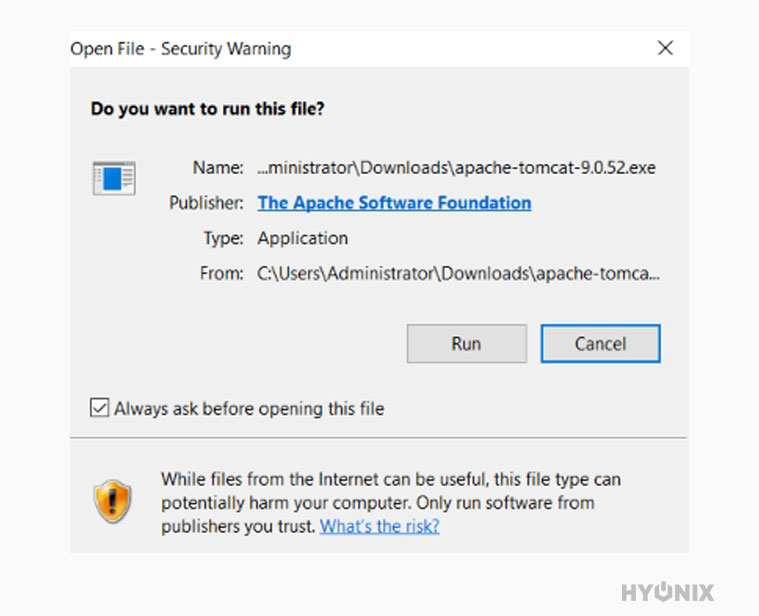
2. Open Download location → Click on MySQL MSI Installer to start the installation → Click on “Run“.
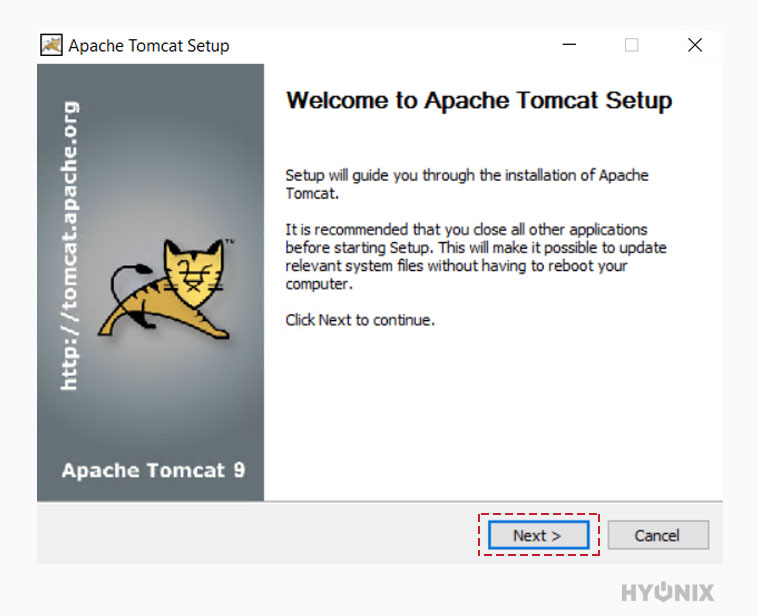
3. On welcome screen, click on Next to get started with Tomcat 9 installtion.
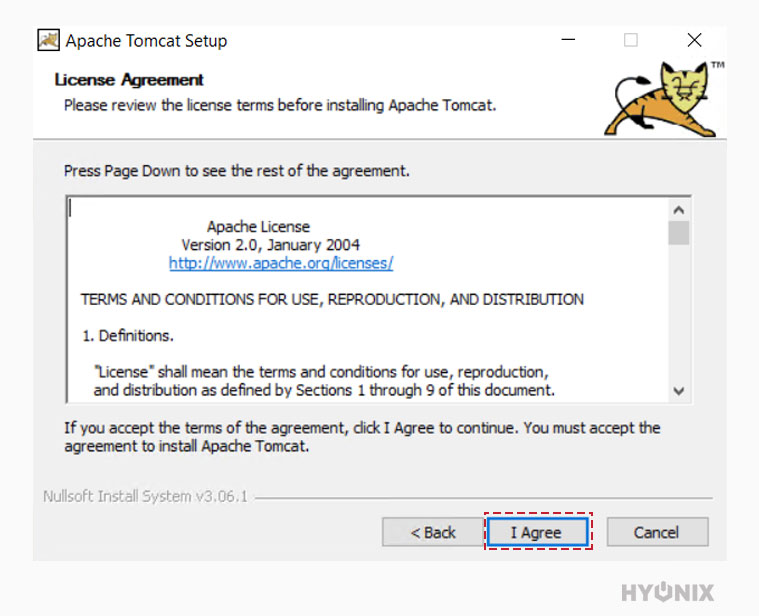
4. Read the terms properly → Click on I Agree.
5. Select the features which you would like to install of Apache Tomcat → Click on Next.
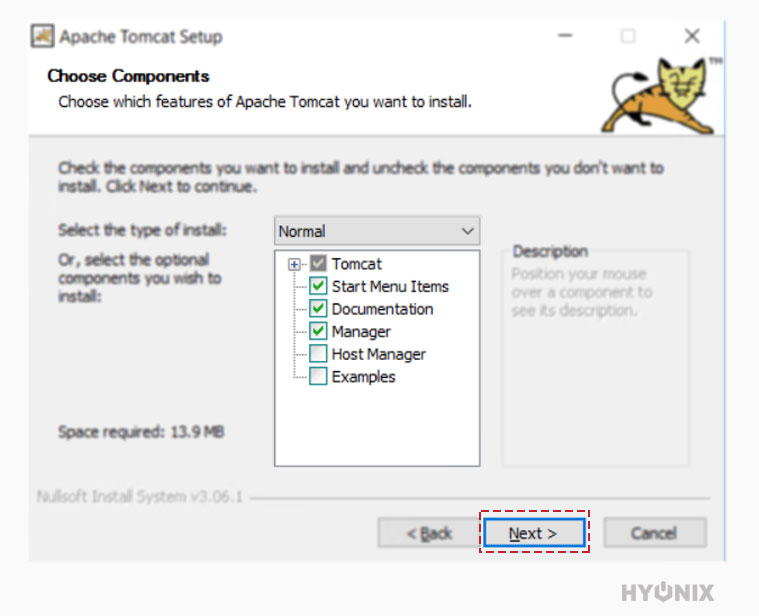
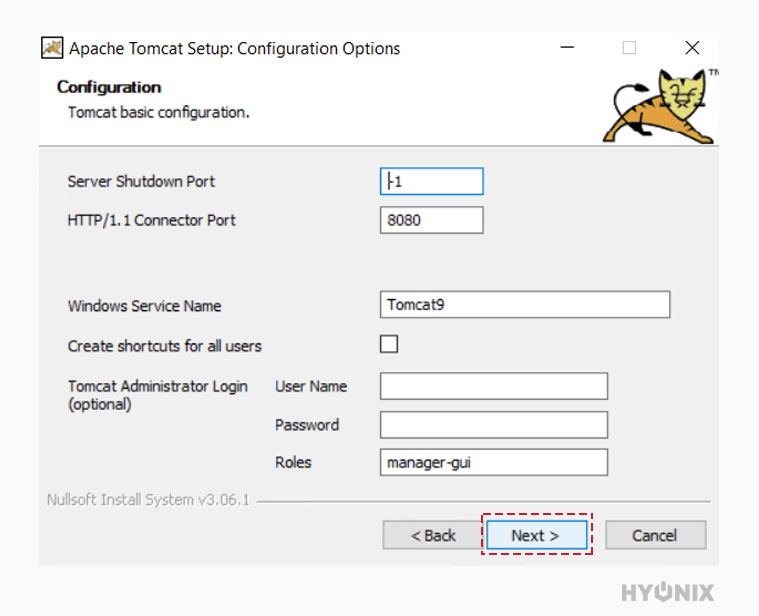
6. If you want to configure the basic settings for Tomcat 9 further, you can do it at this step → Click on Next.
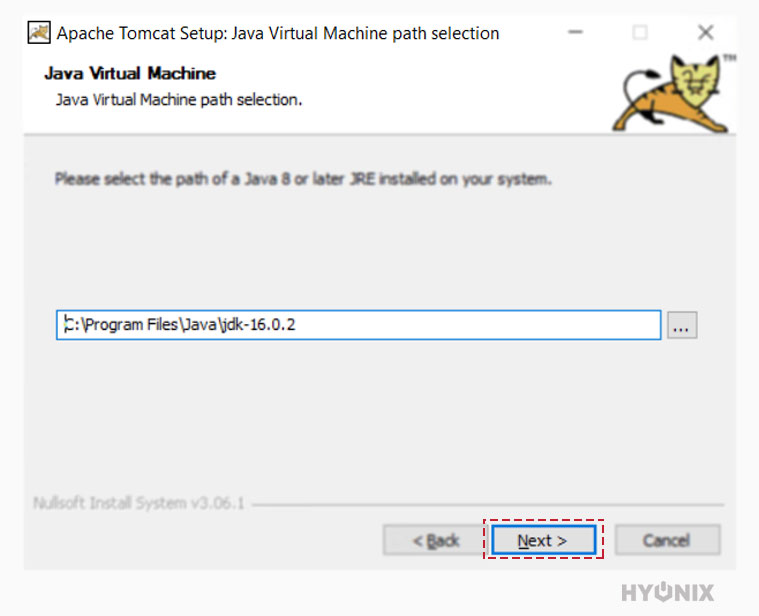
7. Enter the Java Virtual Machine path, where the Java 8 or later JRE installed on the windows server.
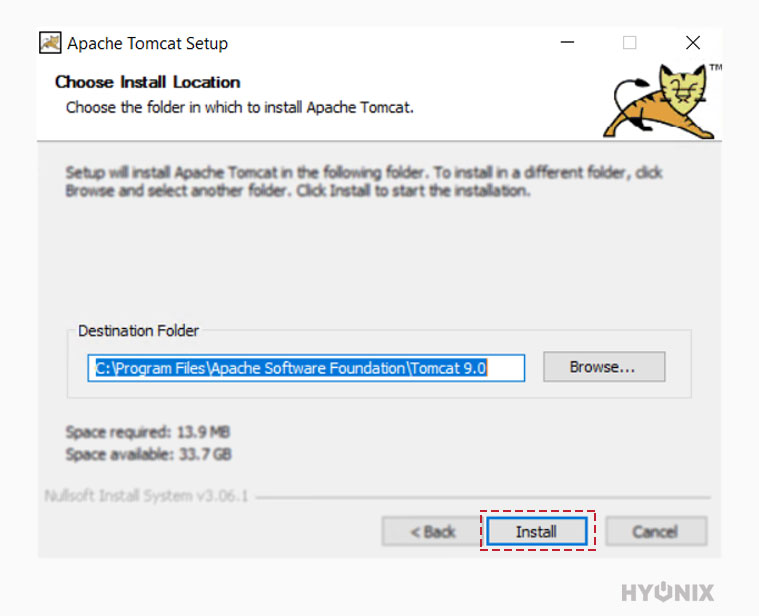
8. By default, the installation directory will be automatically picked; if you want to change the installation directory, you can do that in this step → Click on Install.
9. The installation of Tomcat 9 will being.
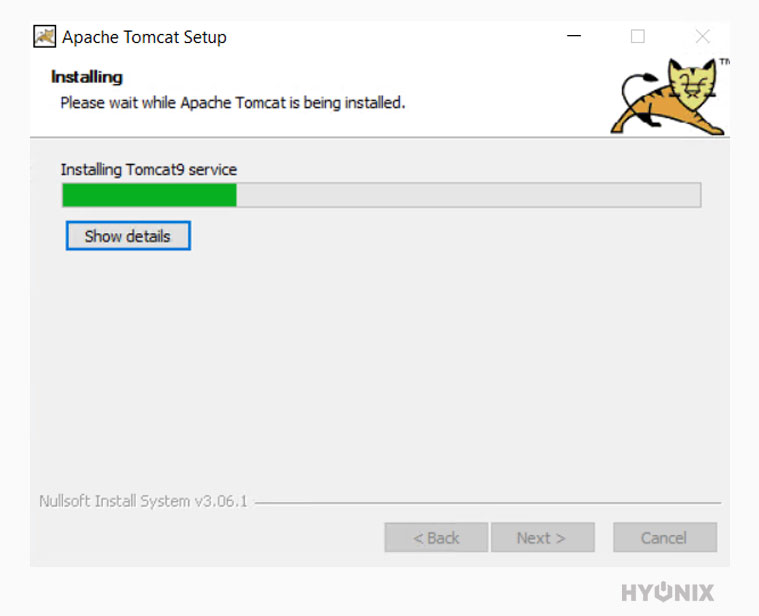
10. Congratulations! Tomcat 9 has been successfully installed on your windows server.
