Telnet is a valuable tool for resolving network-related issues, particularly those related to server port listening. Although Telnet is disabled by default on Windows systems, it can be installed through various methods, such as the Command Prompt, PowerShell, or Server Manager. In this guide, we will go over how to install Telnet Client on Windows server using all three methods.
What are ports?
Ports are virtual points where network connections start and stop. Ports are assigned to software and managed by the operating system.
For example, Port 80 is used for HTTP requests.
Method 1 – Install using Server Manager
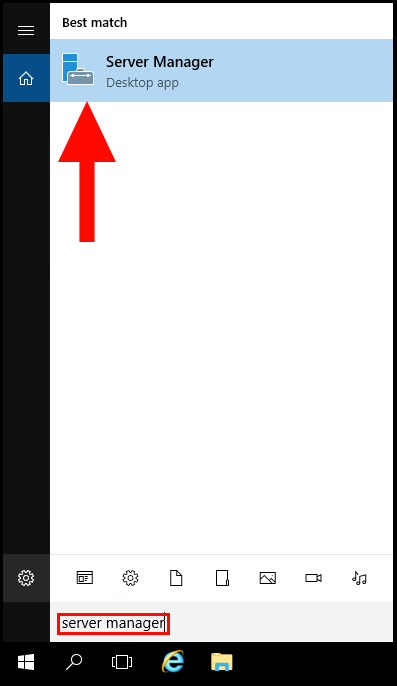
1. To start, log into your Windows Server and use the Windows search function to search and open Server Manager.
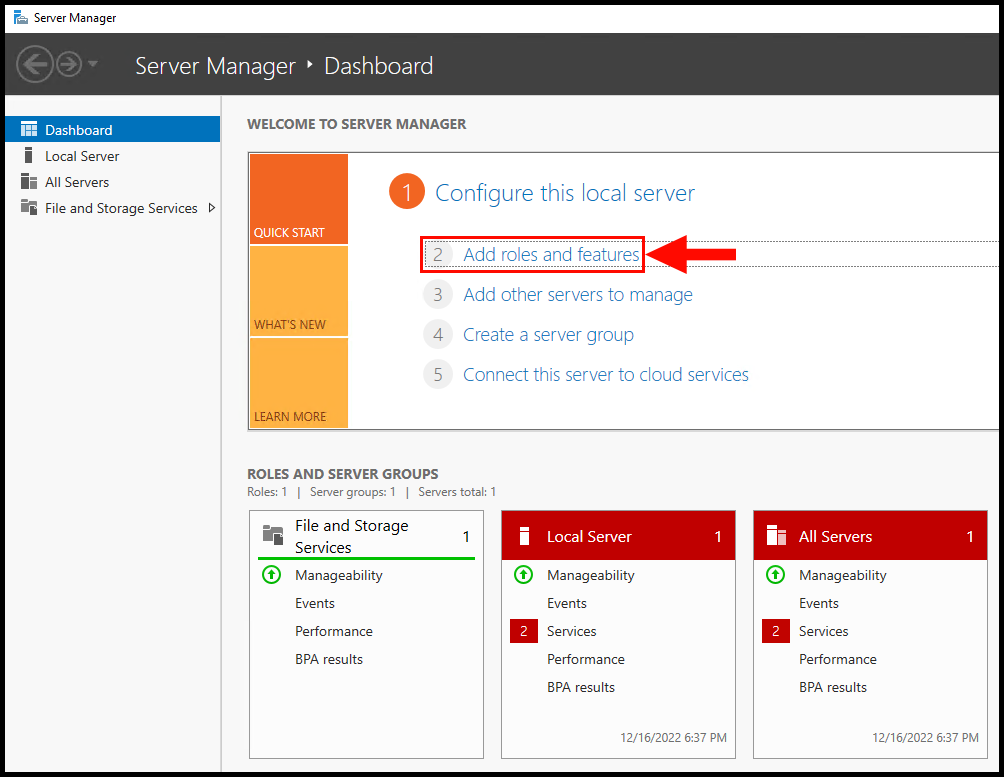
2. Next, click on Add Roles and Features.
3. Next, the Add Roles and Features Wizard screen will appear. Click Next to move on from the Before You Begin tab.

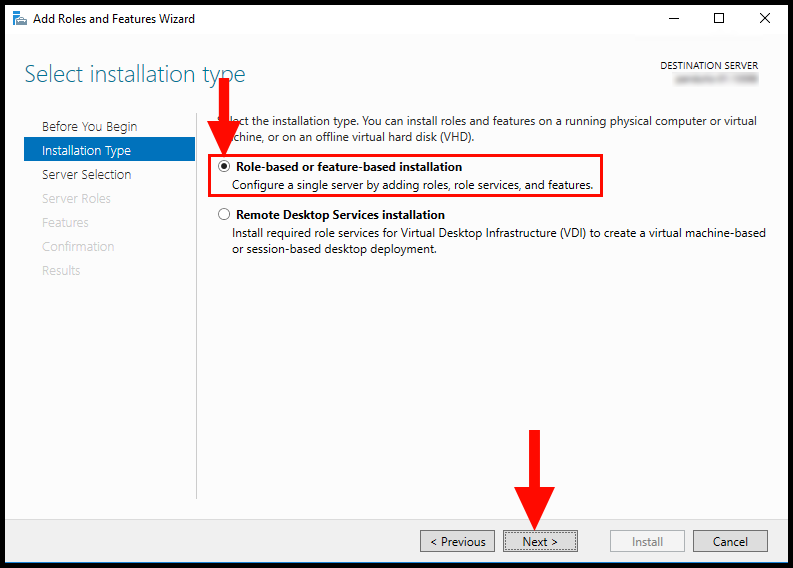
4. In the Installation Type tab, select Role-based or feature-based installation and then click Next to move on.
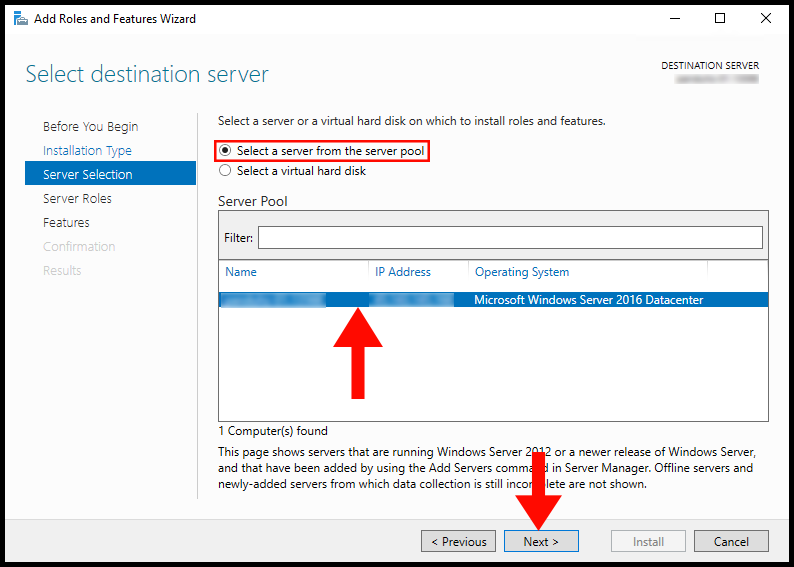
5. Now in the Server Selection tab, select your Windows Server and then click Next to continue.
6. On the Server Roles tab, refrain from making any modifications, then click Next to proceed.
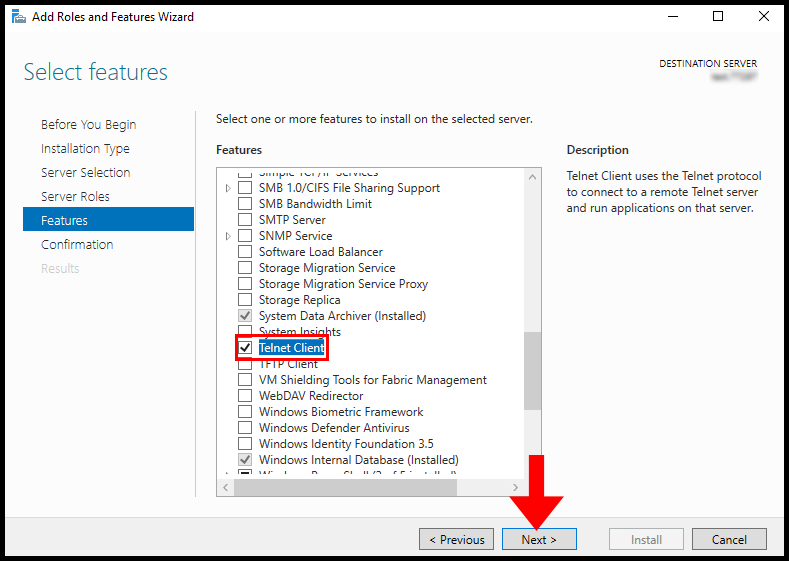
7. On the Features tab, select the Telnet Client and click Next to proceed.
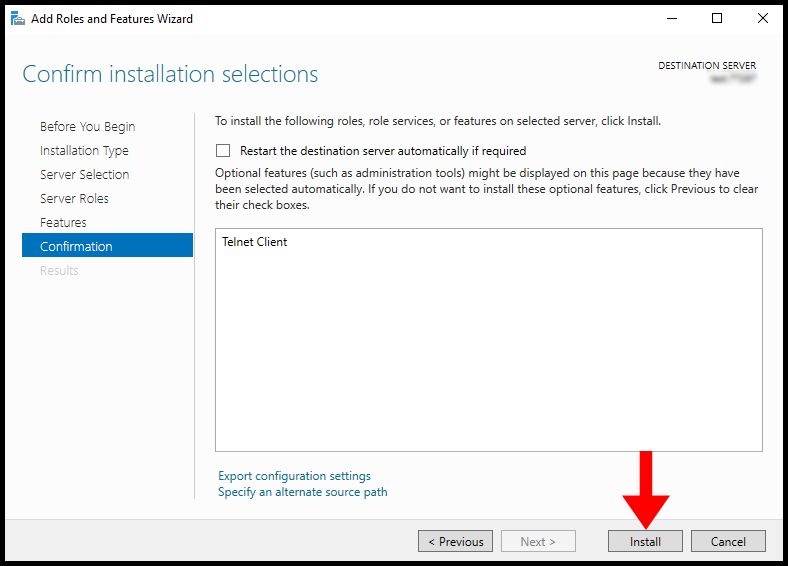
8. In the Confirmation tab, click on Install to begin installing Telnet Client.
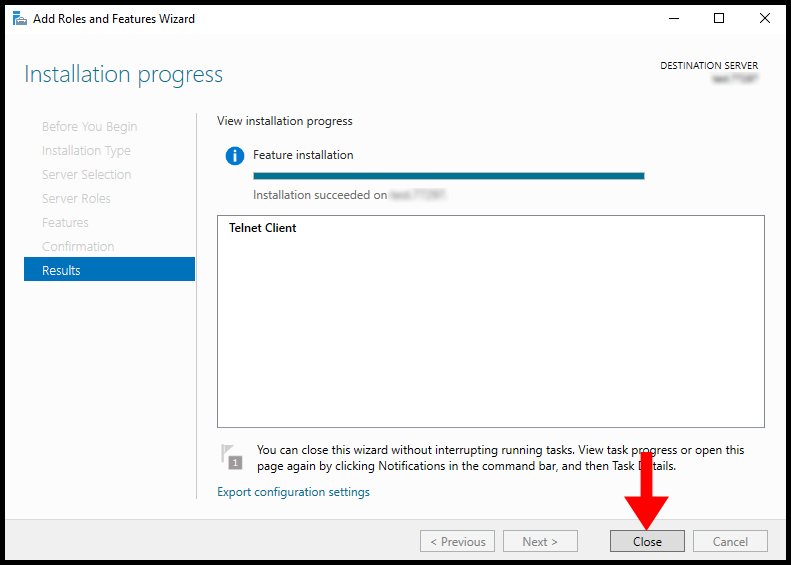
9. Once the installation is complete, the screen will look like the below image and you can click Close to close out of the window.
Method 2 – Install using Command Prompt (CMD)
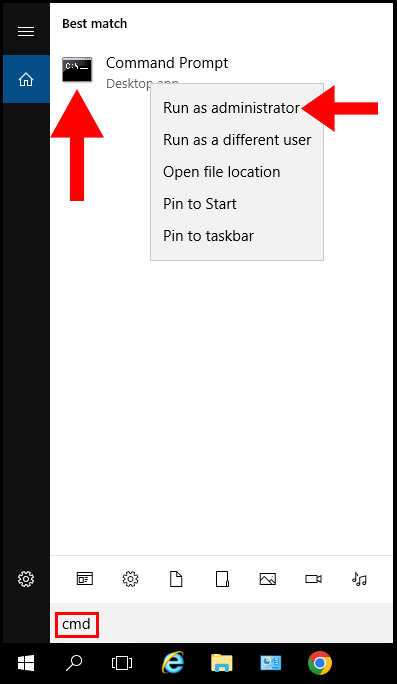
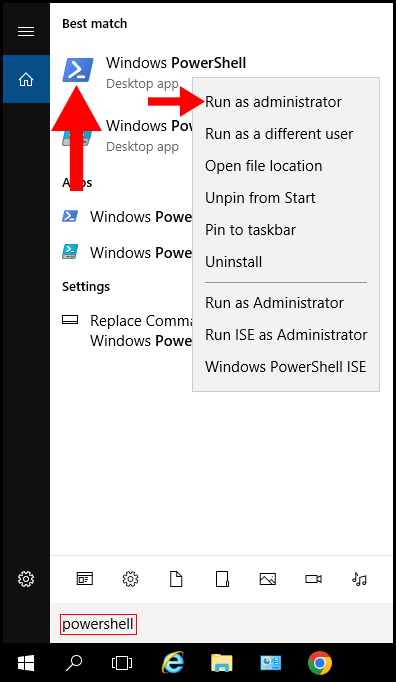
1. To start, log into your Windows Server, use the Windows search function to search Command Prompt, then select Run as administrator by right-clicking on it.
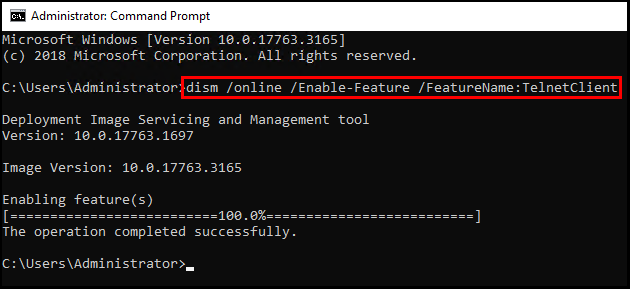
2. Type the below command in the command prompt and click your Enter key, Windows will start the installation of Telnet Client using Deployment Image Servicing and Management tool.
dism /online /Enable-Feature /FeatureName:TelnetClient
Method 3 – Install using Powershell
1. To start, log into your Windows Server, use the Windows search function to search Command Prompt, then select Run as administrator by right-clicking on it.
2. Type the below command in the PowerShell terminal, then Windows will begin installing. You can tell when it is done when it says True under Success.
Install-WindowsFeature -name Telnet-Client
