Web servers are being used to transfer and receive data globally. Transmission of the data is made in various ways, and one of the best options to perform the data transmission is through FTP (File Transfer Protocol). In Windows Server, under IIS services, you can install an FTP server additionally using Server Manager.
In this article, you will learn about: How to install and Configure FTP on Windows server
Step 1: Install IIS and FTP Service
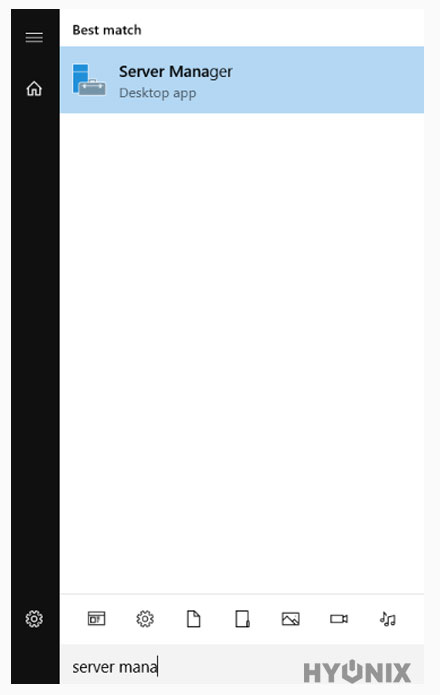
1. Login to Windows Server → Search and Open Server Manager.
2. Now click on “Add Role and features“.

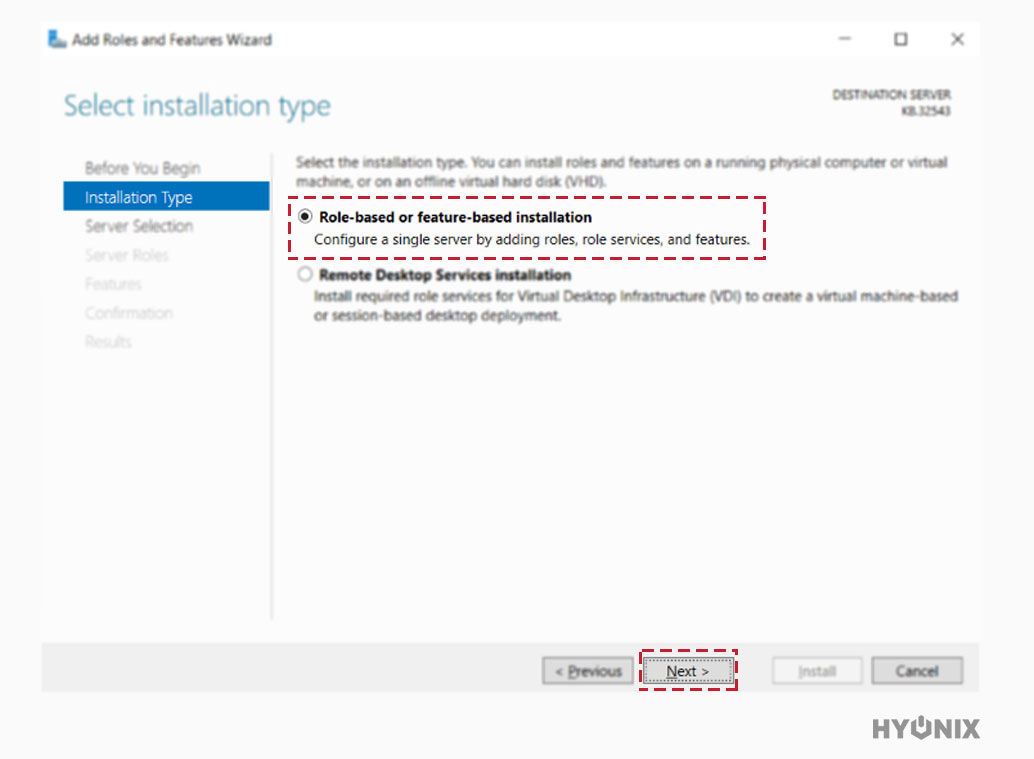
3. In the Installation Type section, select Role-based or feature-based installation → Next.
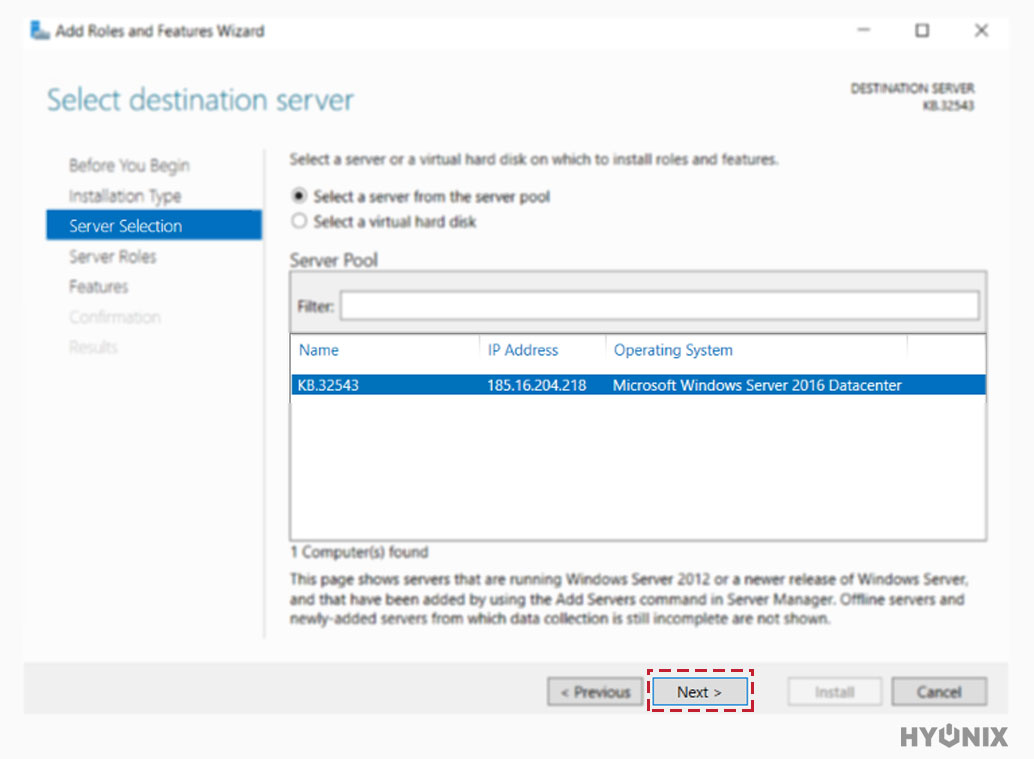
4. In Server Selection, select your Windows Server, if your server is configured in the network, then select the particular server from the list to process the installation → Next.
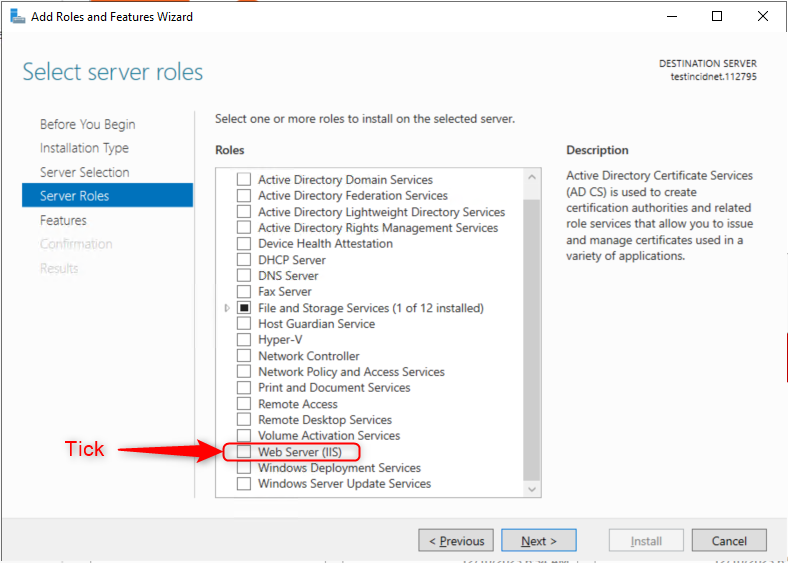
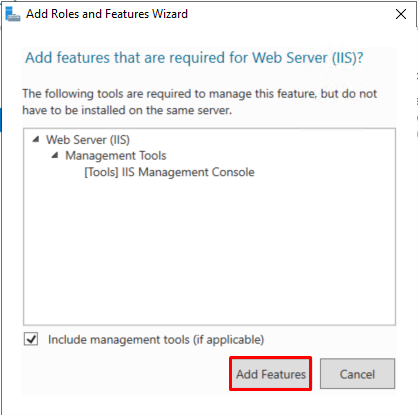
5. In Server Role, select Web Server IIS → Click on Add Features.
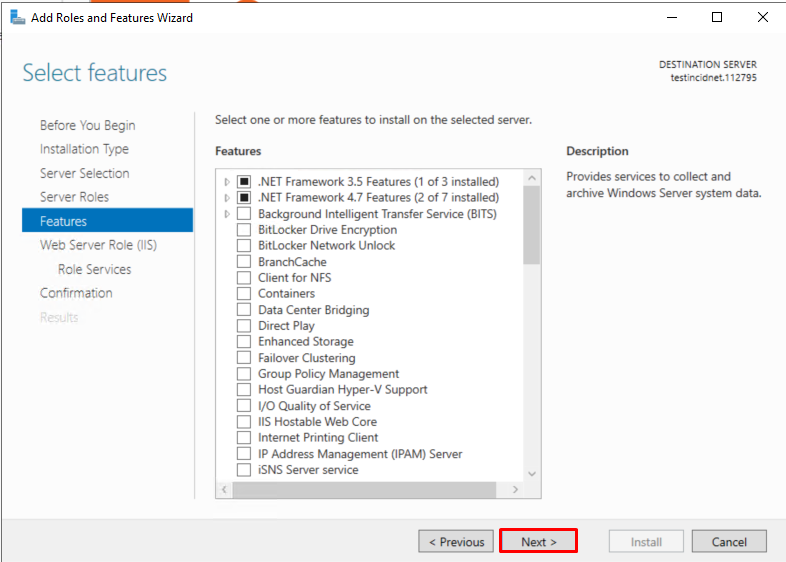
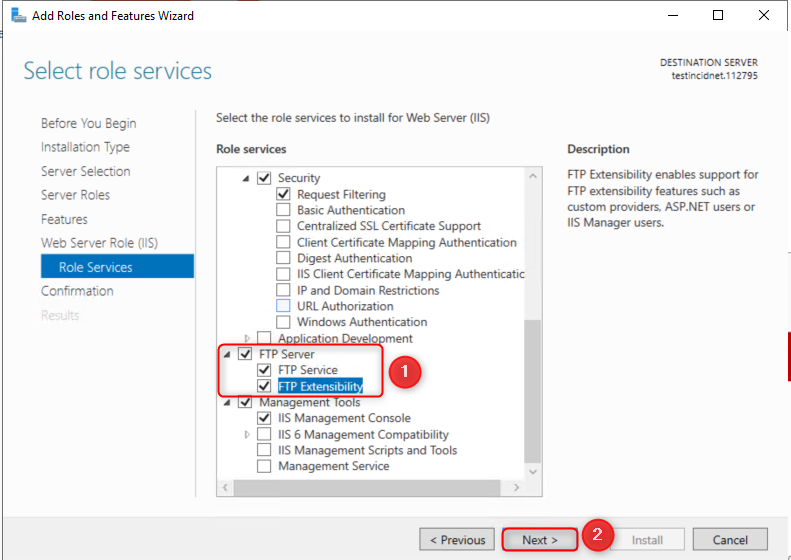
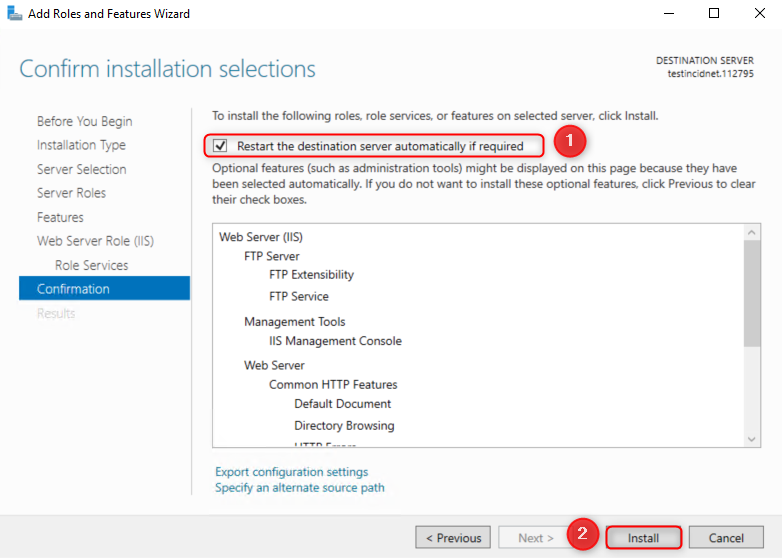
6. Select FTP Server, FTP Service and FTP Extensibility → Click Next.
7. In the Confirmation section, tick “Restart the destination server automatically if required“, then click on Install.
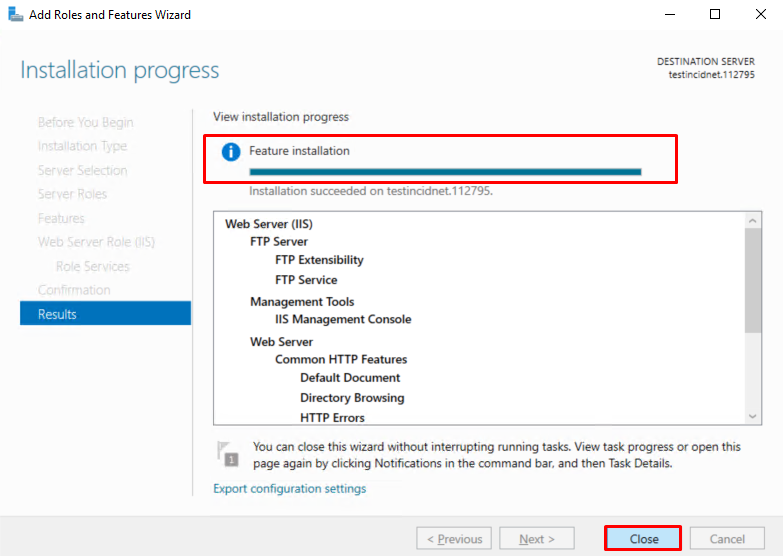
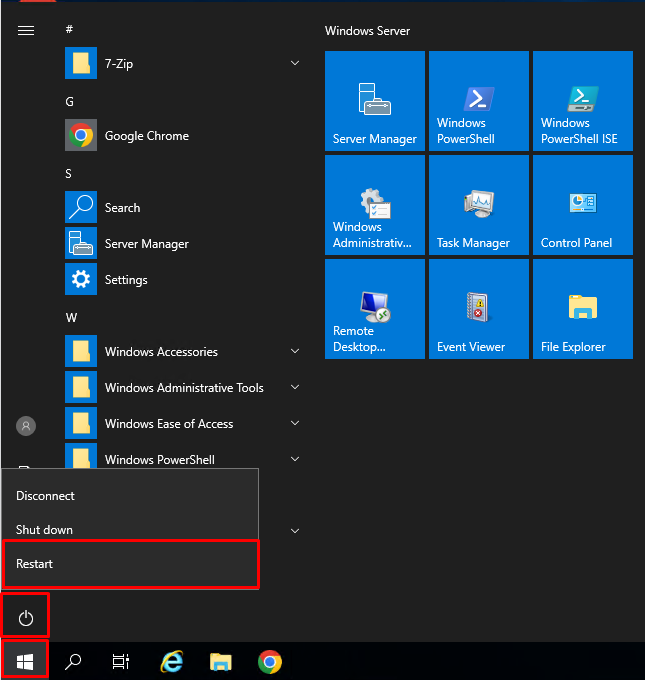
8. Restart your server for the changes to take place.
Step 2: Create User Group
This group of user will be allowed to access FTP server later. To create user group, please follow the following steps.
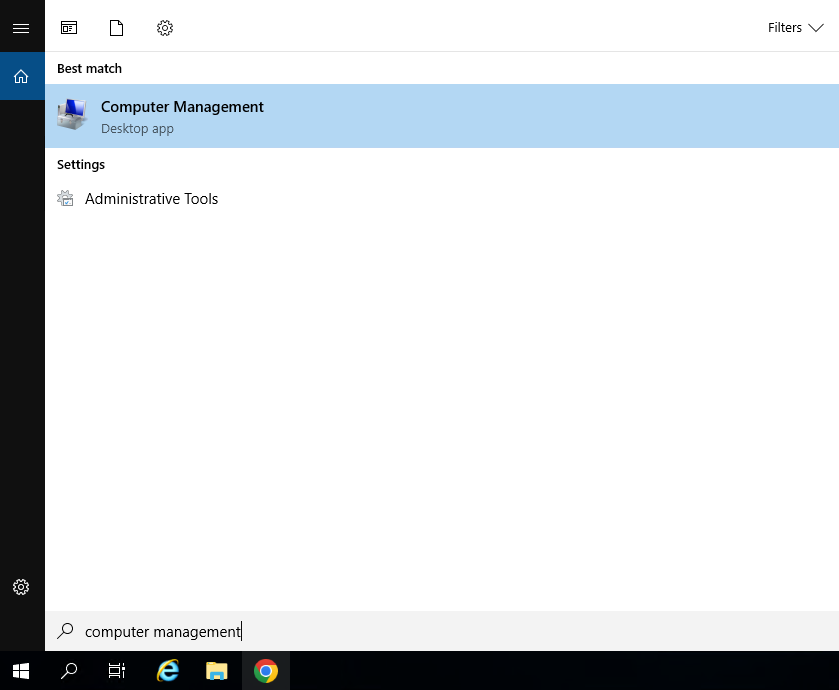
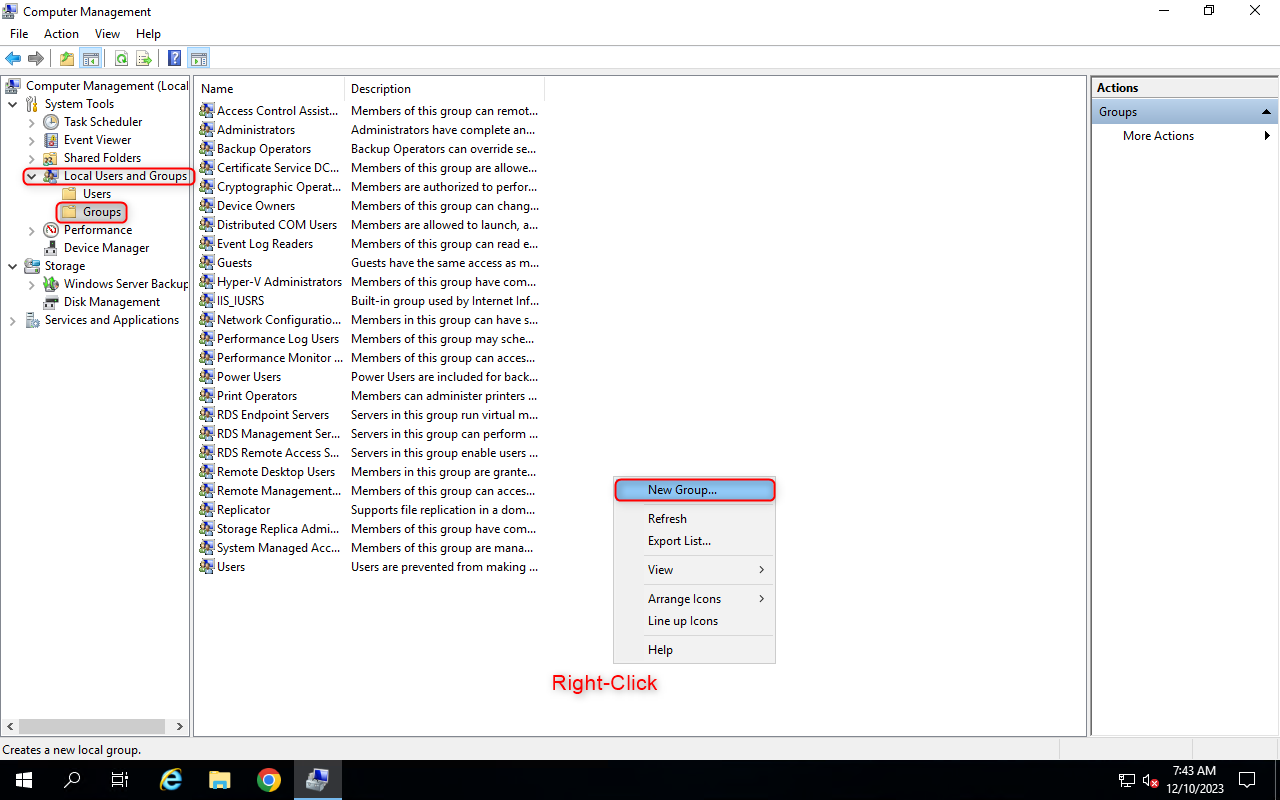
1. Open Computer Manangement
2. Locate to “System Tools” -> “Local User and Groups” -> “Groups“, right-click on the space and choose “New Group”
3. Change group name to “FTP-Access” and Click Add

4. Fill in “Administrator” and Click “Check Names”
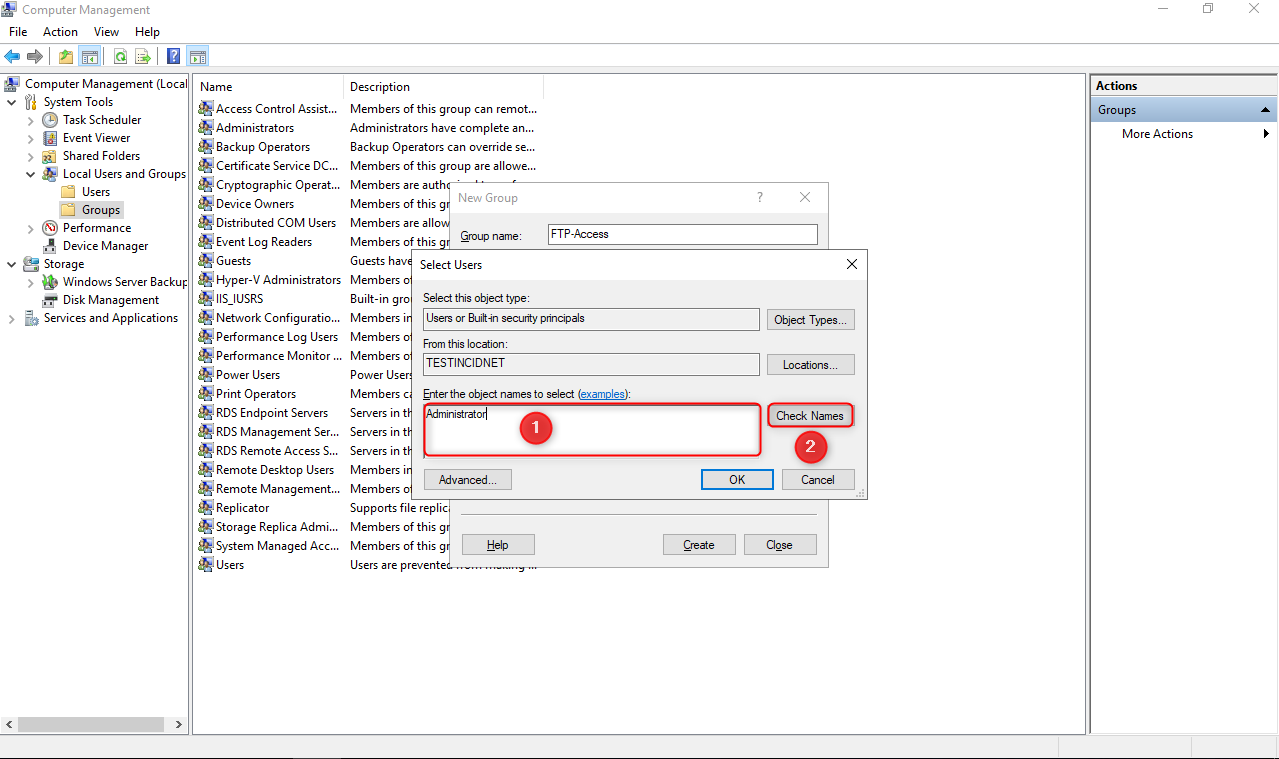
5. Click OK

6. Click Create
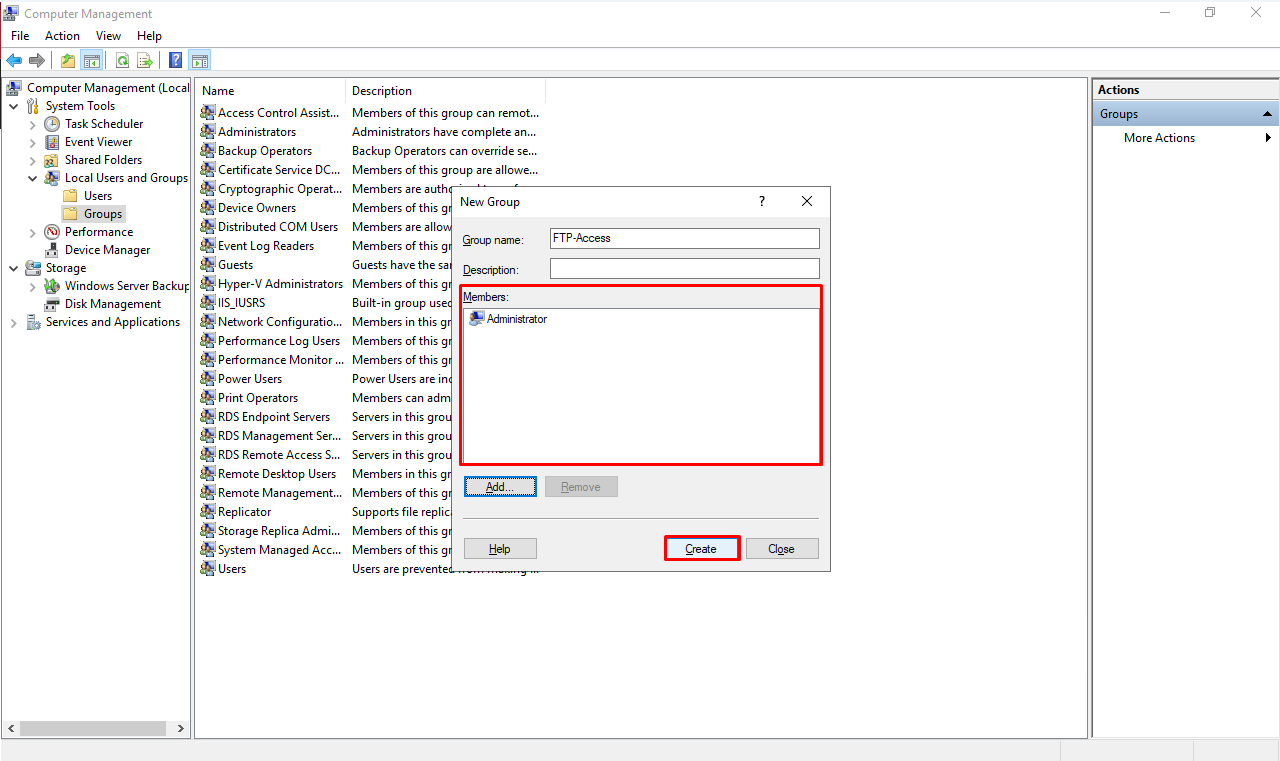
7. The user group “FTP-Access” for Administrator has been created
Step 3: Configuration at IIS
We assume you have enabled/installed IIS Services and FTP Server. Now we have to configure the FTP account for read and write permissions. Let get started!
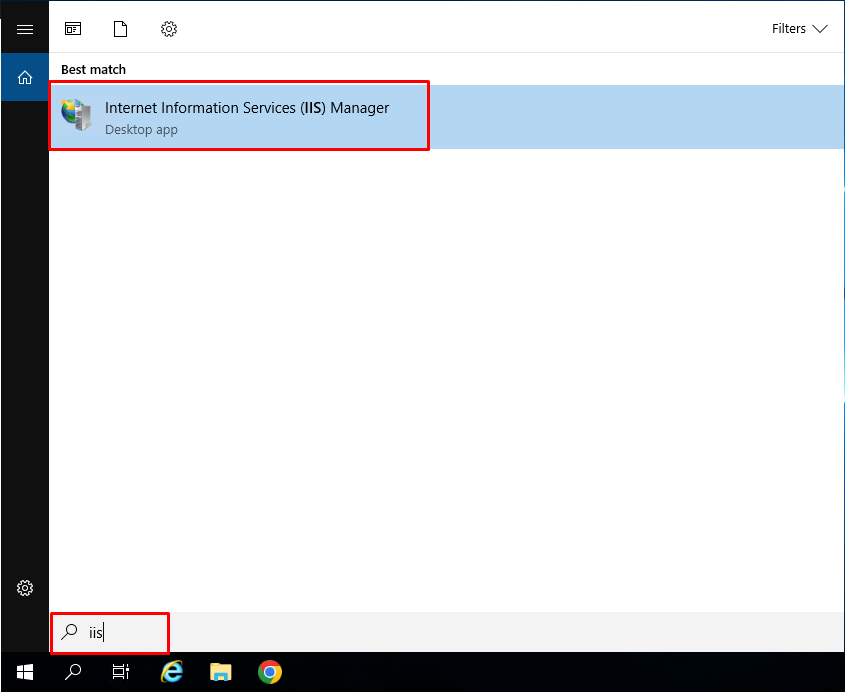
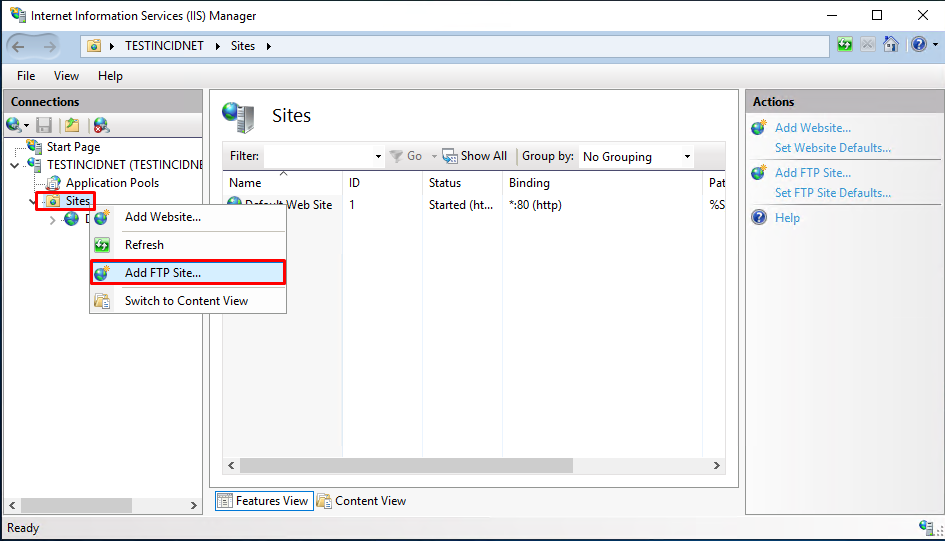
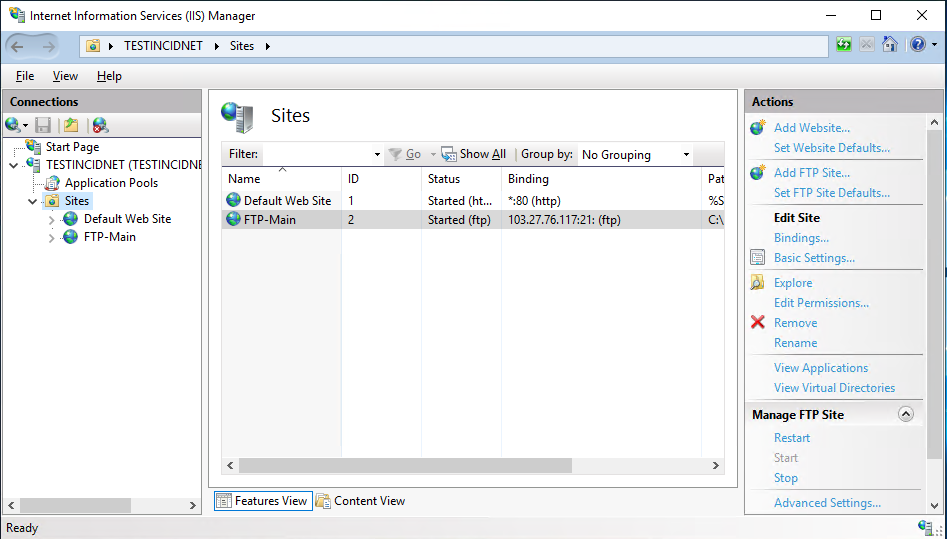
1. On your Windows Server → Search Internet Information Services (IIS) Manager.
2. Navigate to Sites → Right-click → Click on Add FTP Site.
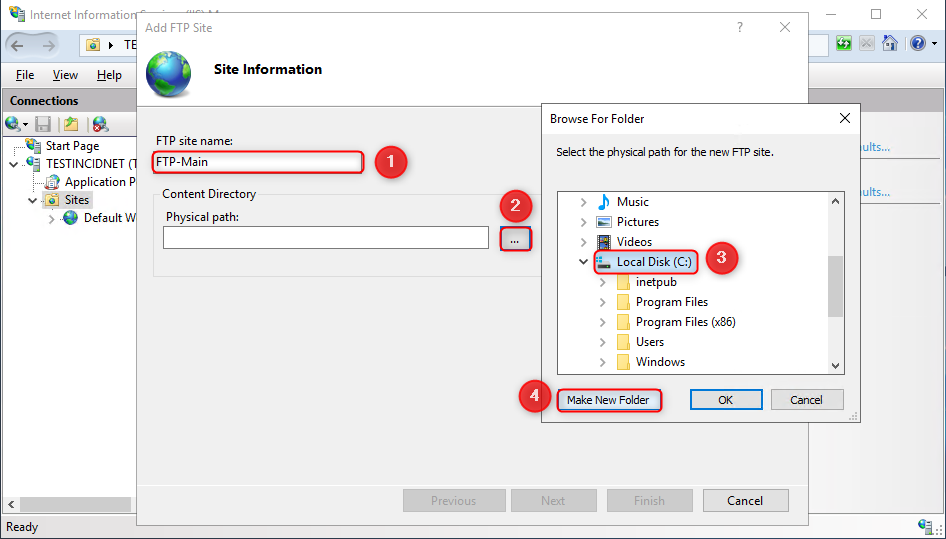
3. Enter the name for FTP -> Click 3 dot next to Physical path -> Select Local Disk (C): -> Make New Folder and configure the directory access → Click on Next.
4. Enter the folder name -> Click OK
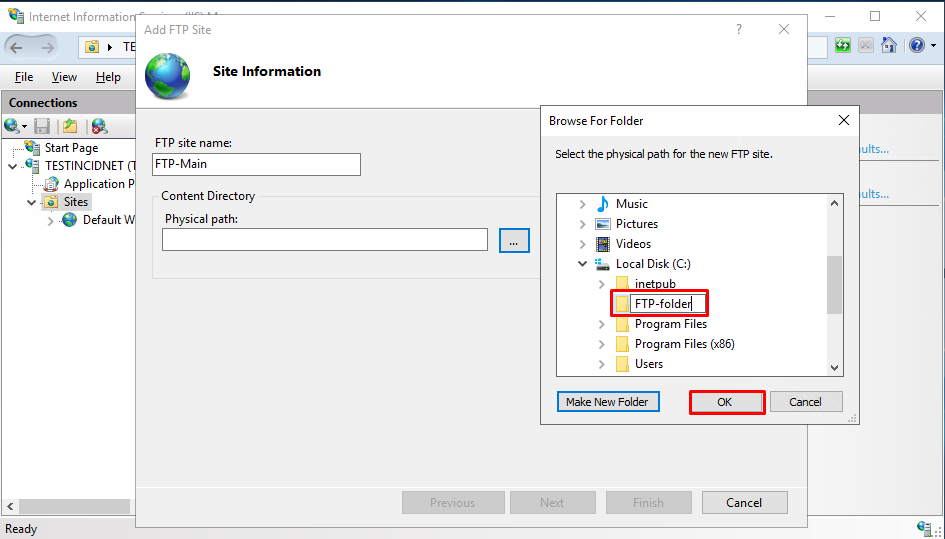
5. Click Next

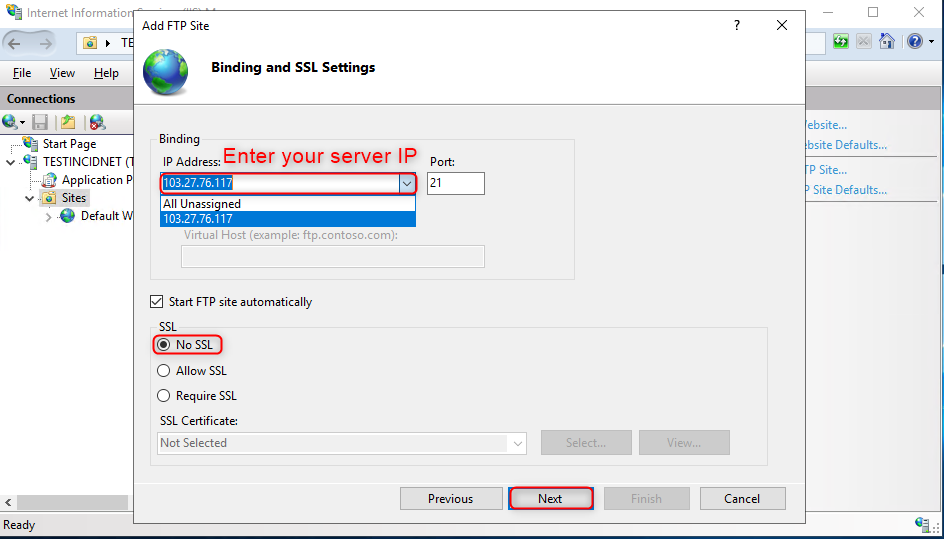
4. Next, configure the IP address for the FTP site. If you have a virtual host, then enter the host domain name. Finally, select No SSL → Click on Next.
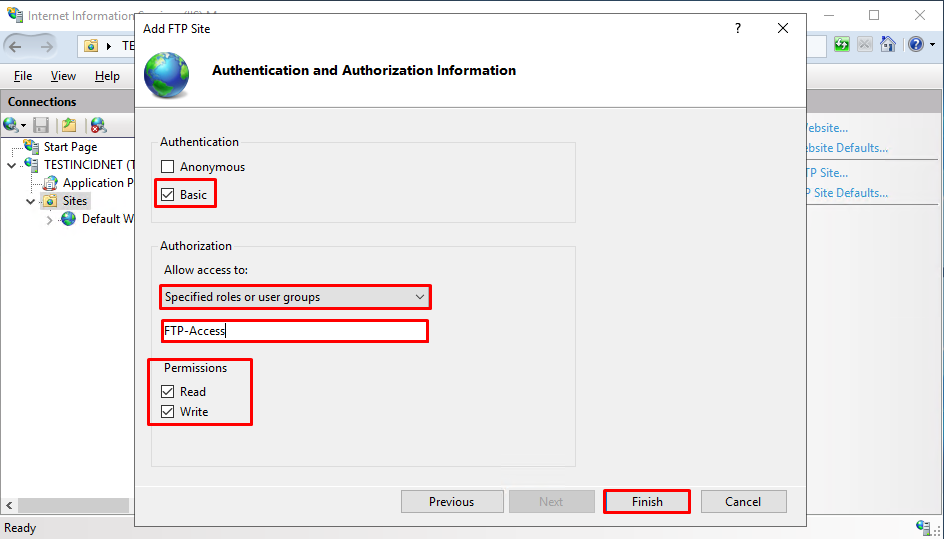
5. In the Authentication step, select the Basic authentication type and make sure to deselect Anonymous. Now, select the users to whom you want to grant the FTP permission. For this article, we will give FTP access to Specified roles or user groups. In Permission, make sure to select Read and Write both options (depending on your demand) → Click on Finish.
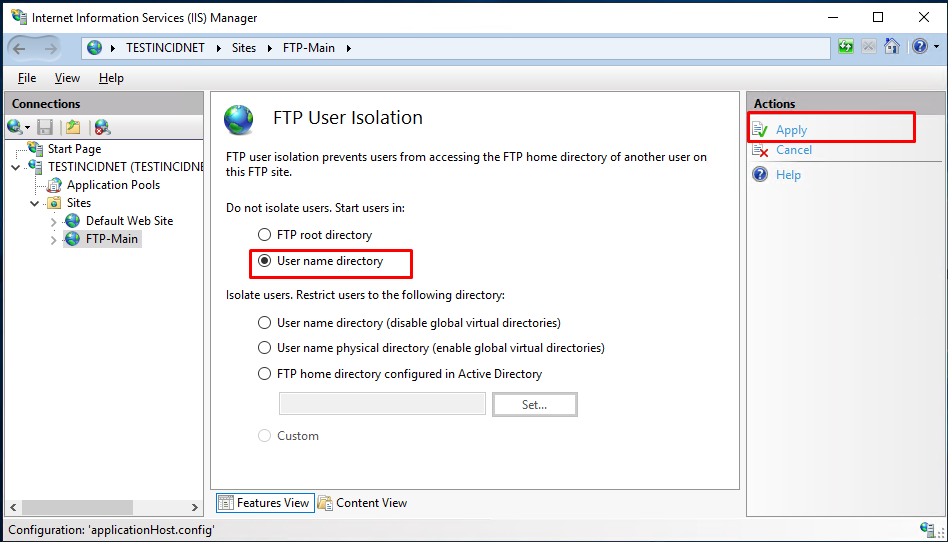
Step 4: User isolation
In order for each user to get to his own directory and not have access to other files after connecting to the server, it is necessary to set up isolation.
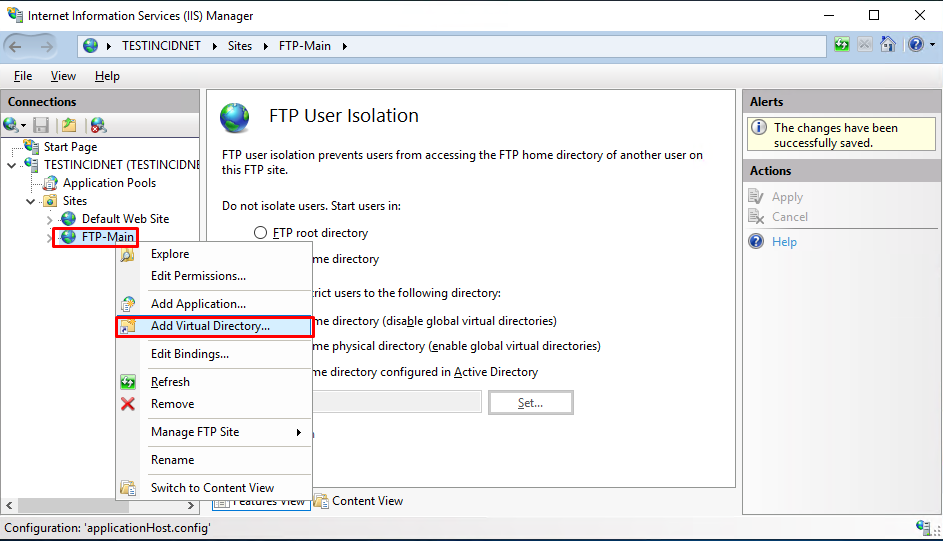
1. To do this, open your ftp site settings and select FTP User Isolation.

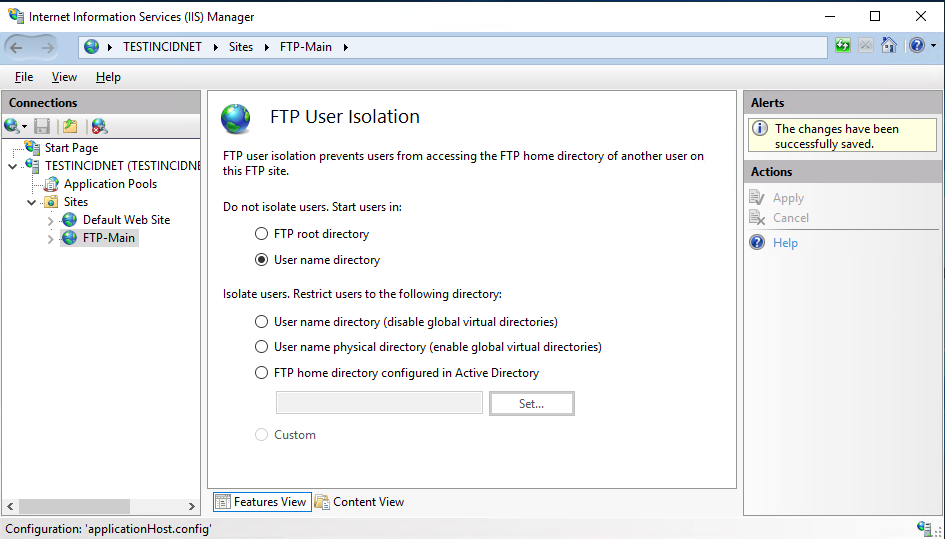
2. Select the User name directory and click Apply.
3. Then, using the right mouse button, open the menu of your ftp site and select Add Virtual Directory.
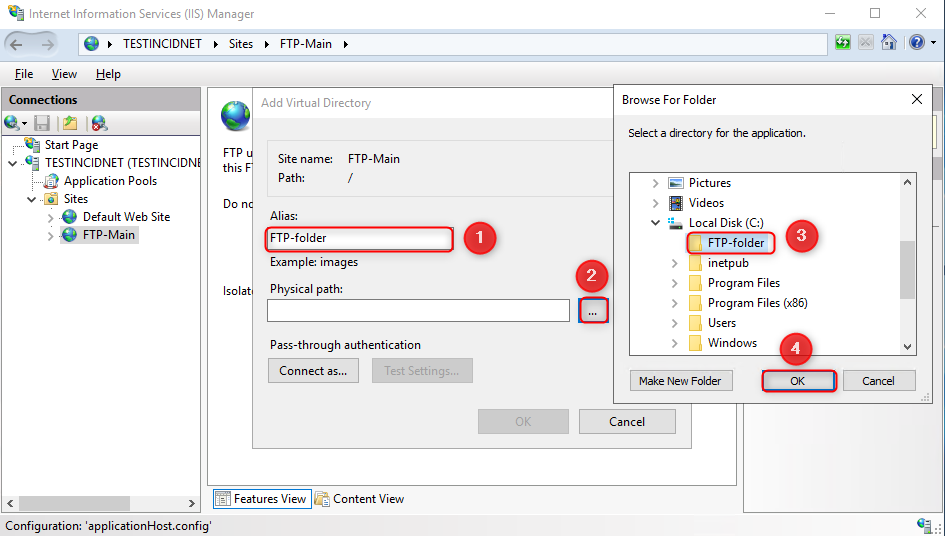
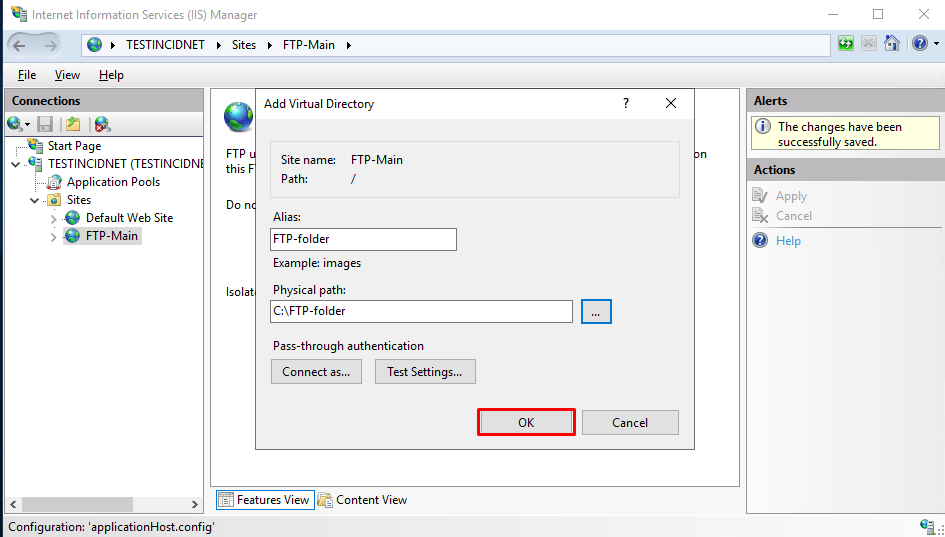
4. In the Alias field, enter a nickname or name, in the path field enter the path to the user directory, you can also create a subdirectory in the ftp site directory on your Windows server. Click Ok.
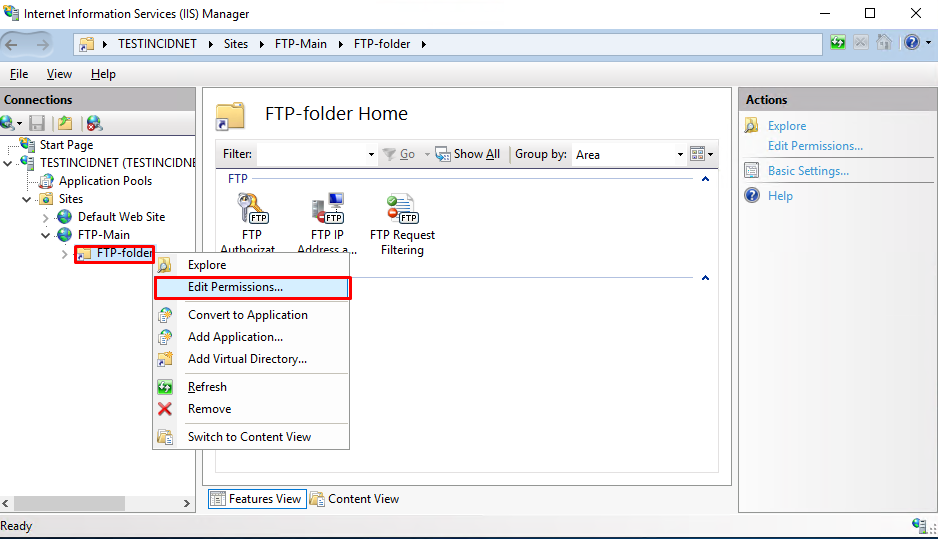
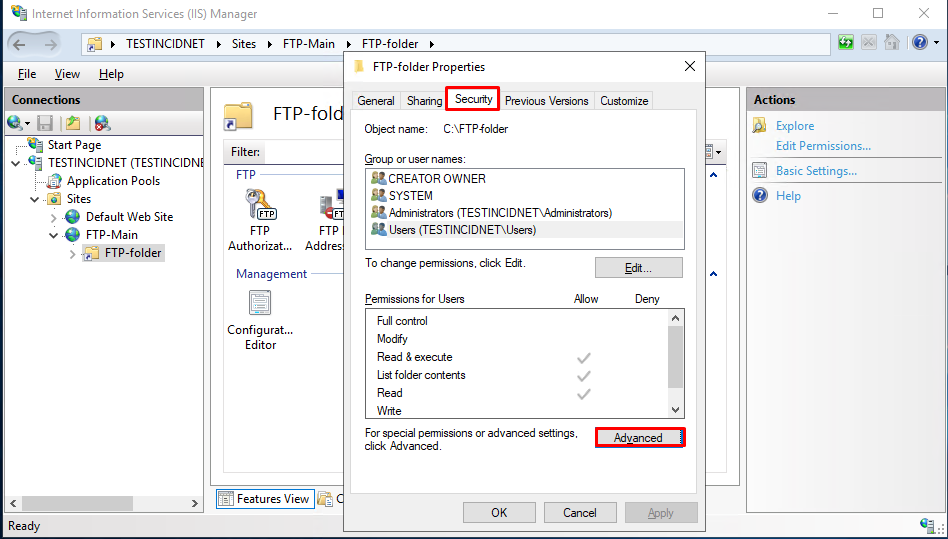
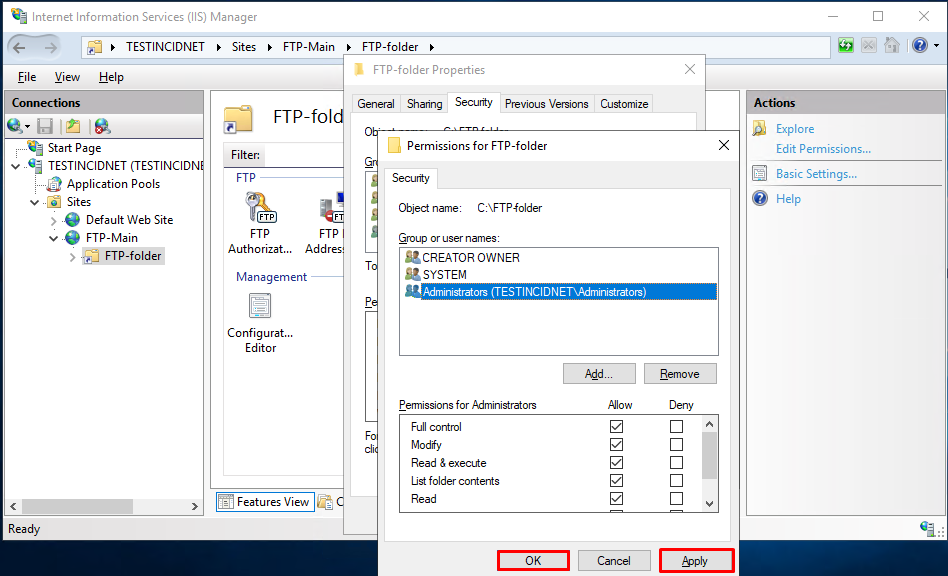
5. To configure permissions in IIS Manager, expand the hierarchical structure of your ftp server. Using the right mouse button, open the Windows virtual directory menu and select Edit Permission
6. Click the Security tab and click the Advanced button.
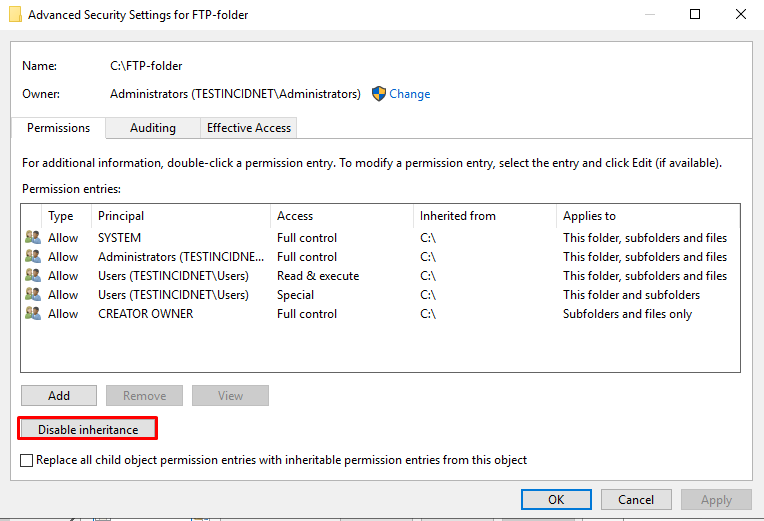
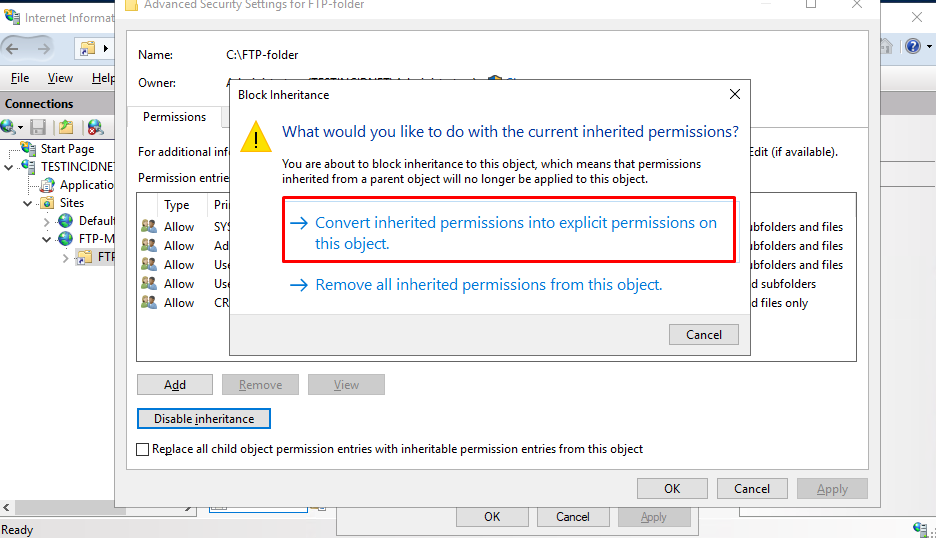
7. In the window that opens, click the Disable inheritance button, select the first option in the new window, and then click Apply – Ok.

8. Select the Users group in which all users are located and click the Remove button. This is necessary so that only the owner of the directory has access to it.
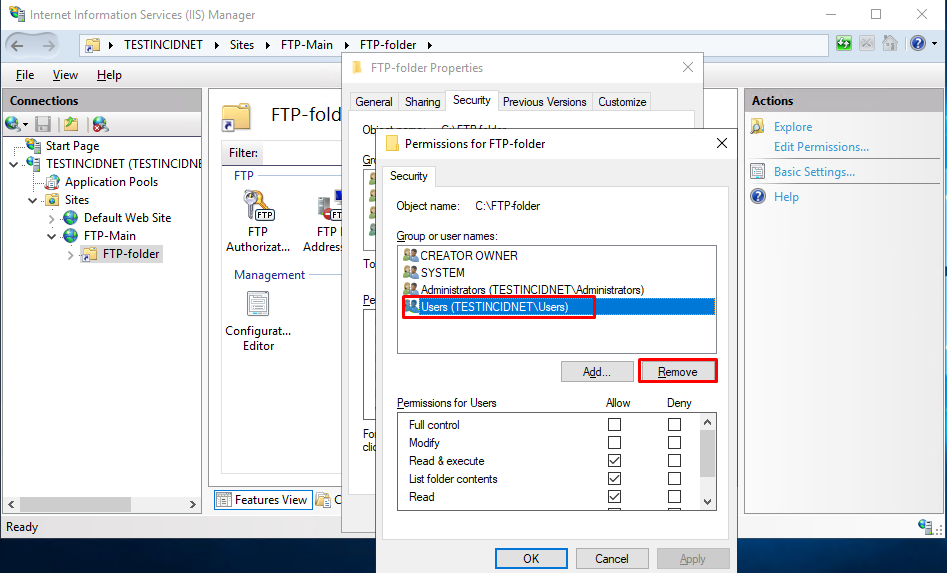
9. Next, click Apply – Ok.
Step 5: Allow Firewall
For an external connection to the ftp server, you must configure the firewall.
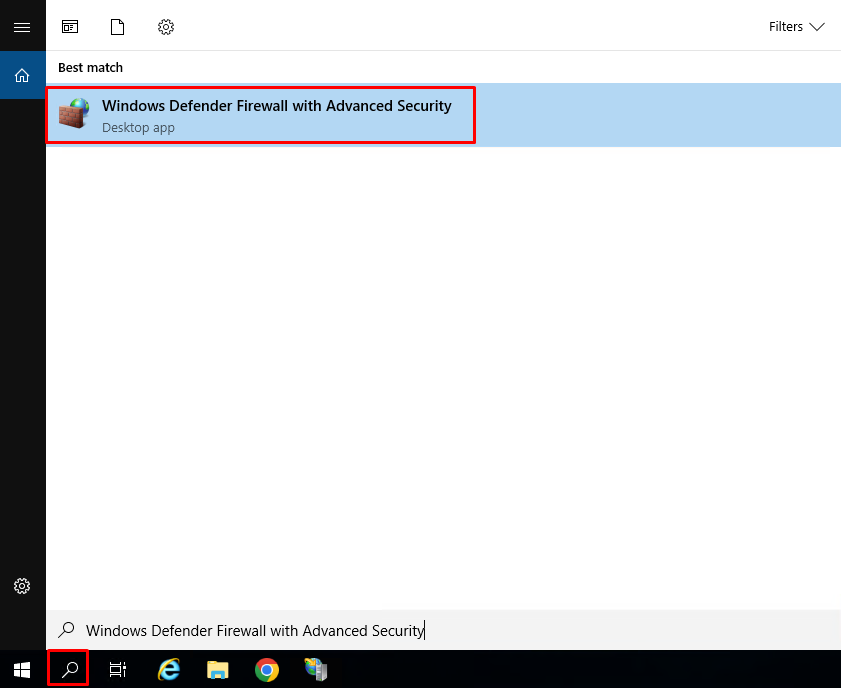
1. To do this, open Windows Defender Firewall with Advanced Security.
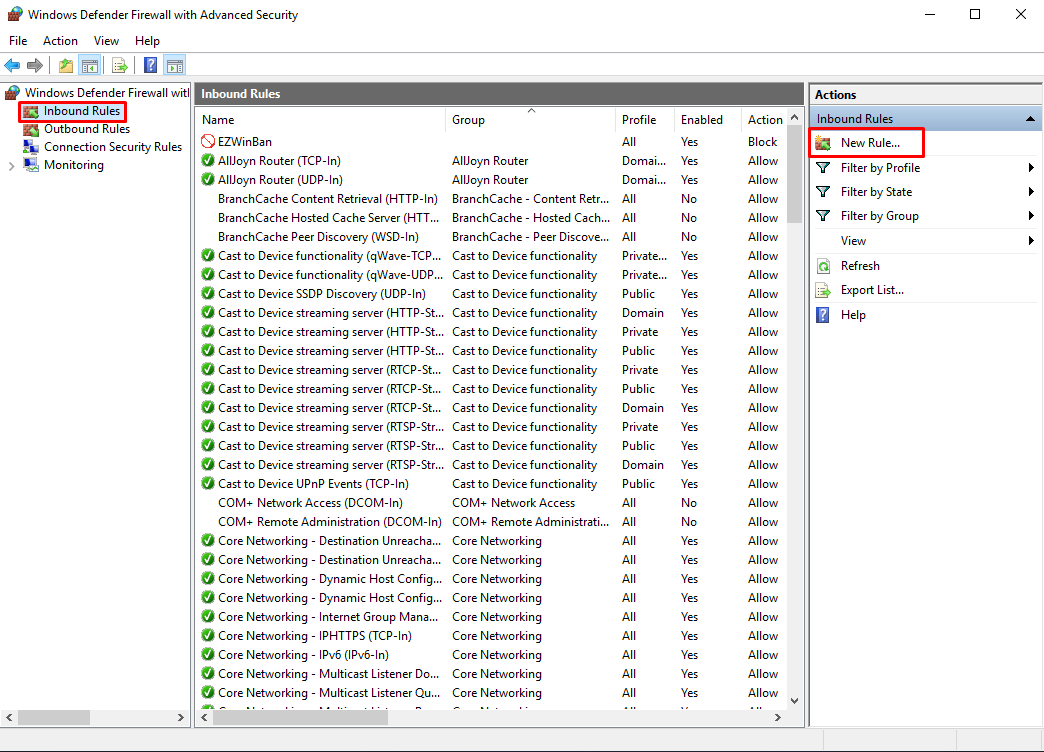
2. In the vertical menu on the left, select Inbound rules, then in the vertical menu on the right New Rule.
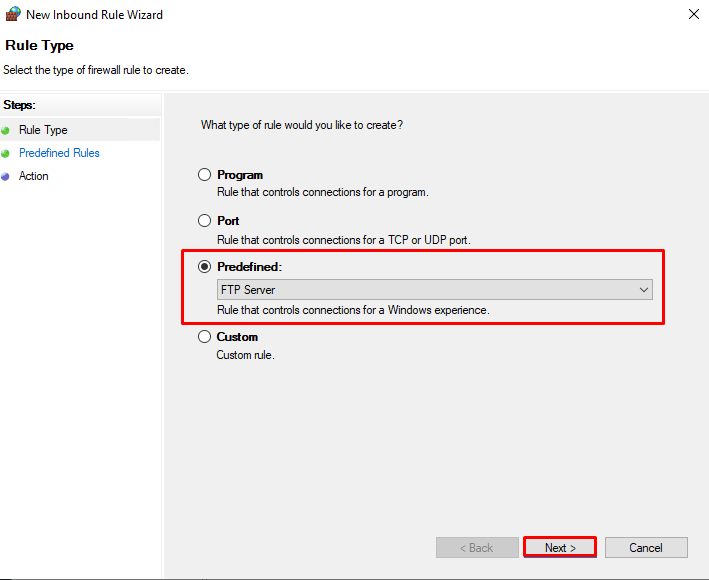
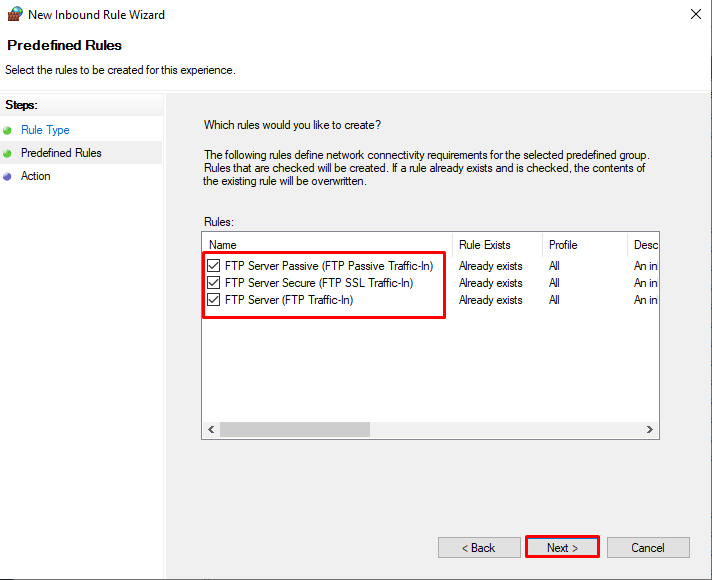
3. In the window that opens, check the Predefined type and select FTP Server from the drop-down list. Click Next.
4. Tick all the lines and click Next.
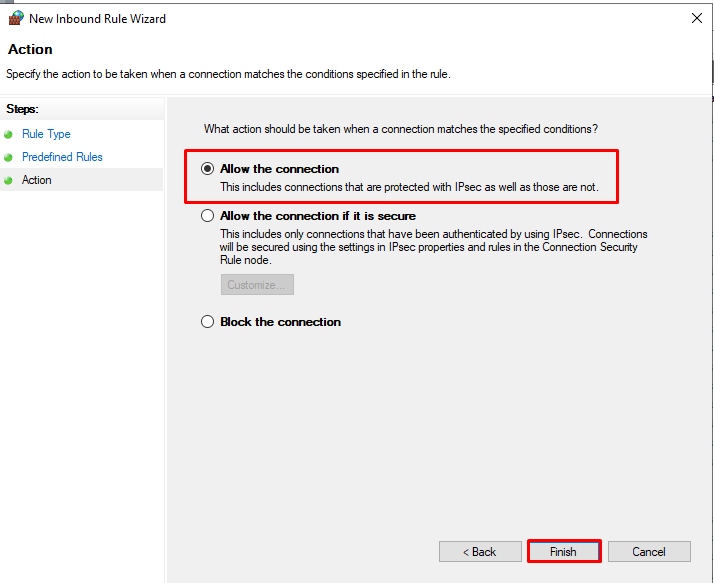
5. In the next step, select Allow the connection and click Finish. For these rules to take effect – restart the server.
Step 6: Download FTP client on your client computer
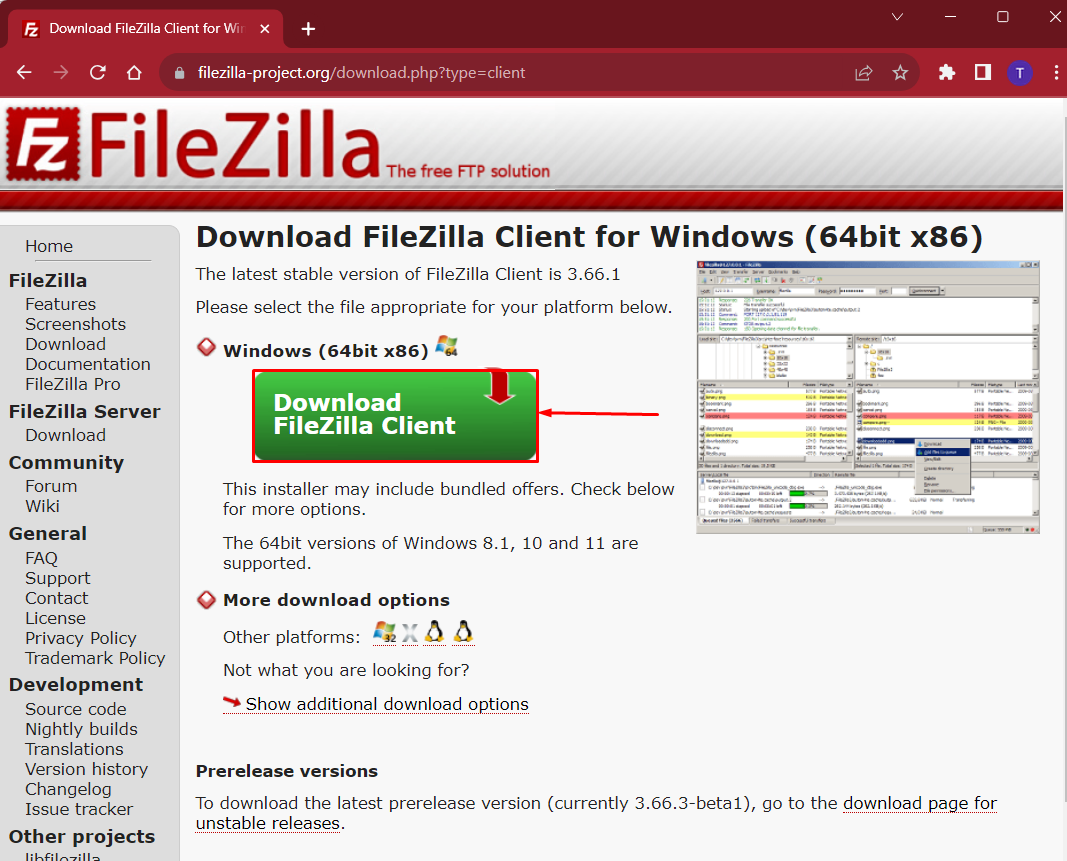
This is the final step. After configuring your server, you can download FTP client on your client computer (for example your local computer) so you can start using it. There are several FTP client softwares, in this demontration, we will choose FileZilla Client for Windows.
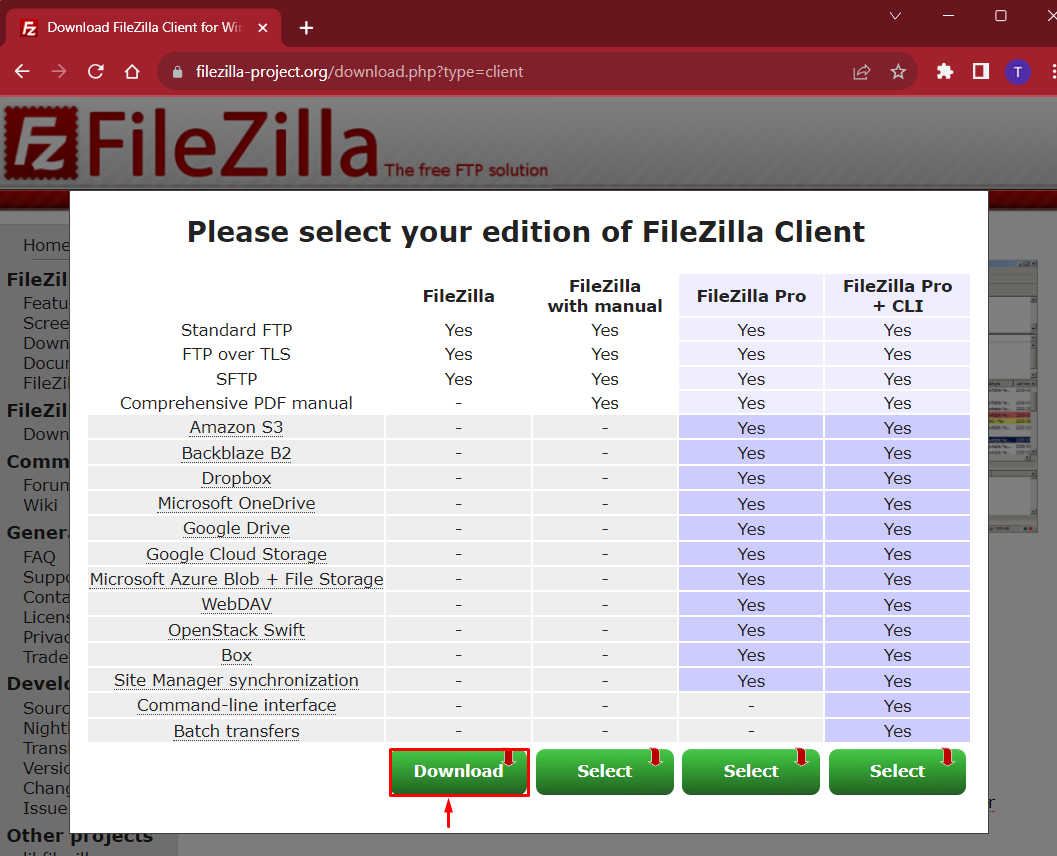
1. You can download FileZilla Client for Windows at this link:
https://filezilla-project.org/download.php?type=client
2. Install FileZilla on your client computer and then run it
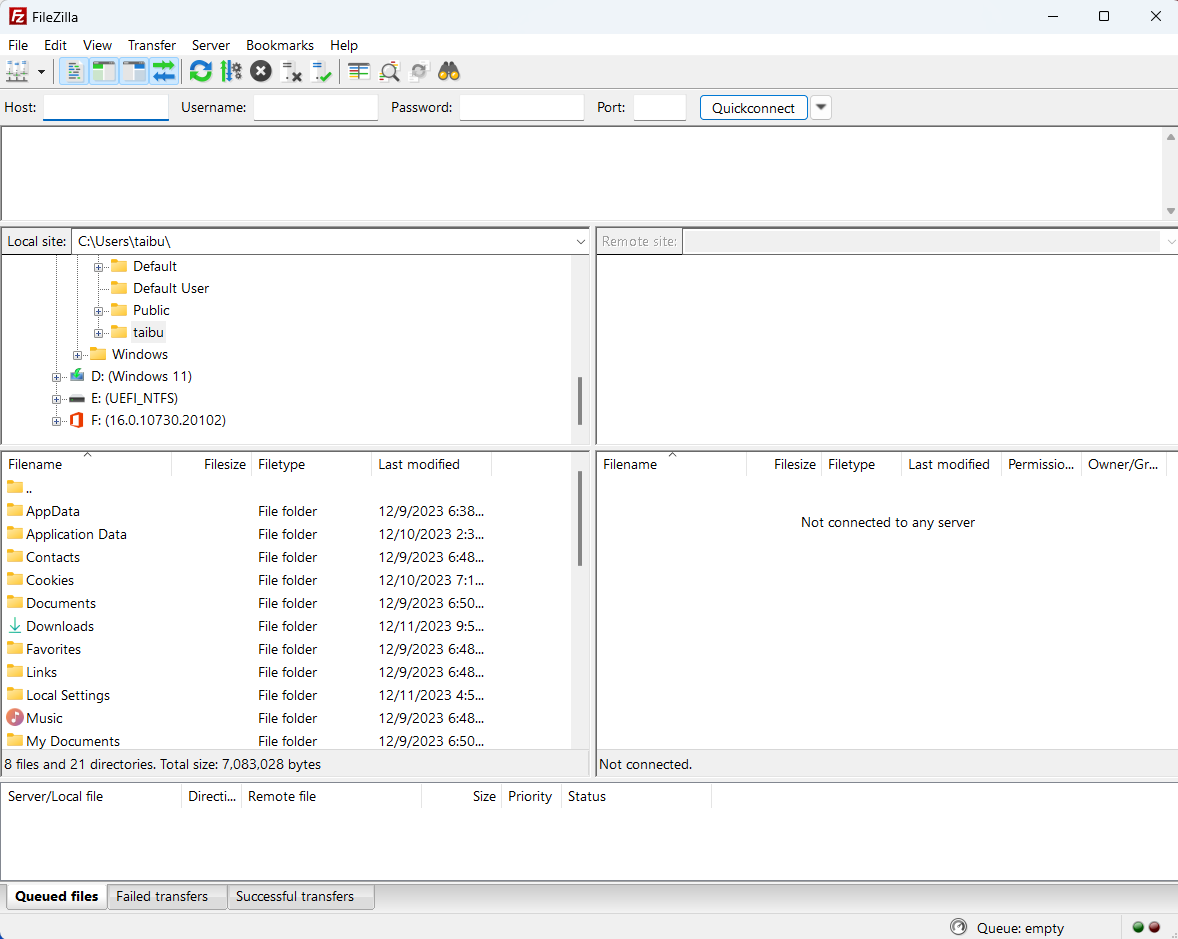
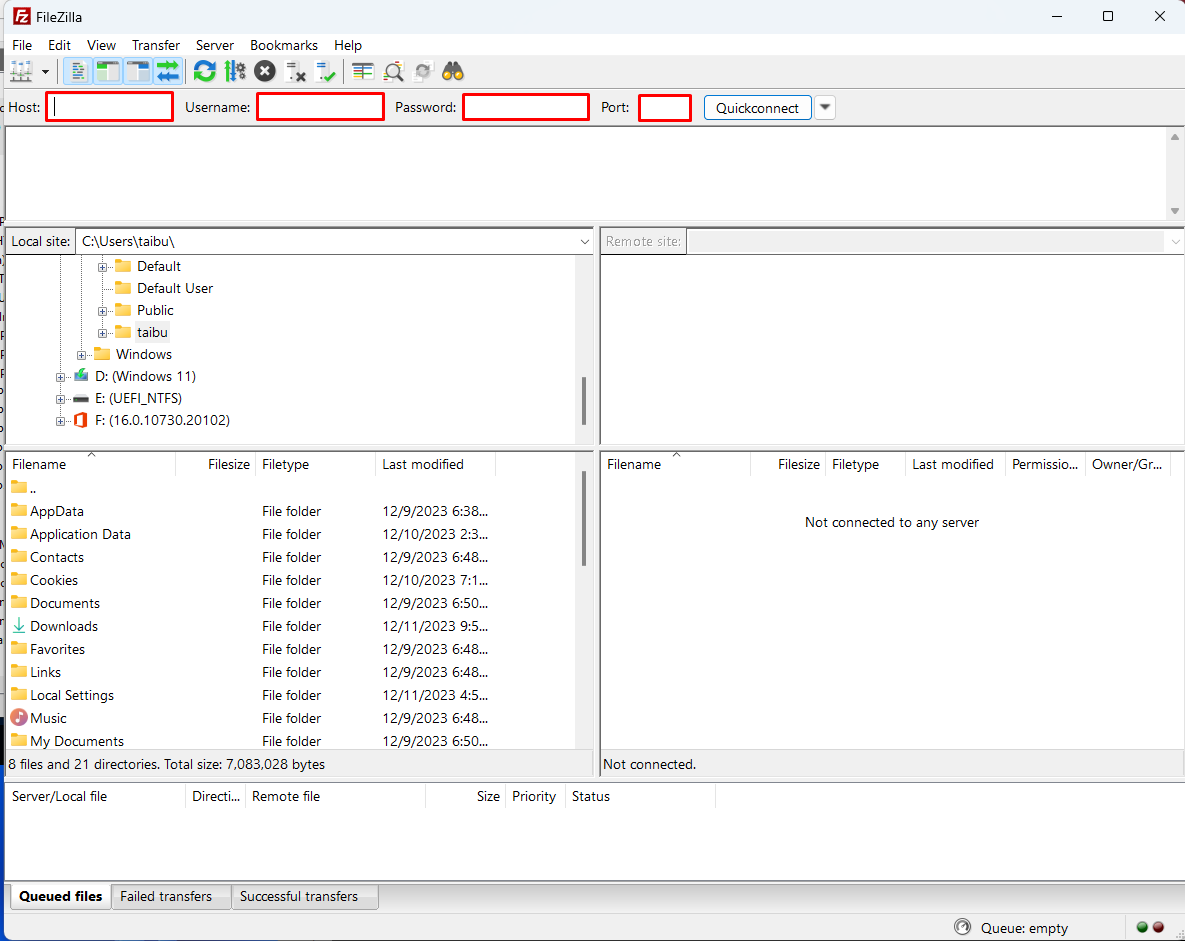
3. Fill in your IP address, username, password and Port 21. In this demonstration, i will use my test server IP 103.27.76.117
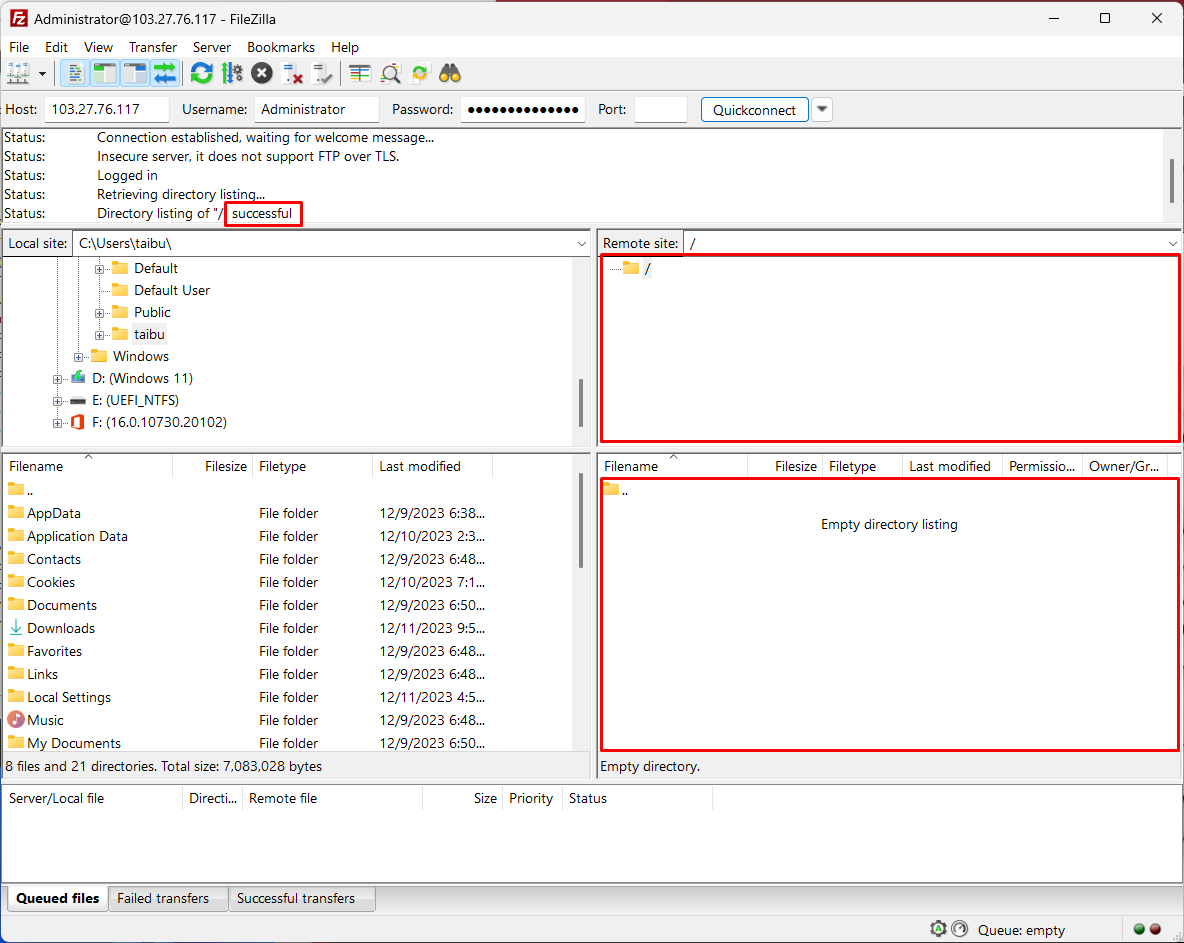
5. You will be able to connect to your FTP server for file sharing, download or upload files
Conclusion
In this article, you have learnt about how to install and configure FTP on Windows server. Using step-by-step instruction given in this article you can setup own FTP server with few clicks.
Hyonix.com is a leading licensed Windows VPS hosting provider and offers services from ready-to-deploy multiple locations. If you have any requirements related to Windows VPS, get in touch with us on: Click Here.