Windows Updates play a great role in security. We always recommend installing updates that are marked as Important. If you are having automatic update installation setting enabled then; you do not need to worry about anything, as Windows install all the updates from the background. For some reason, if your server does not have automatic update installation enabled, you must install all the important updates manually, or set it to automatic according to your preference.
Method 1 – Using Windows Updater
Windows Server 2016 & 2019
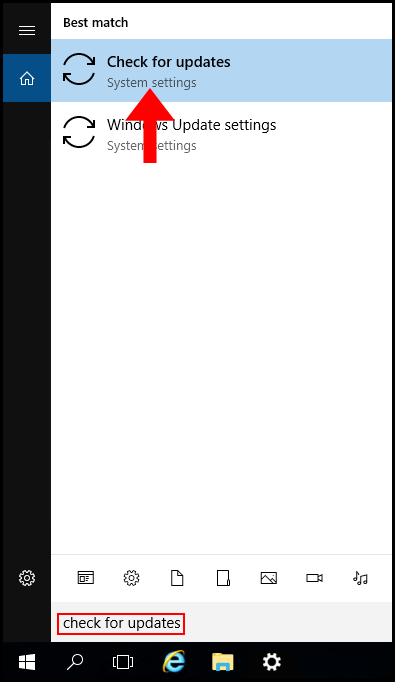
1. First, log in to your Windows Server then search, and open Check for updates.
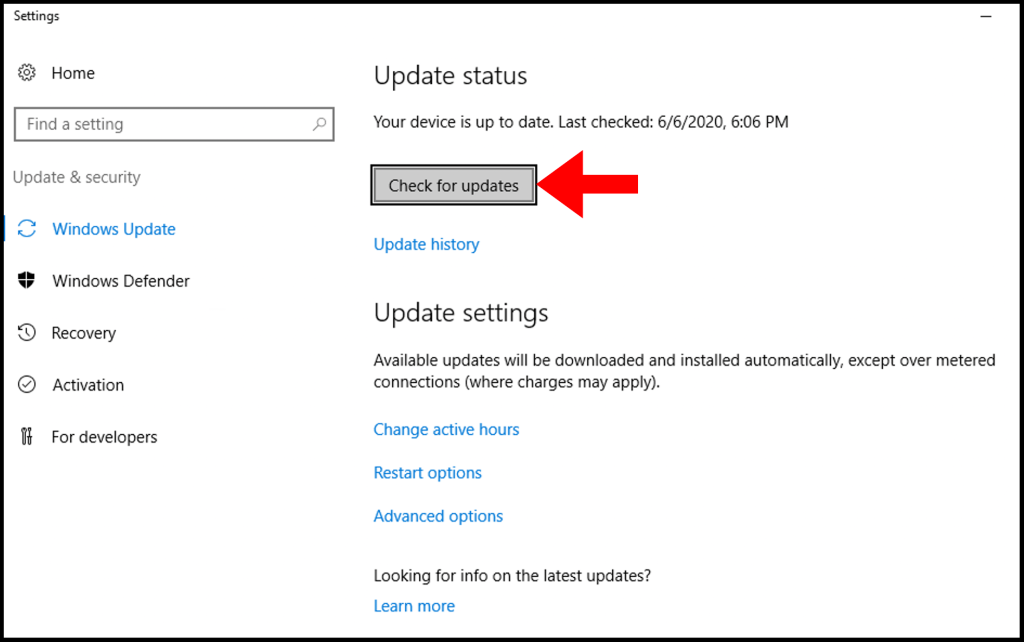
2. Now click Check for updates and Windows will begin to check for updates. Then it will start to download them.
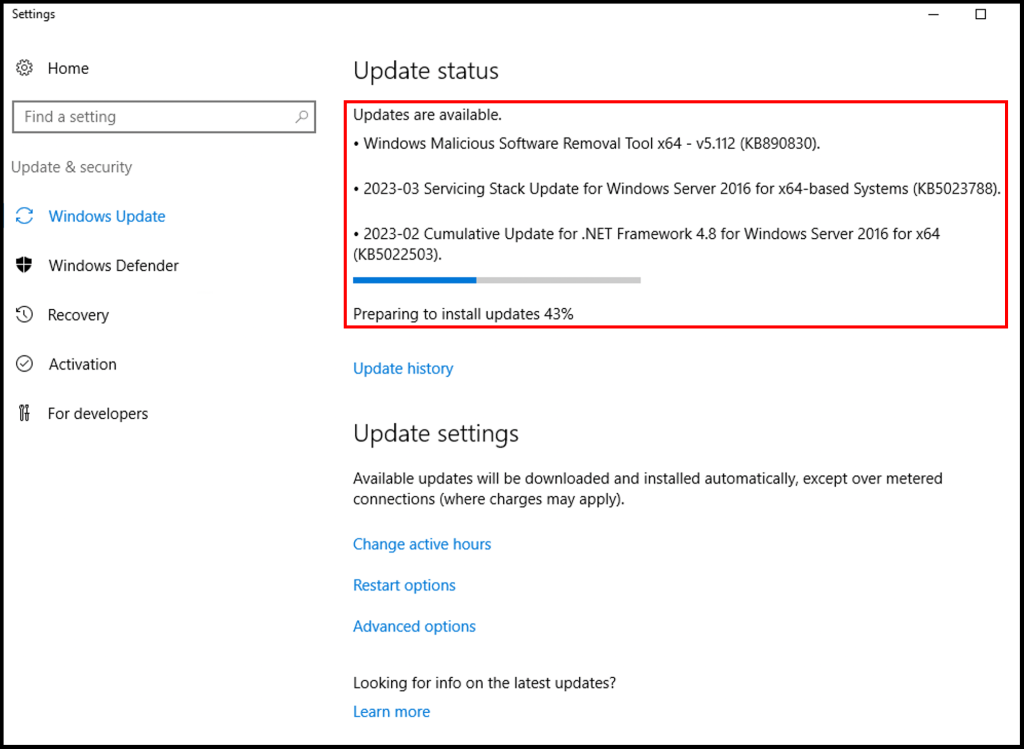
3. After finishing the download, Windows will begin to prepare the update for installation.
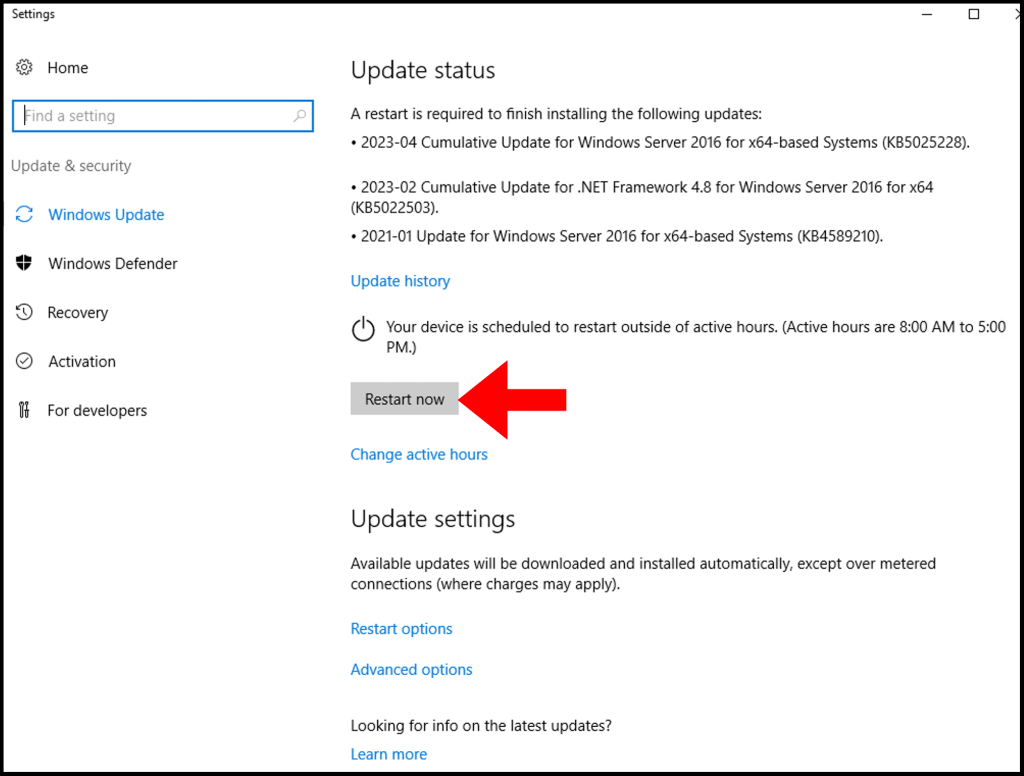
4. Once the installation is done, you will be prompted to restart the server. Click Restart now to complete the update.
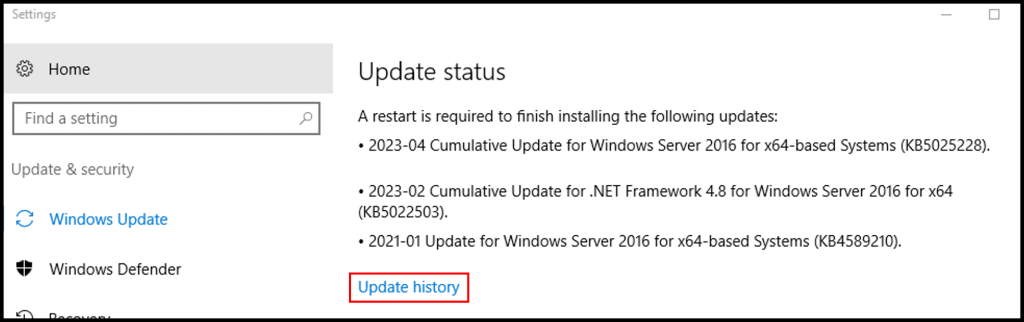
5. (Optional) You can check the recent installed Updates from “Update History“.
Windows Server 2012 R2
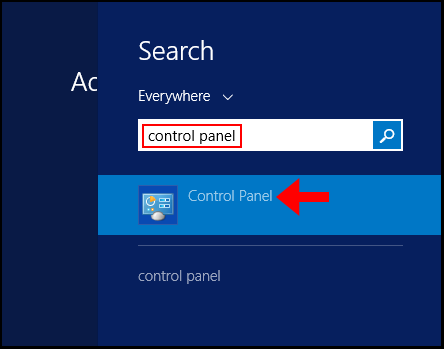
1. First, log in to your Windows Server then search and open Control Panel.
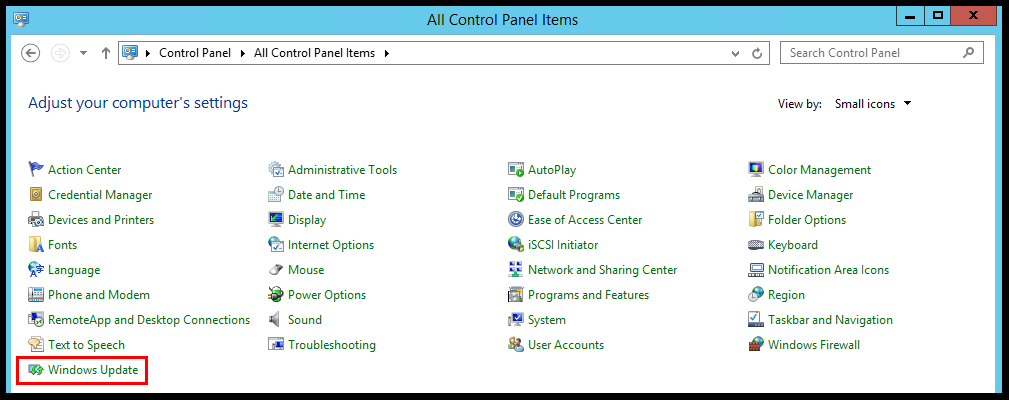
2. Expand the View by dropdown and select Small Icons to enable the view of all the options.
3. Then, click on Windows Update.
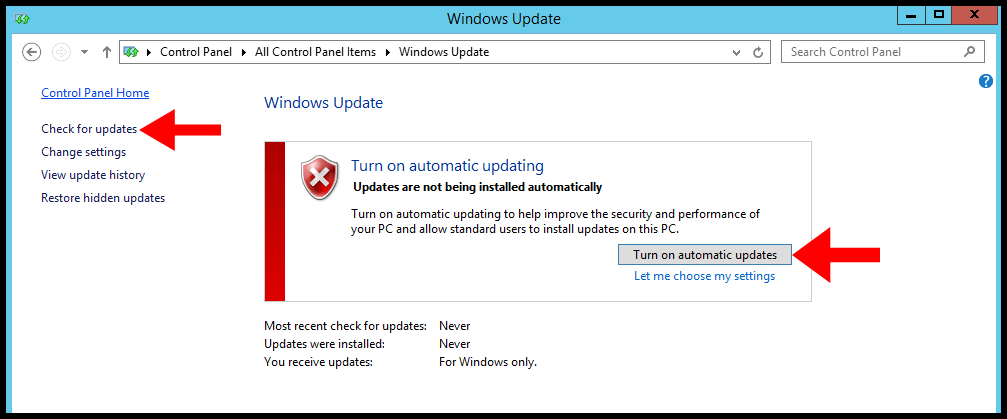
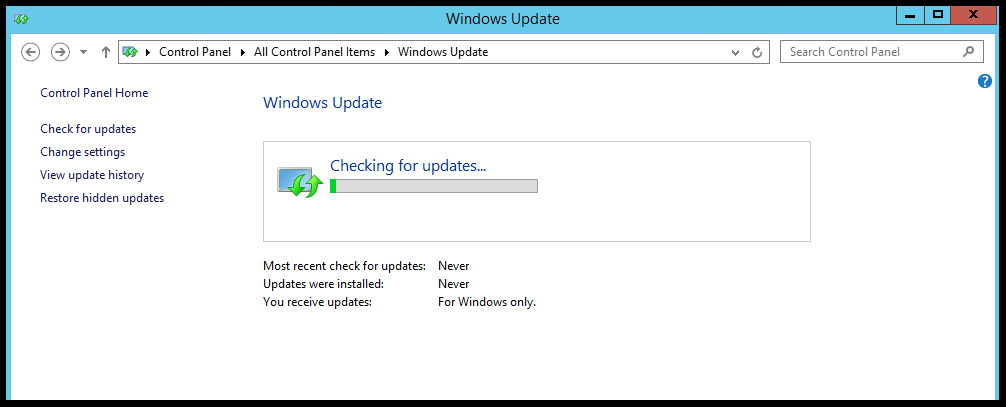
4. In Windows Server 2012 R2, automatic updates are disabled, for that, you need to Turn on automatic updates or click on Check for the updates. Once, you do that, Windows will begin looking for available updates.
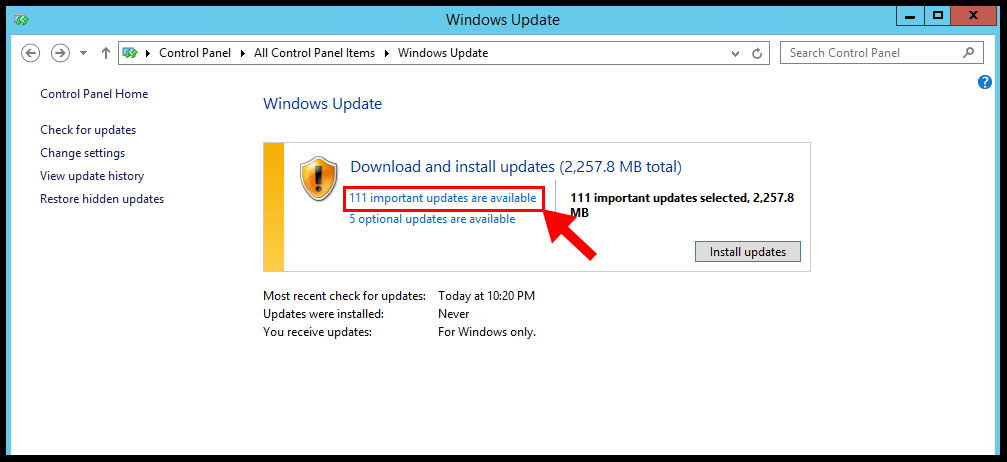
5. Next, Windows will display all the available updates and click important updates are available.
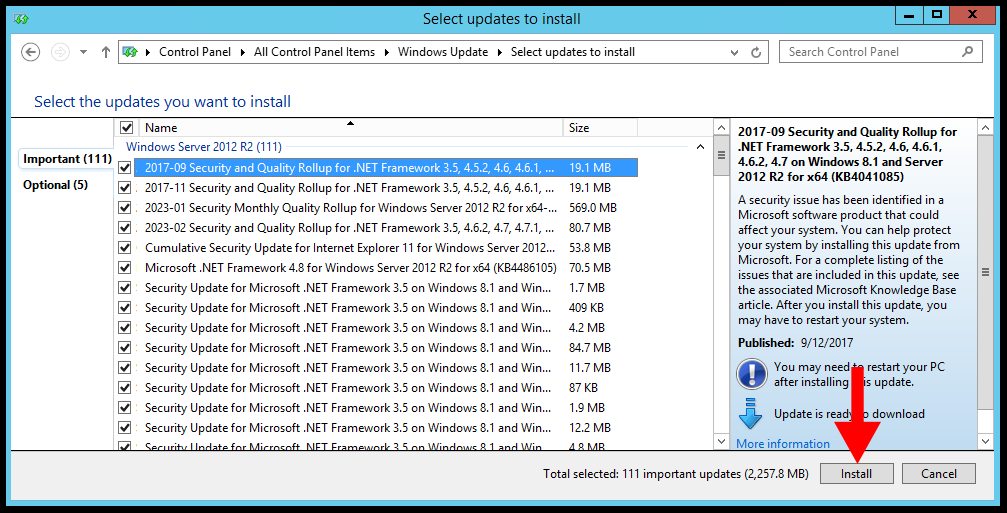
6. Select, all the important updates from the list and click on Install.
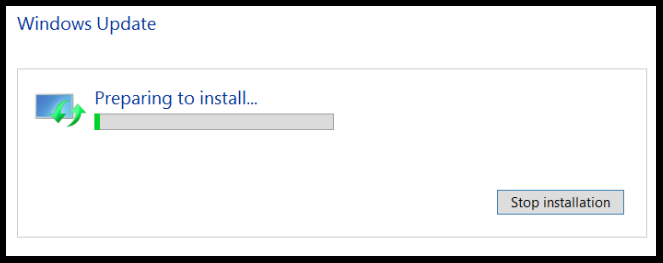
7. Windows will prepare for the installation and instantly starts the installation of selected updates after download,
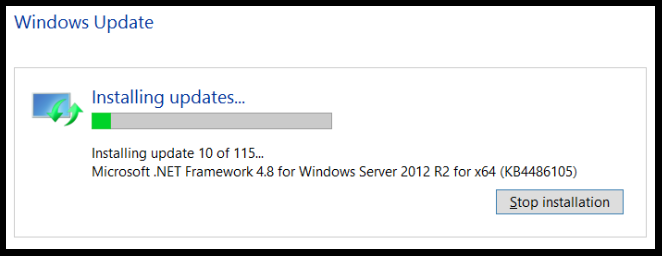
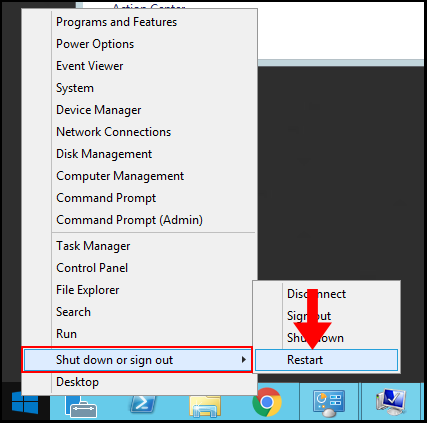
8. Finally, once the installation is done you must reboot the server.
Method 2 – Using Windows Powershell
1. Log in to Windows Server then search and open Windows Powershell.
2. First, we need to check the available updates, for that windows, PowerShell has a separate module, first install the update module using the following command,
Install-Module PSWindowsUpdate3. Once update module installation is done, check the available update using the following command,
Get-WindowsUpdate4. Now, run the following command to install the updates,
Install-WindowsUpdateConclusion
In the article, we went through how to apply windows updates for servers 2012 R2 and 2016. We always recommend updating the windows servers with the latest security patches.
Hyonix was founded in early 2018, as we believed the current pricing of Windows VPS was far too overpriced for most consumers. This makes it nonuser and budget-friendly for many people around the world. Our main goal is to change that – providing powerful licensed Windows VPS at a reasonable price so that everyone can grab one without thinking twice about the performance/price that you will get. Get yourself fully optimized Windows VPS starting @ $6.5/mo from Hyonix.com.