Welcome to this guide on how to add users in your Windows Server. The first step in ensuring secure and efficient access to your server is to add specific users. Once added, you can assign appropriate privileges and even restrict access to specific areas through the properties. By following these steps, you’ll have greater control over who can access your server.
Step 1: Add users in Windows Server via Server Manager
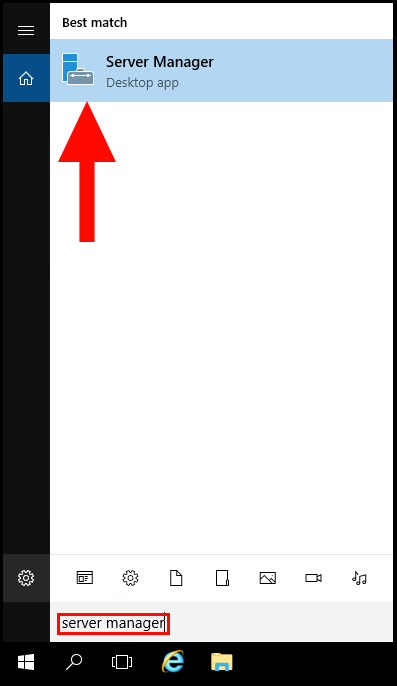
1. To start off, log in to your Windows server and search for Server Manager in the server search bar.
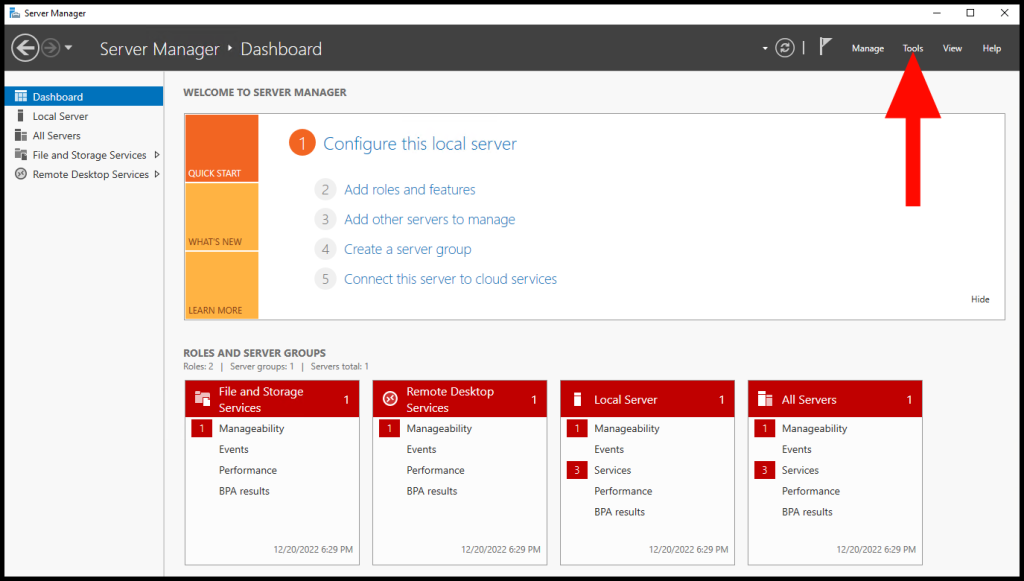
2. On the top right-hand corner, right-click Tools to show more settings.
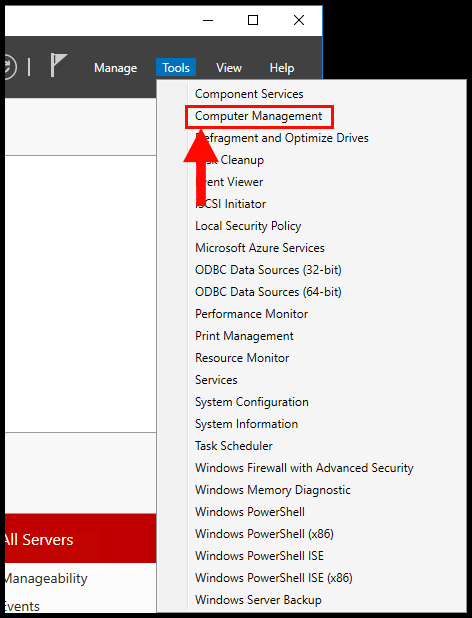
3. From the menu that appears, select Computer Management to proceed.
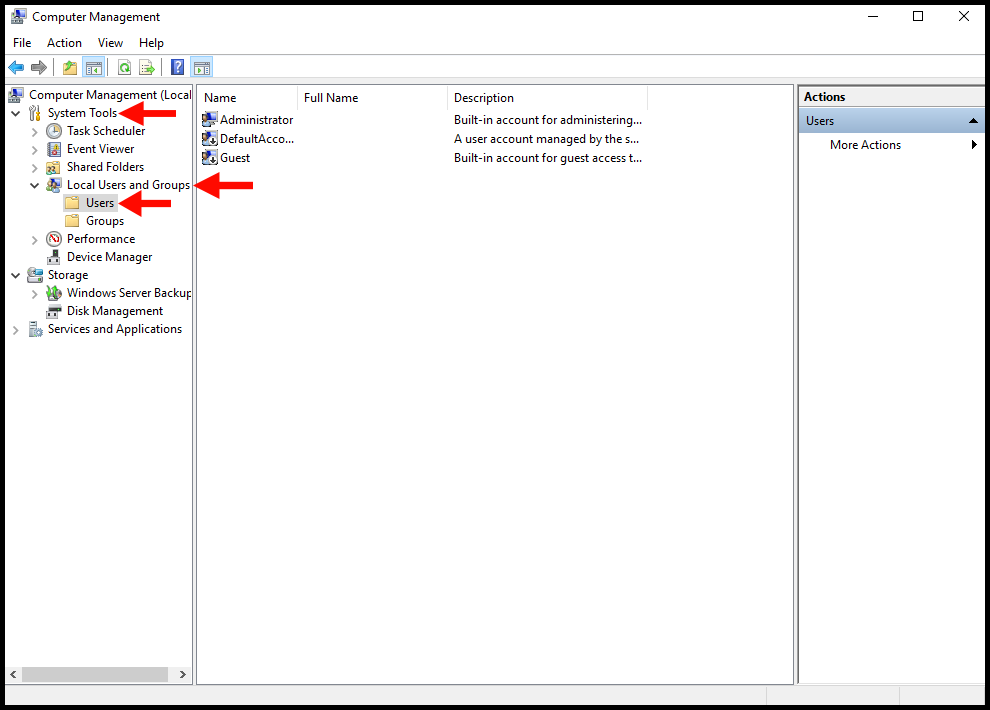
4. After, in the left-hand menu under System Tools expand the Local Users and Groups drop-down menu. Then select the Users option.
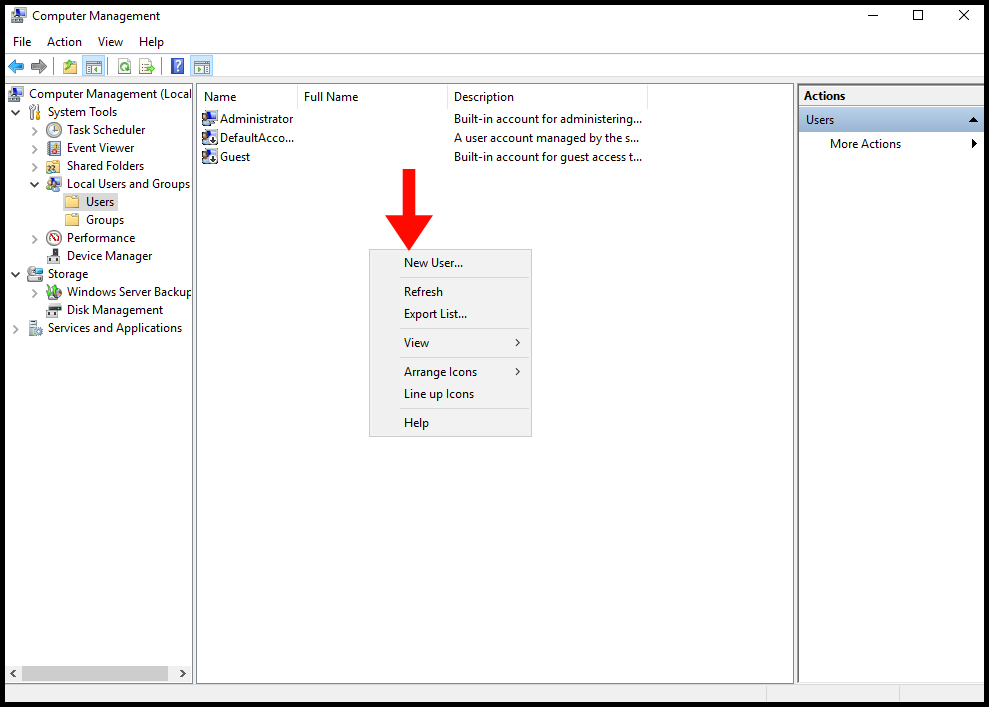
5. Next, right click in the middle of the window and select New User… to proceed.
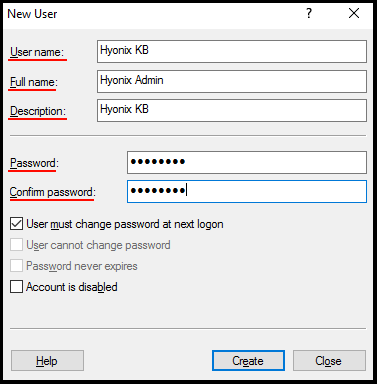
6. Then, the New User window will pop up and you will need to fill in the underlined details. Click Create to move on to the next step.
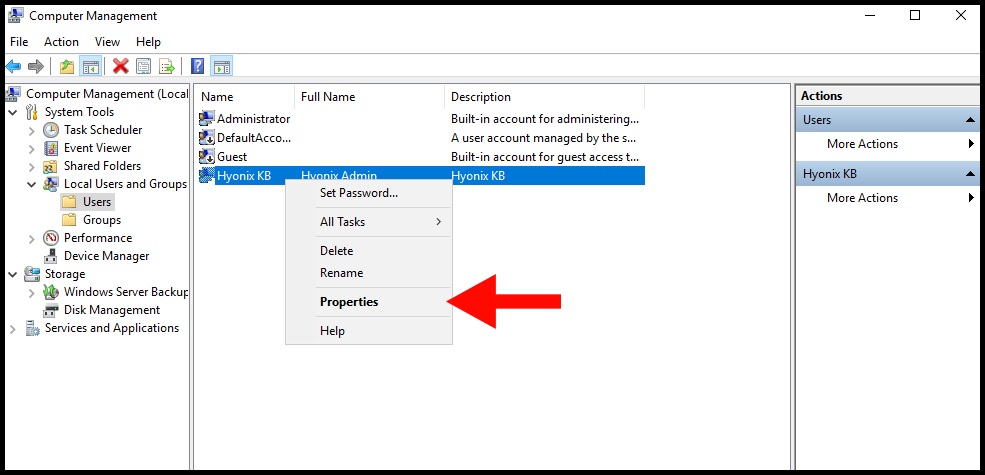
7. You can also change the role of the user by changing the user group policy. First right click on the user, then select Properties.
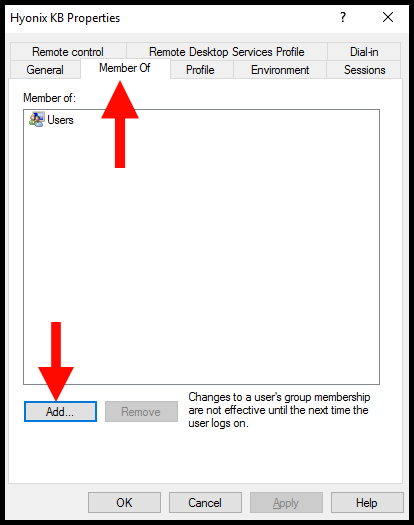
8. Once the Properties window opens, navigate to Member Of tab and select Add…
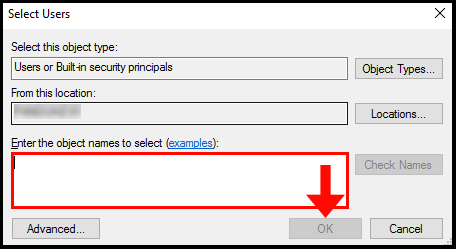
9. Now in the text box under Enter the object names to select, enter Administrators.
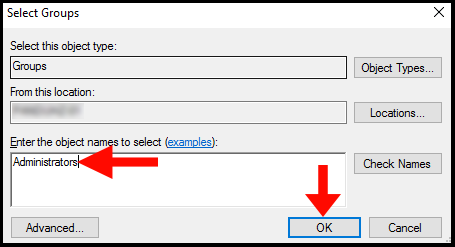
(Note: For this example, we are assigning full administrative privileges for our test user. You can find all the predefined group policies from System Tools → Local Users and Groups → Groups)
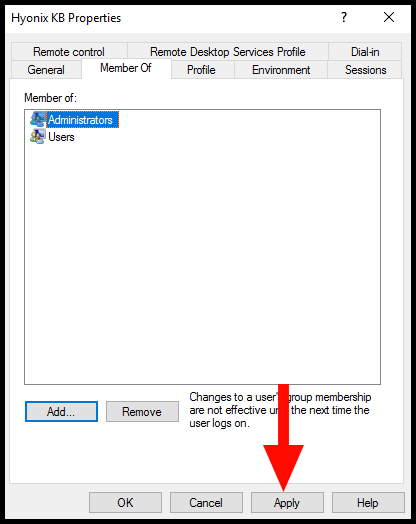
10. Now click on “Apply“→ “Ok” to confirm the changes.
Step 2: Allowing non-administrators to access Remote Desktop
If the user you have created, is not given full administrative access then you will need to follow the below steps in order to allow them to connect to the Remote Desktop.
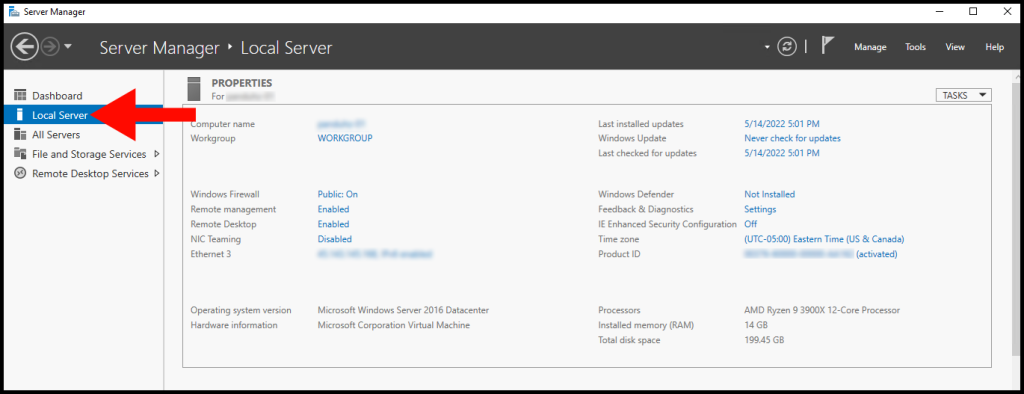
1. To start off, log in to your Windows server and search for Server Manager in the server search bar.
2. On the left-hand menu, select Local Server.
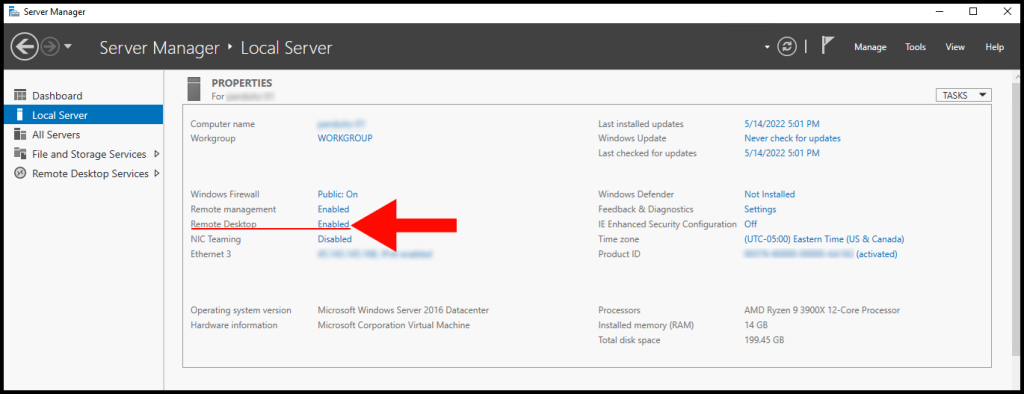
3. Then, select Enabled next to Remote Desktop.
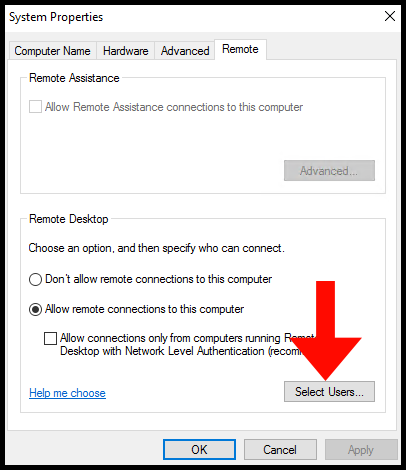
4. The System Properties window will then appear. Select the button labeled Select Users… to proceed.
5. The Remote Desktop Users window will pop up and then select Add… to proceed.
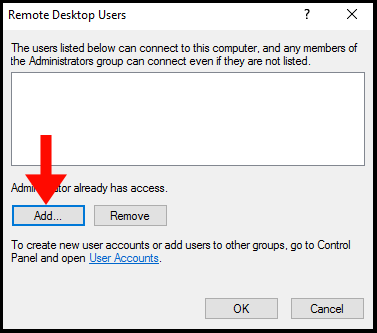
6. Lastly, in the text field under Enter the object names to select you will enter the User Name of the user you want to allow to connect to the Remote Desktop. Then select OK and you are done.