You may get the Your Remote Desktop Services session has ended error when you try to use a remote desktop after updating your Windows 11/10 computer.
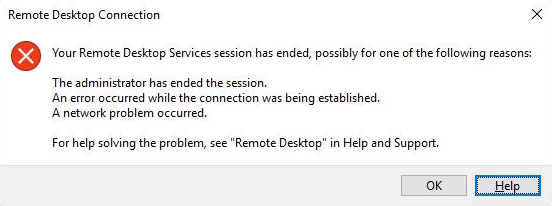
Your Remote Desktop Services session has ended, possibly for one of the following reasons:

The administrator has ended the session.
An error occurred while establishing the connection.
A network problem occurred.
The solutions we have presented below can help you resolve the issue.
I. On Hyonix Panel
Restart Windows VPS using Hyonix Portal
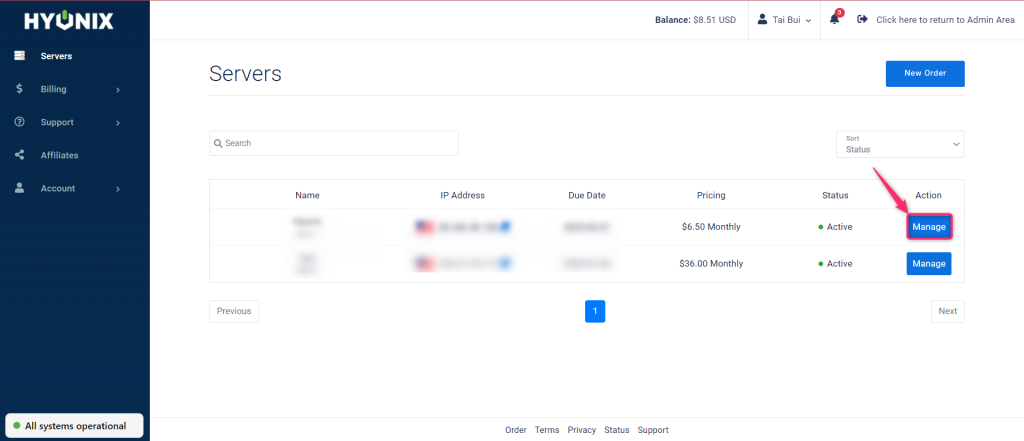
1. Log in to the Hyonix Portal with your registered email address and password.

2. Navigate to the server settings by clicking on “Manage“ as shown below.
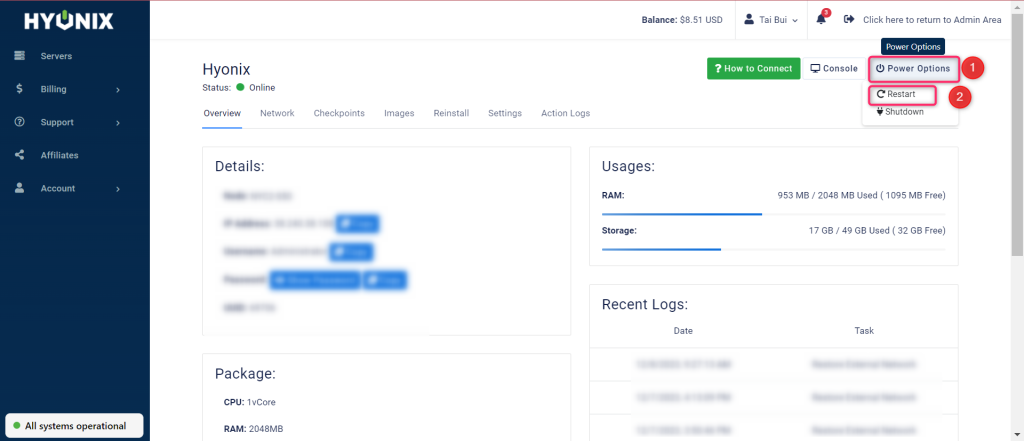
3. Now click on Power Options as shown in the image, then select Restart to proceed with restarting your Windows VPS.
The restart will take about 30 seconds. You will be disconnected from the VPS if you are already connected to it.
II. On your Local computer
1. Disable the WDDM graphics driver
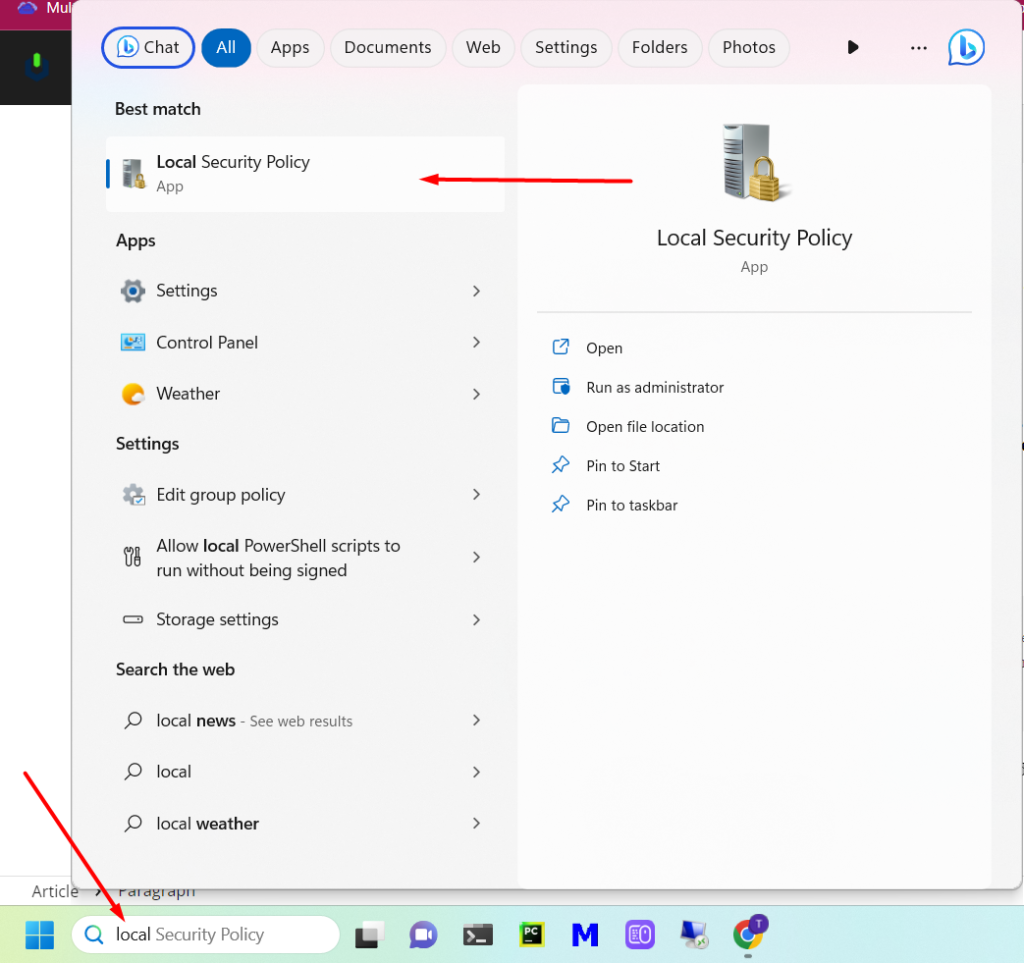
Step 1: Open Local Group Policy Editor on your computer by typing Local Security Policy in the Windows search or using the key combination [ Windows ] + R to open the Run dialog box, then type gpedit.msc
Step 2: Next, navigate to the path below:
Computer Configuration > Administrative Templates > Windows Components > Remote Desktop Services > Remote Desktop Session Host > Remote Session Environment

Step 3: On the right pane, double-click on Use WDDM graphics display driver for Remote Desktop Connections to edit its properties.
Now, set the radio button to Disabled.
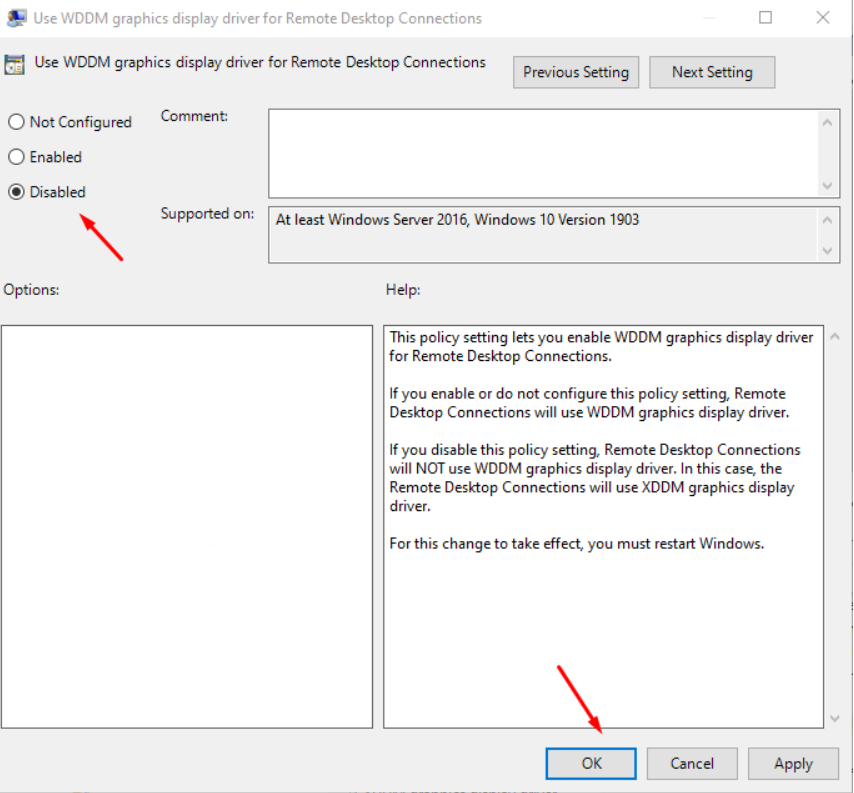
Step 4: Click Apply > OK to save the changes -> Exit the Local Group Policy Editor.
Step 5: Restart your computer and then remote to your server again.
2. Disable UDP (User Datagram Protocol)
Step 1: Open Registry Editor

Step 2: Navigate or jump to the registry key path below:HKEY_LOCAL_MACHINE\SOFTWARE\Policies\Microsoft\Windows NT\Terminal Services\Client
At the location, on the right pane, double-click the fClientDisableUDP entry to edit its properties.
If the key is not present, right-click on the blank space on the right pane and then select New > DWORD (32-bit) Value to create the registry key, and then rename the key accordingly and hit Enter.
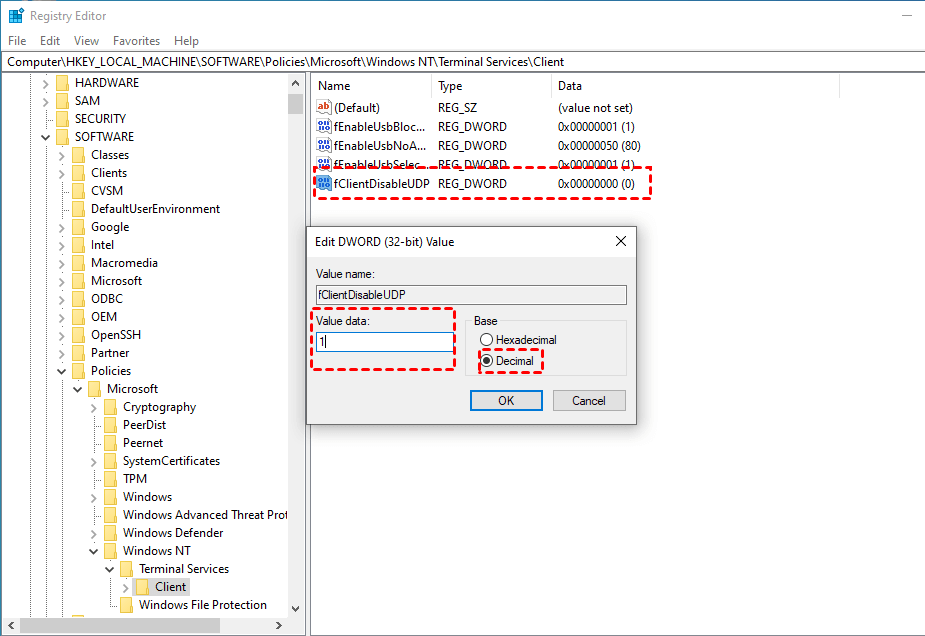
Step 3: Type 1 in the Value data field -> Click OK or hit Enter to save the change -> Exit Registry Editor.
Step 4: Restart your computer and reconnect to your server again.
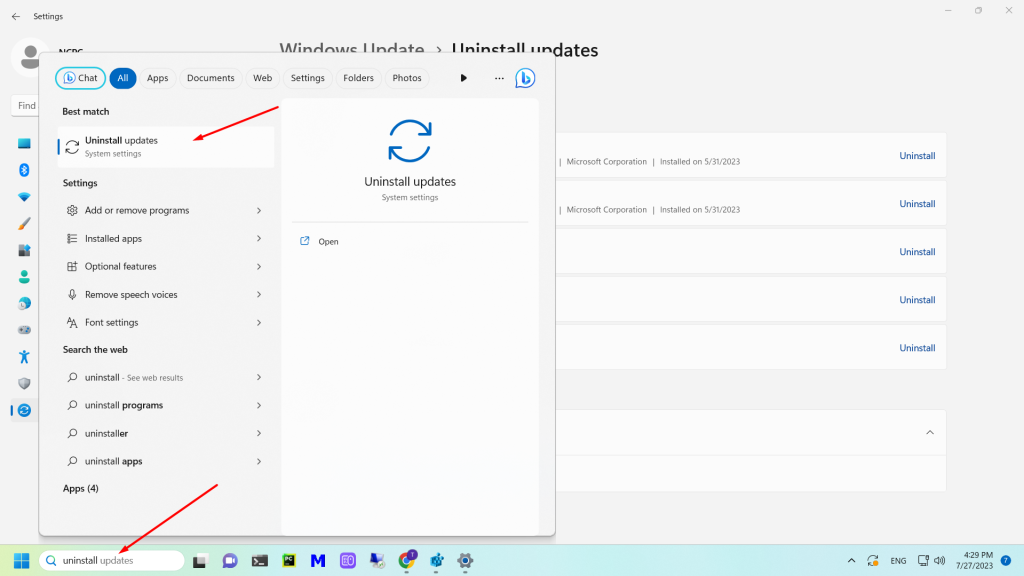
3. Uninstall the recent Windows update
If you started experiencing the issue after you recently updated the machine, then in this case, to resolve the issue, you can uninstall the Windows update. Alternatively, you can perform System Restore.
4. Disable automatic login
Step 1: Open Registry Editor
Step 2: Navigate or jump to the registry key path below:HKEY_LOCAL_MACHINE\SOFTWARE\Microsoft\Windows NT\CurrentVersion\Winlogon
At the location, on the right pane, locate and double-click the ForceAutoLogon entry to edit its properties.
If the key is not present, right-click on the blank space on the right pane, select New > DWORD (32-bit) Value to create the registry key, and then rename the key accordingly, and hit Enter.
Double-click on the new entry to edit its properties.
Input 0 in the Value data field.
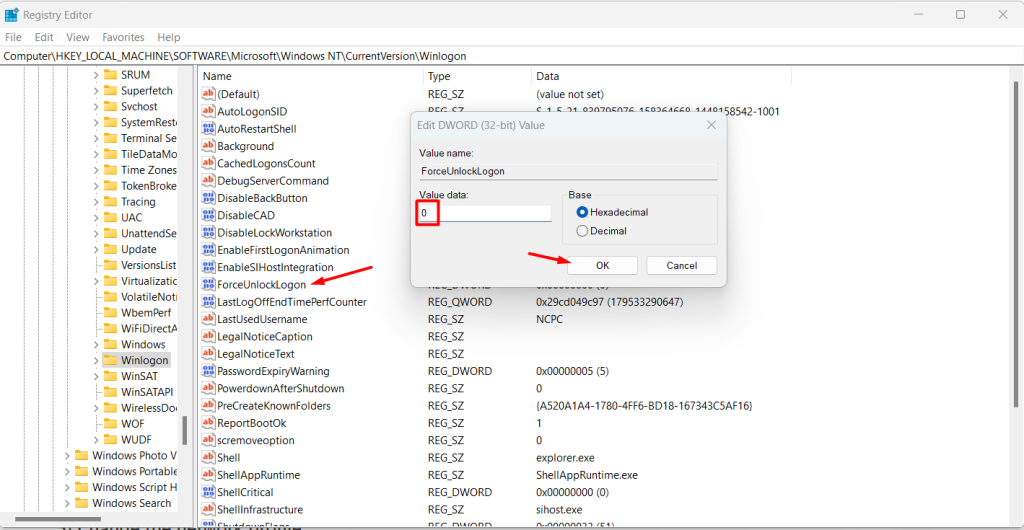
Step 3: Click OK or hit Enter to save the change -> Exit Registry Editor.
Restart the machine.
Step 4: Restart your computer and reconnect to your server again.