As the contemporary internet continues to develop, the probability of exposing personal data or identity online is progressively escalating. It is imperative to prioritize the protection of one’s identity in such circumstances. Fortunately, several measures can be implemented to achieve this, including the utilization of a VPN, as well as a proxy server.
What is a Proxy Server
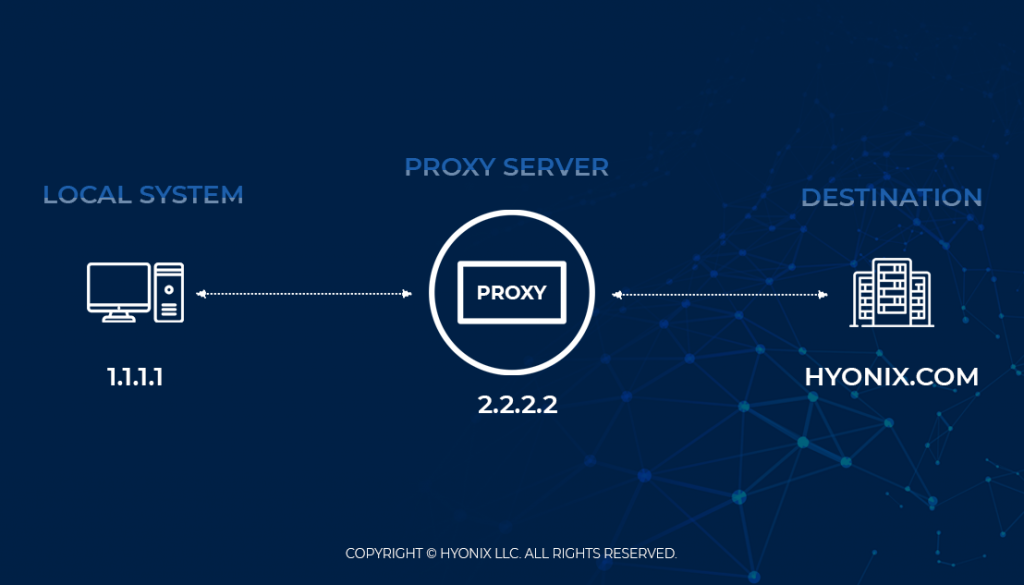
A proxy server acts as an intermediary between your network and the intended destination. For instance, when accessing Hyonix.com from the local system with a network address of 1.1.1.1, direct exposure of the network address to the destination is inevitable. However, this is where a proxy server comes into play. By configuring a proxy server, such as 2.2.2.2, on the local computer and connecting it to the network, all requests made to Hyonix.com will be routed through the proxy server. Similarly, all incoming requests from Hyonix.com will also be received via the proxy server. The diagram below illustrates this concept for a better understanding.
Setting Up a Proxy in Windows
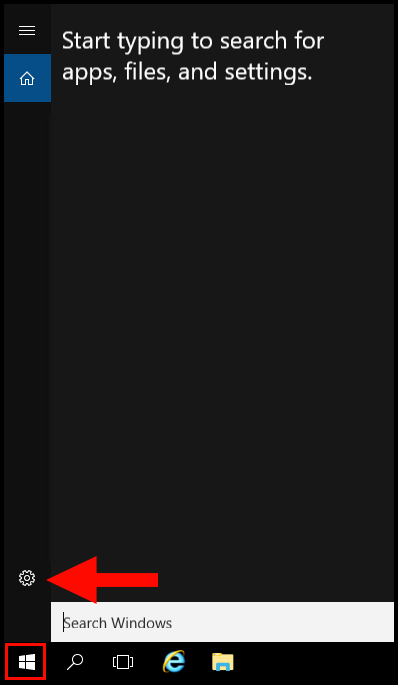
1. To start off, log in to your Windows server and navigate to the settings.
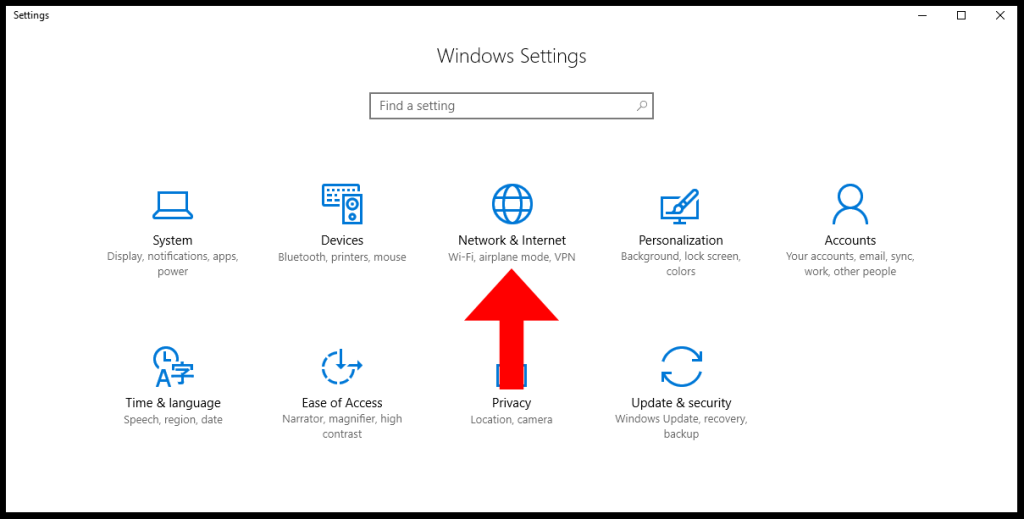
2. Next, navigate to Network & Internet as shown below.
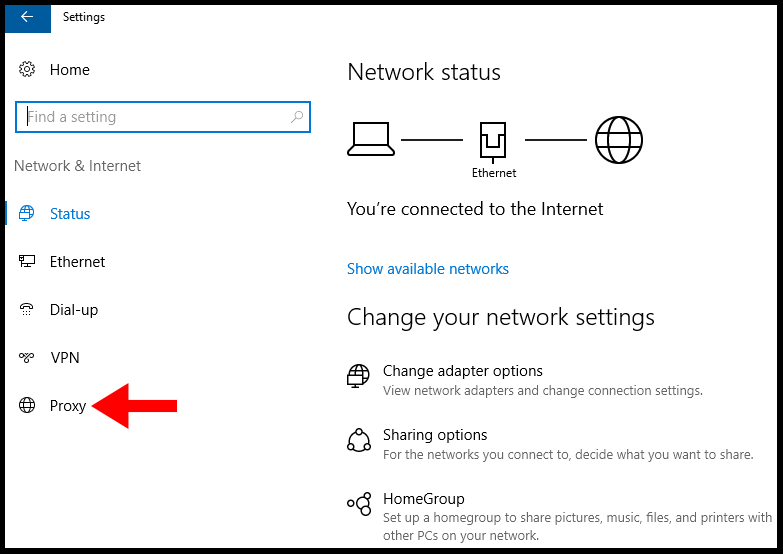
3. Then, navigate to Proxy on the left-hand side.
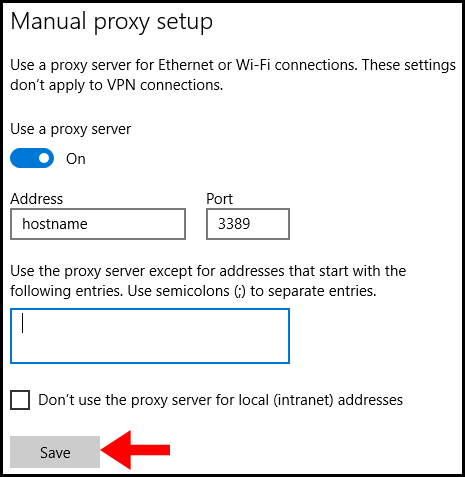
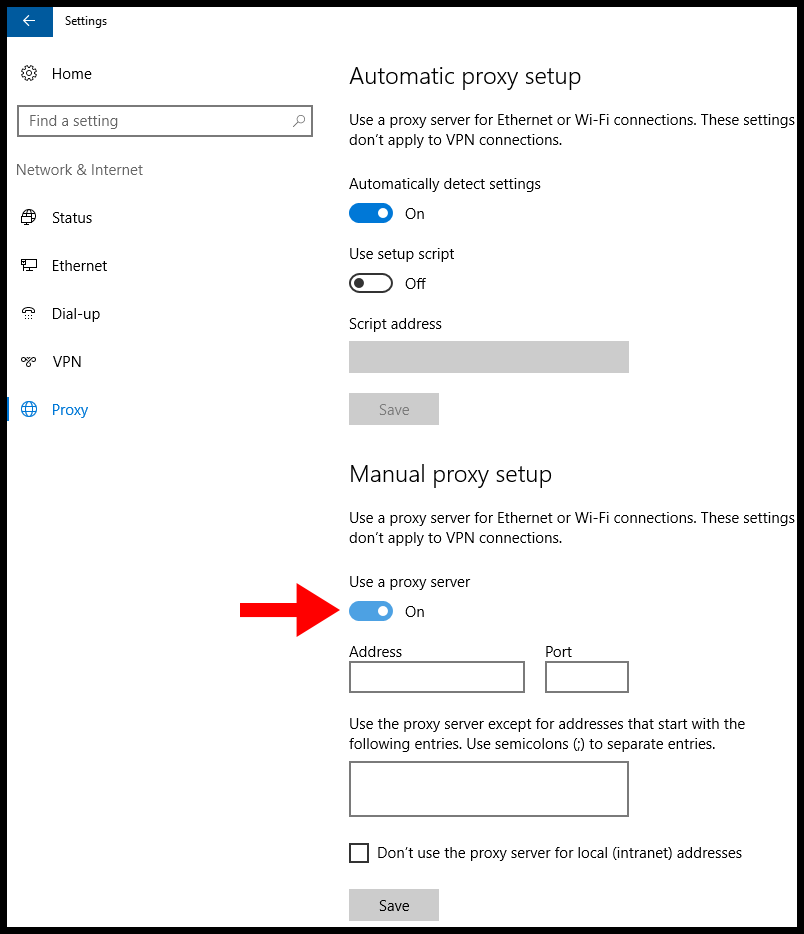
4. Under Manual proxy setup turn on Use a proxy server then move onto the next step.
5. Enter the required details,
Address: Enter the proxy server IP address or a hostname.
Port: Specify the proxy port.
If you want to avoid using a proxy for a specific address, enter those addresses in the text box.
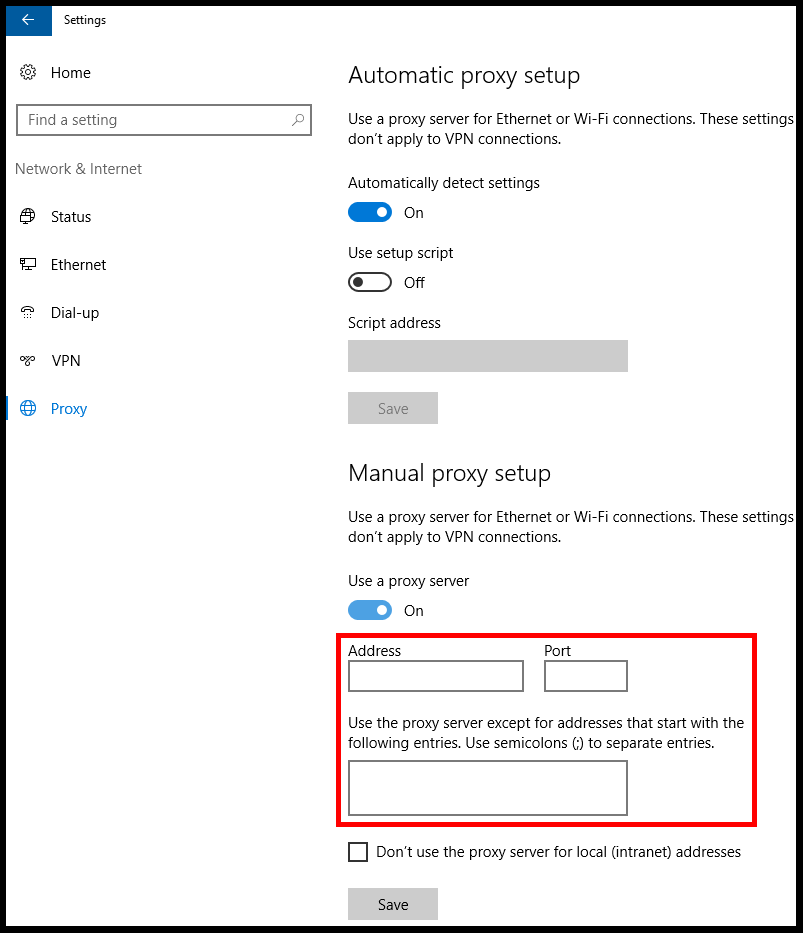
6. Lastly, click Save and you have successfully set up a proxy on your Windows VPS.