Please go through each steps. If you solve the problem in the first steps, you do not need to follow the following steps. For example, if you have solved the problem in step 1, you do not need to continue with steps 2,3,4,..
Step 1: Check your server resources (RAM/CPU)
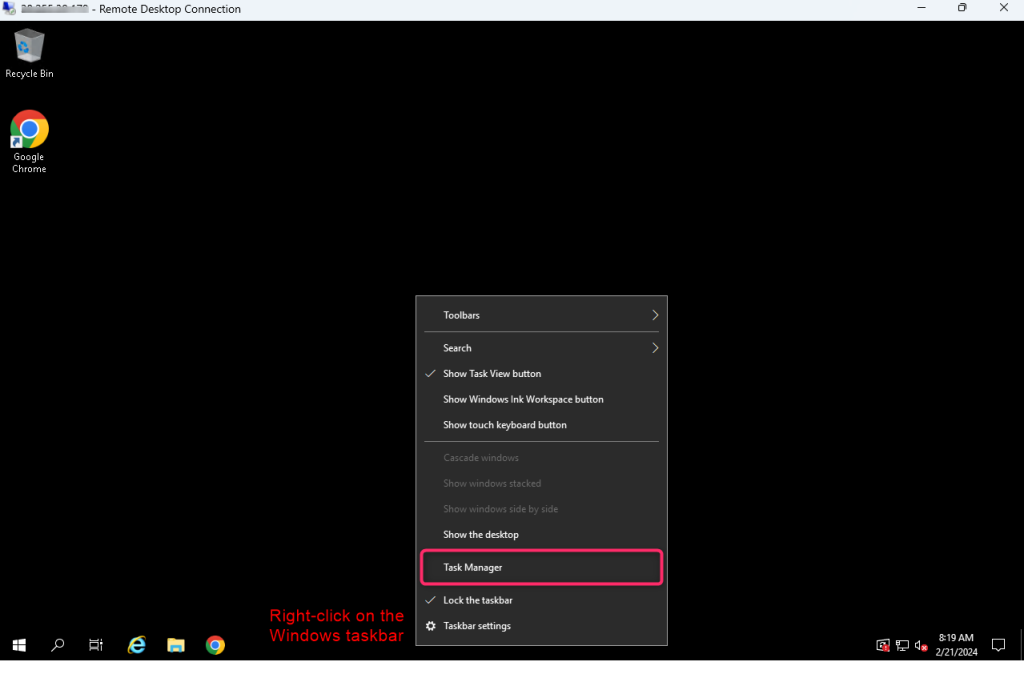
1. Login to your Windows server.
2. Open Task Manager by right-clicking on the Windows taskbar -> Task Manager -> Processes or Performance to see if RAM/CPU reaches its limit or not.
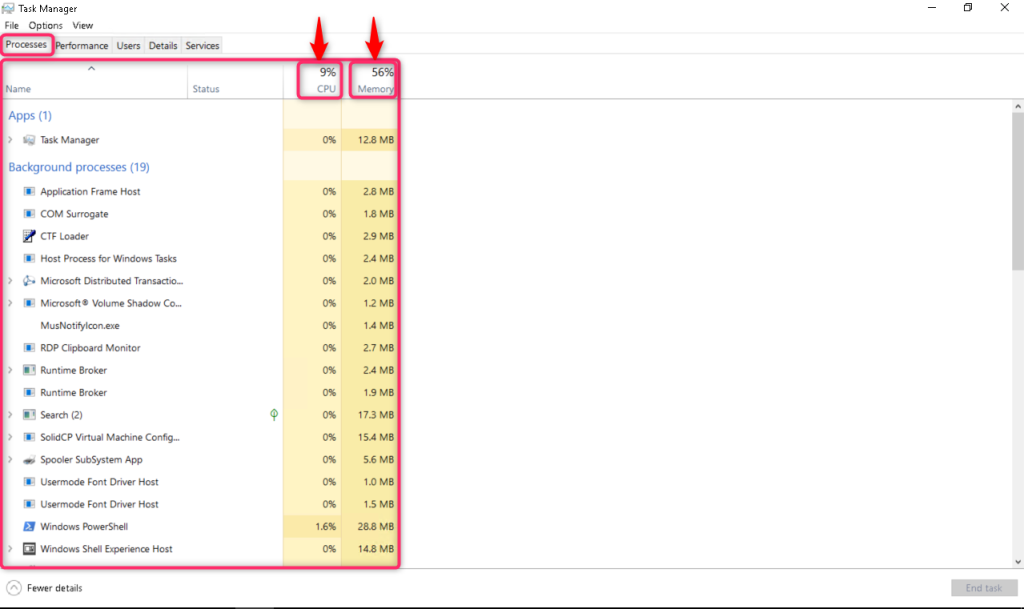
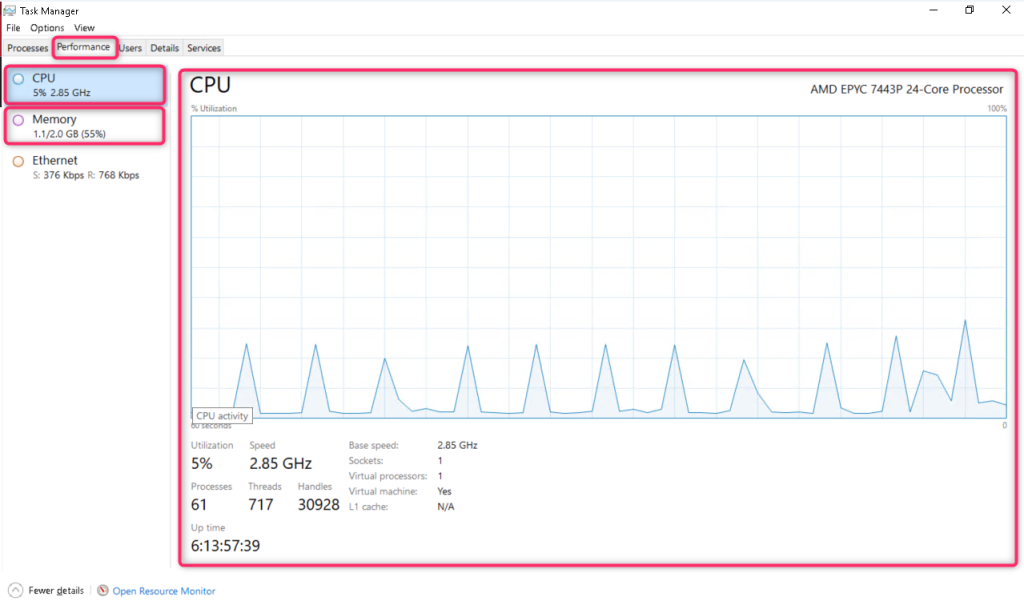
– If RAM/CPU reaches its limit (above 85%), please lower your usage or upgrade your server to a higher package. If you would like to upgrade your server to a higher package, please let us know on a ticket so we can give you further assistance on this.
– If RAM/CPU does not reach its limits (below 85%), it’s very likely that it’s due to the visual lag/network issue (weak connection between your local computer and our server). Please folow step 2 to improve the network connection.
Step 2: Check your local network
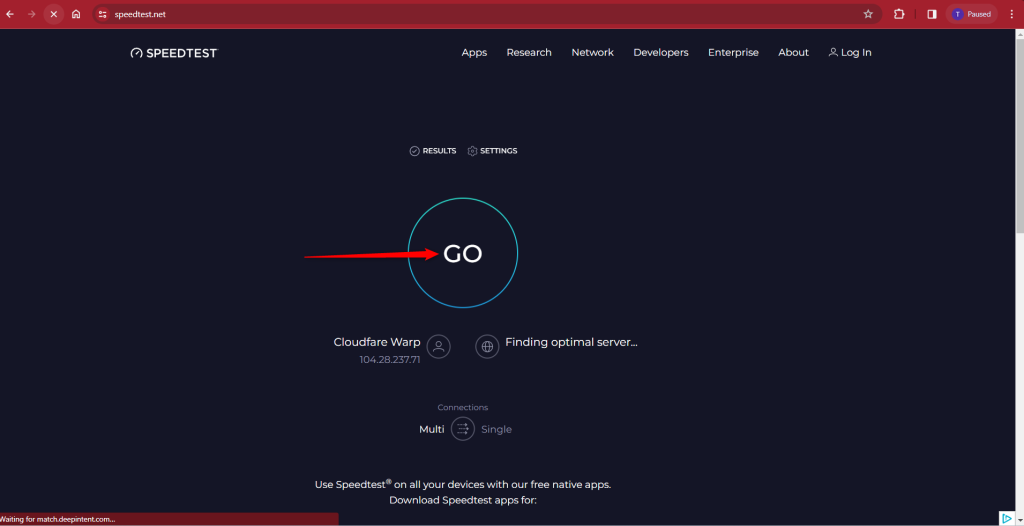
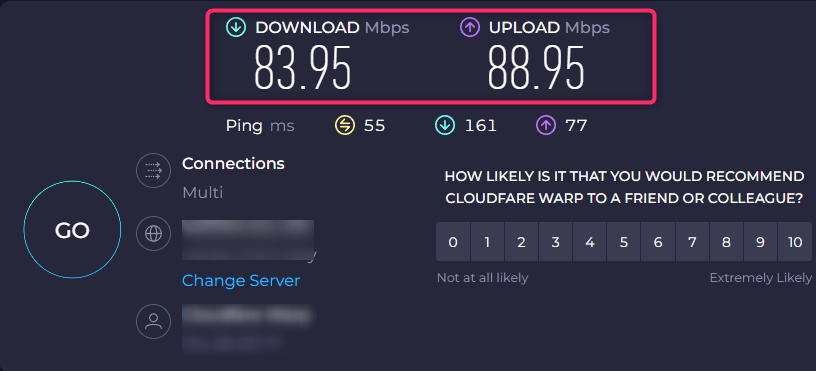
1. On your local computer, please access https://www.speedtest.net/ and click GO. The result lower than 20 Mbps can be considered “very bad” and can impact your online experience.
2. On your local computer, ping servers like Cloudflare DNS (1.1.1.1) or Google DNS (8.8.8.8). These are known for their reliability.
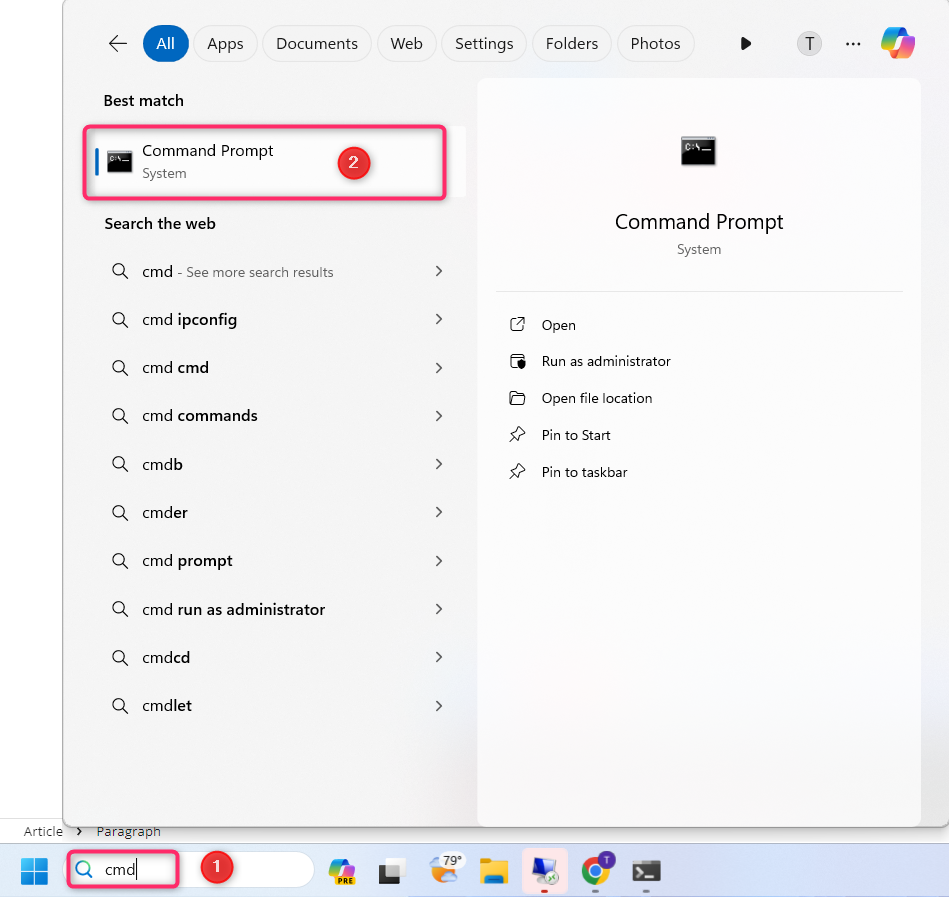
This can be done by opening cmd on your local computer.
Enter ping 1.1.1.1 and hit Enter. Wait for the result
Enter ping 8.8.8.8 and hit Enter. Wait for the result
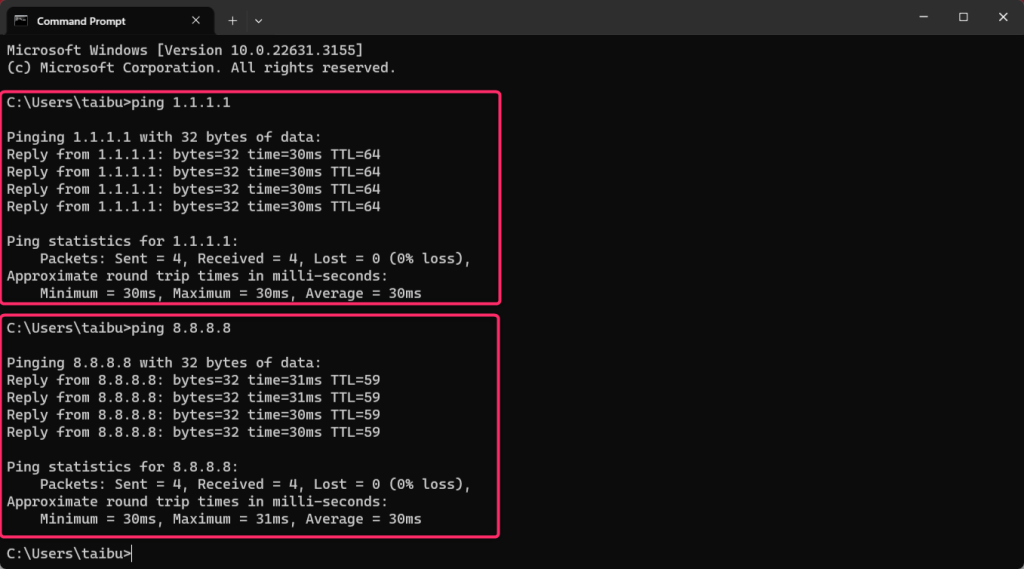
If the ping is timed out, it indicates a significant network issue. Expect to experience packet loss, causing lag and delays in online activities.
-> Based on the result from 1 and 2:
– If your local network is weak (the result from Speedtest is below 20 Mbps or ping 1.1.1.1 or 8.8.8.8 is timed out), please try using an entire different/stronger network (such as 4G/5G, or a different Wifi network) to remote to your server again.
– If your local network is already strong (the result from Speedtest is above 20 Mbps or ping 1.1.1.1 or 8.8.8.8 is not timed out), and the slow/lag issue persists, please follow step 3
Step 3: Run CloudFlare WARP on your local computer
CloudFlare WARP can potentially improve your internet speed by connecting you to Cloudflare’s global network of servers, which are often closer to you than your regular internet service provider’s servers.
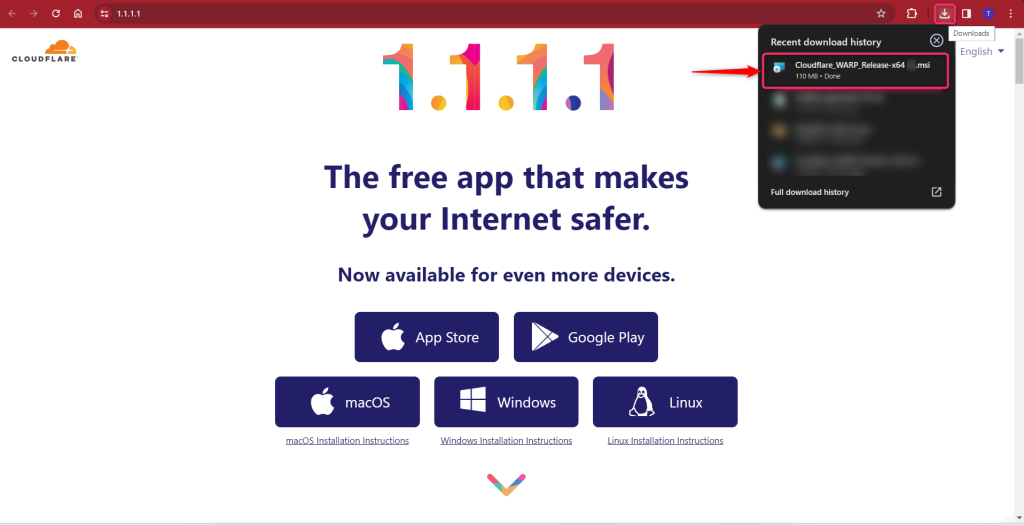
1. Access https://1.1.1.1/ and download the version that suitable for your local computer’s operating system
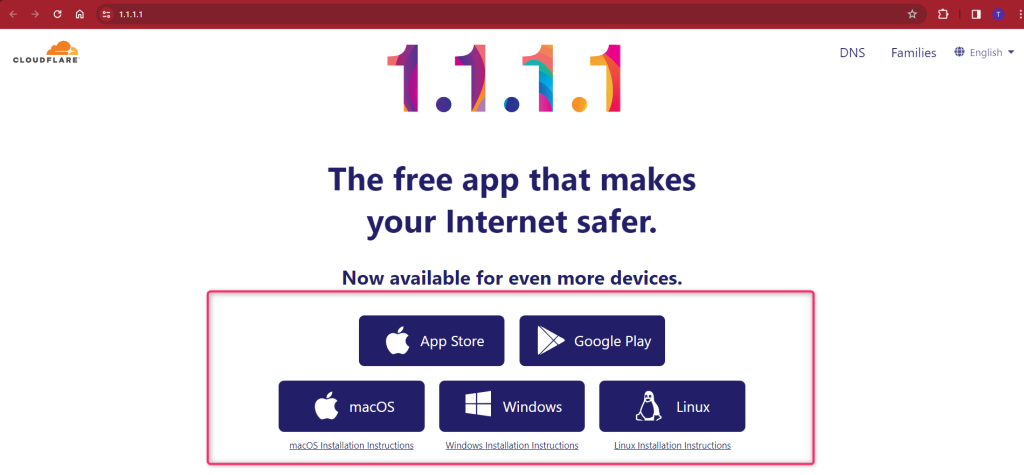
For this demonstration, we will choose Windows because our local PC’s operating system is Windows
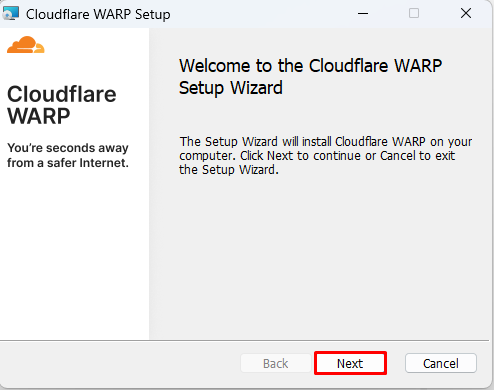
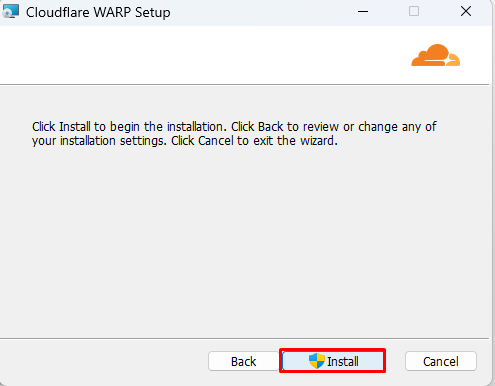
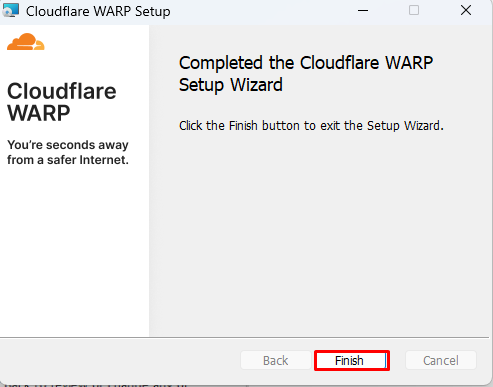
2. Install CloudFlare WARP on your local computer
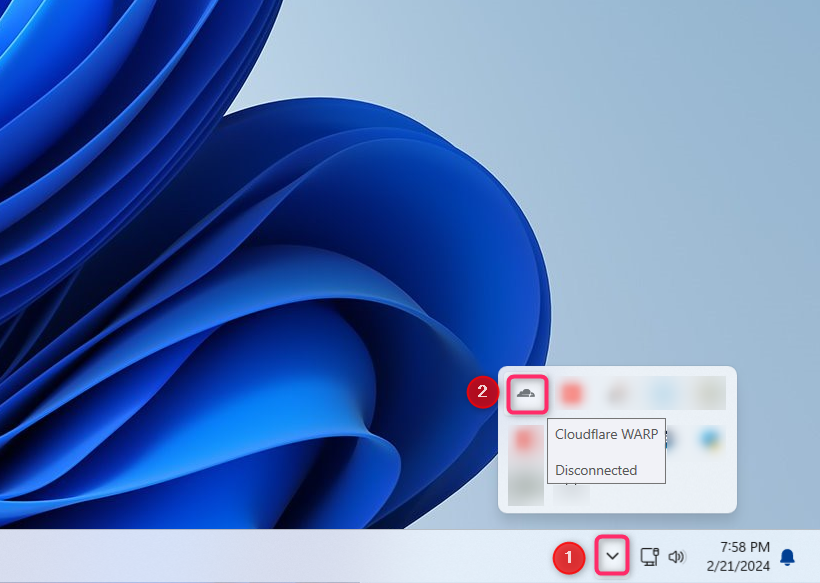
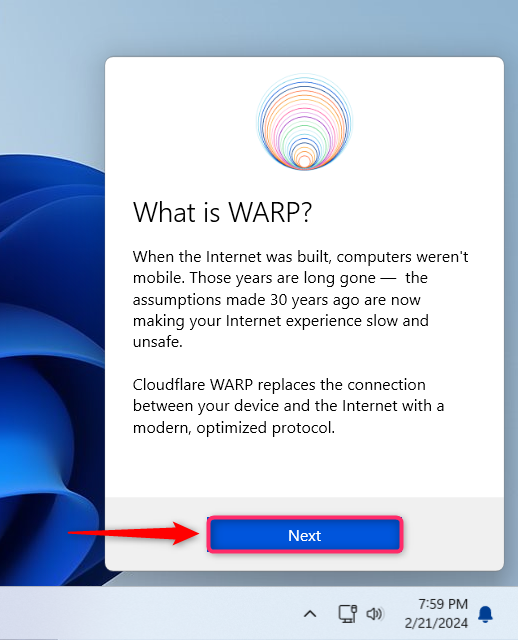
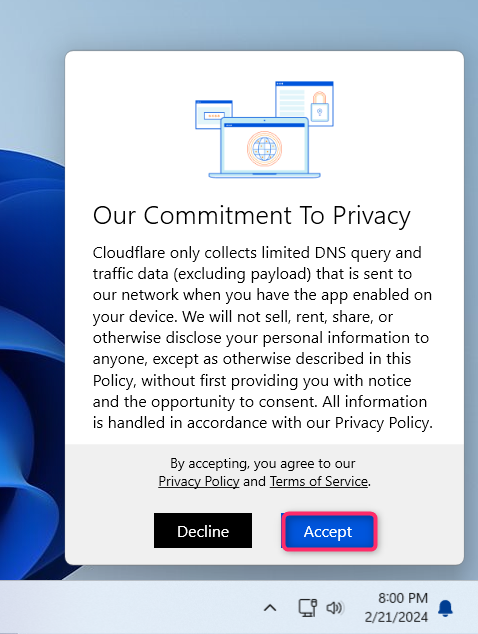
3. Open CloudFlare WARP
4. Enable CloudFlare WARP
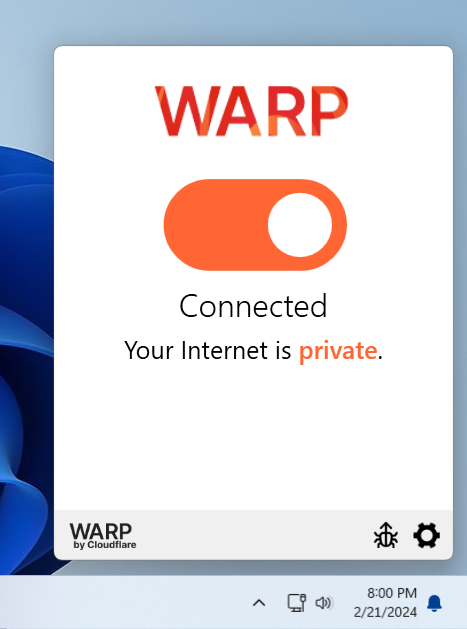
Then remote to your server again to see if the slow/lag issue persists.
If the slow/lag issue persists, please follow step 4
Step 4: Enable UDP
To enable UDP, please follow the below steps:
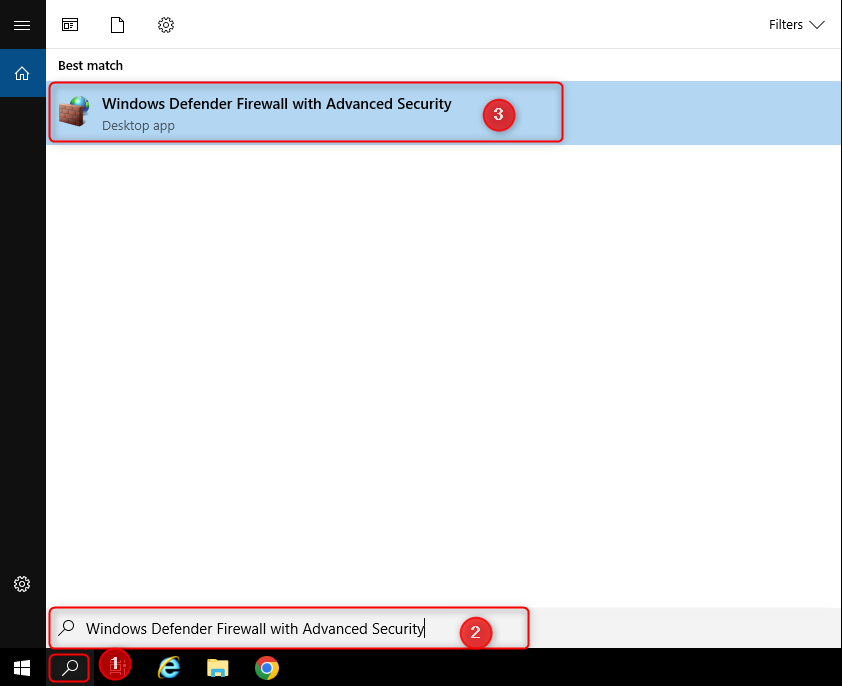
1. Access your server. Search and Open Windows Defender Firewall with Advanced Security
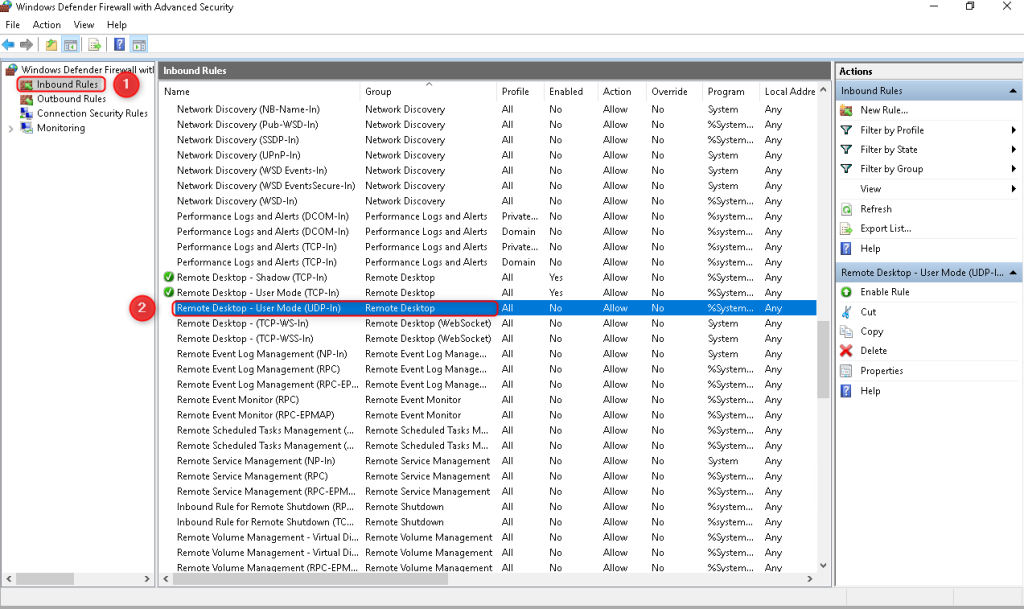
2. Navigate to Inbound Rule and find Remote Desktop – User Mode (UDP-In)
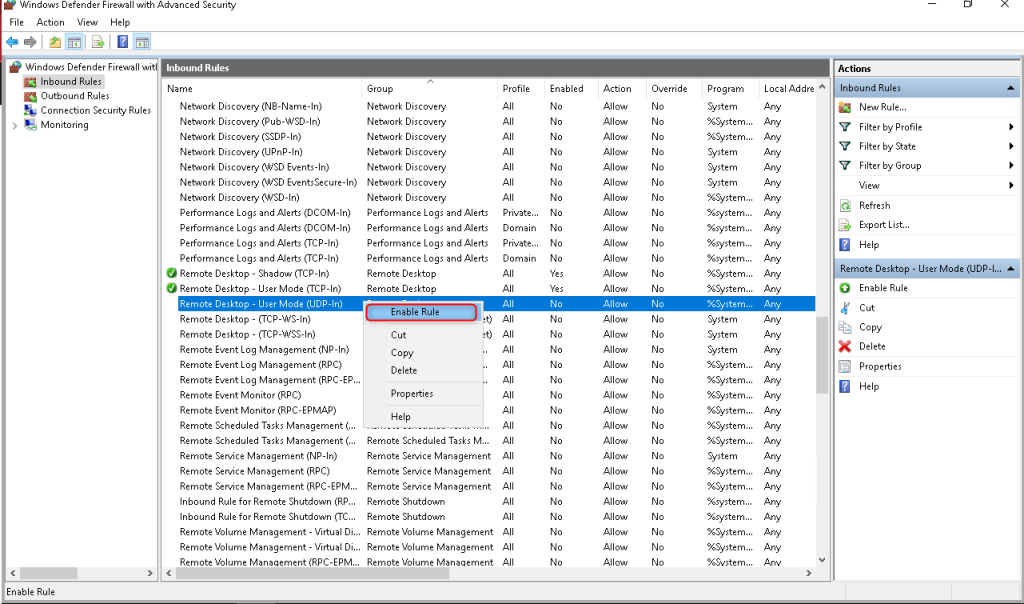
3. Right-click on Remote Desktop – User Mode (UDP-In) and Enable rule

Step 5: Reduce Remote Desktop Color Depth
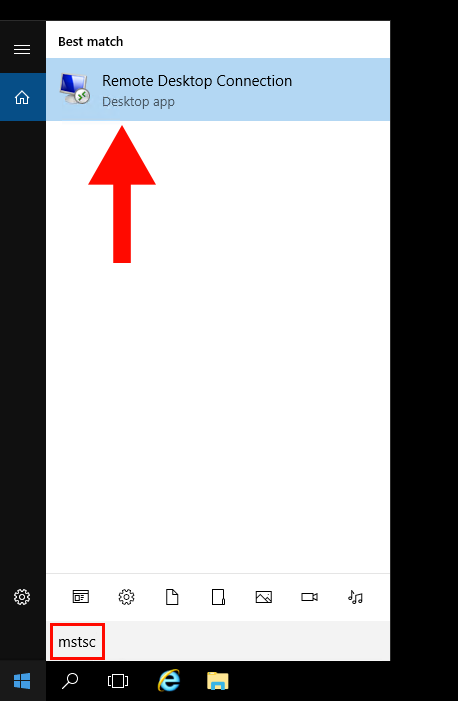
1. On your local Windows computer, search Remote Desktop Connection or mstsc in the Windows search bar. (If your local computer is MAC OS, please follow this link: https://howto.hyonix.com/article/change-remote-desktop-color-depth/#how-to-change-remote-desktop-color-depth-in-macos)
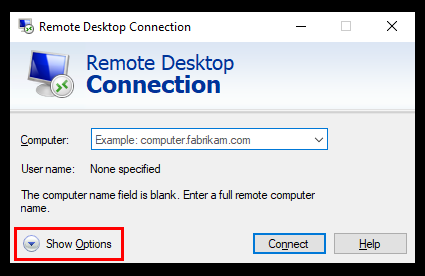
2. After Remote Desktop Connection opens, click on Show Options.
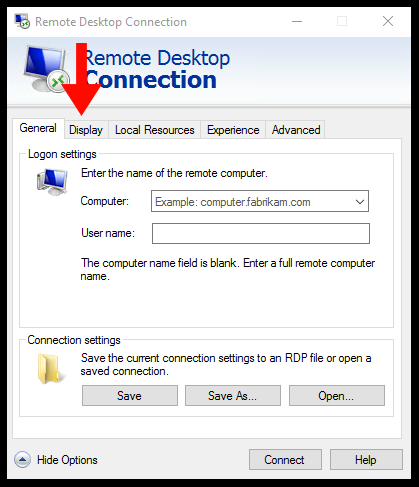
3. Next, navigate to the Display tab.
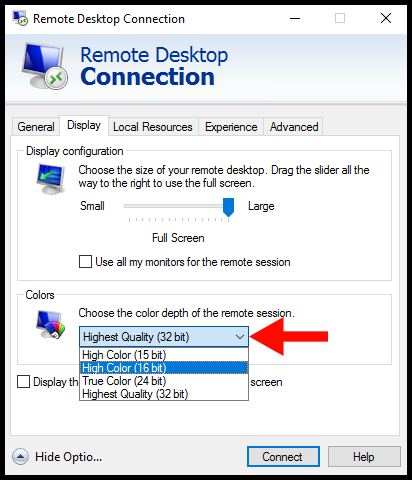
4. Click on the color depth drop-down menu and select the lowest color depth for your Remote Desktop.
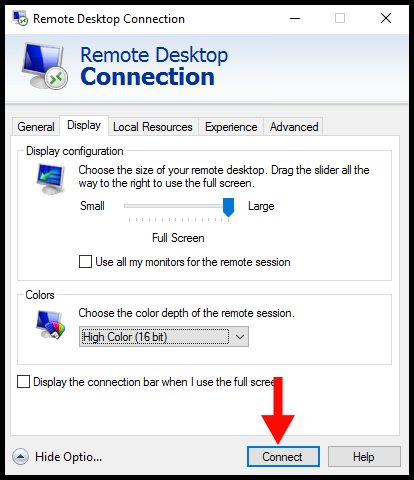
5. After you have selected the desired color depth, click on the Connect button to connect to your Windows VPS with your new color depth setting.
Step 6: Disable bitmap caching and reduce broadband speed.
If the cache fills up with too many images, it can become overloaded and slow down the process of retrieving and combining them.
This can lead to delays and temporary freezing of the remote screen. Also, Bitmap caching requires adequate memory on the client device. If memory runs low, it can struggle to manage the cache efficiently, leading to performance issues and potential freezing.
This section will guide you on how to disable this option in Windows Remote Desktop Connection.
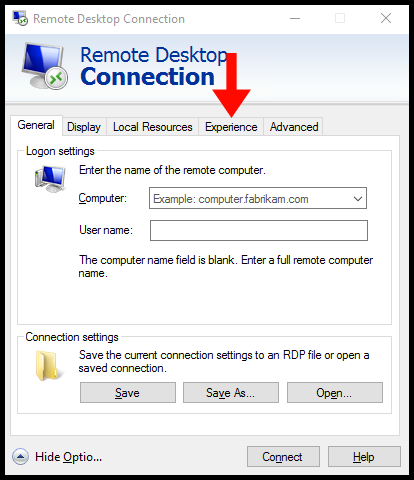
1. Search and Open Remote Desktop Connection or mstsc on your local computer.
2. Once Remote Desktop Connection is open, click on Show Options.
3. Next, navigate to the Experience tab.
4. Select “Low-speed broadband” from Performance and Uncheck the option Persistent bitmap caching.
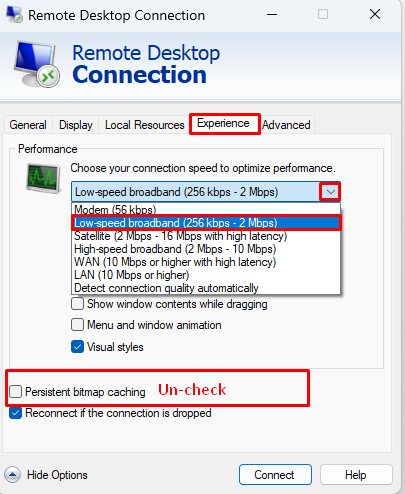
5. Finally, try to reconnect to the RDP by clicking on the Connect button and check if the slow/lag issue persists.
If after following all suggestions but the slow/lag issue persists, please contact our customer service so we can give you further assistance.