To keep macros running on the RDP sessions without interrupting its operations, we also need to keep the RDP sessions alive. This article will elaborate on some of the easy to implement and use methods to keep the RDP sessions alive. Let’s get started!
Using Web Console
1. First, log in to the Hyonix portal using https://my.hyonix.com.
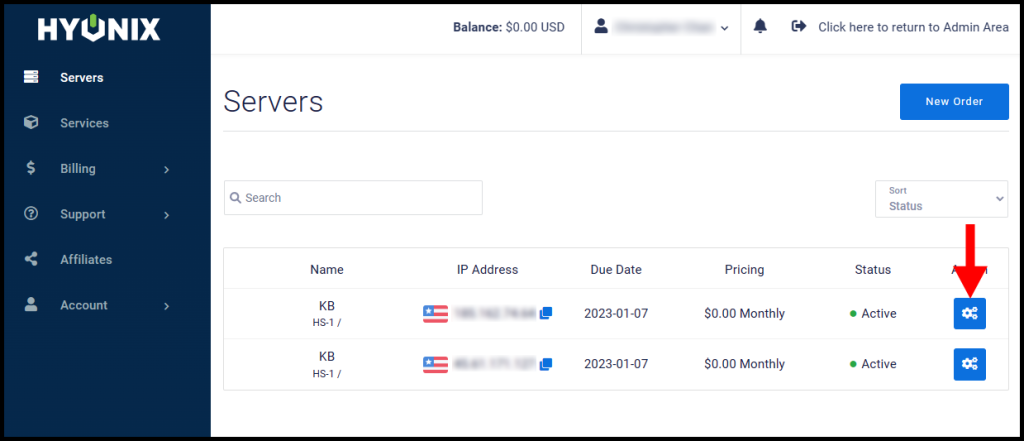
2. Once you have logged in, navigate to the server settings tab you’d like to access through the Server Console.
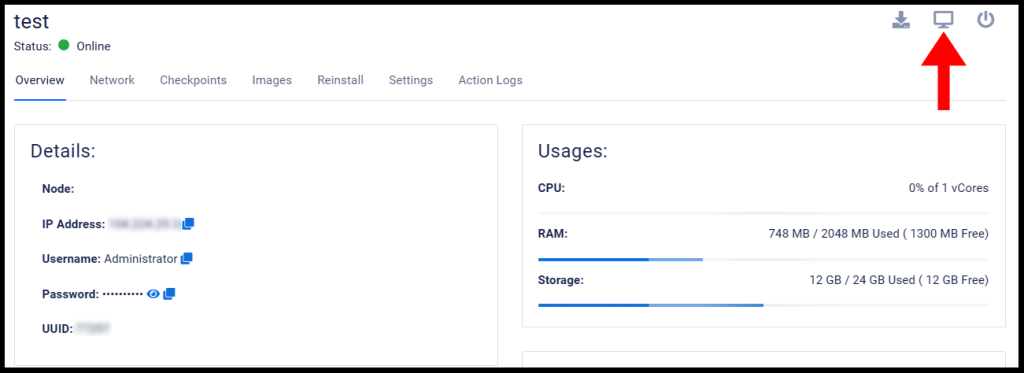
3. Lastly, click the monitor icon at the top right as seen below to access the server console.
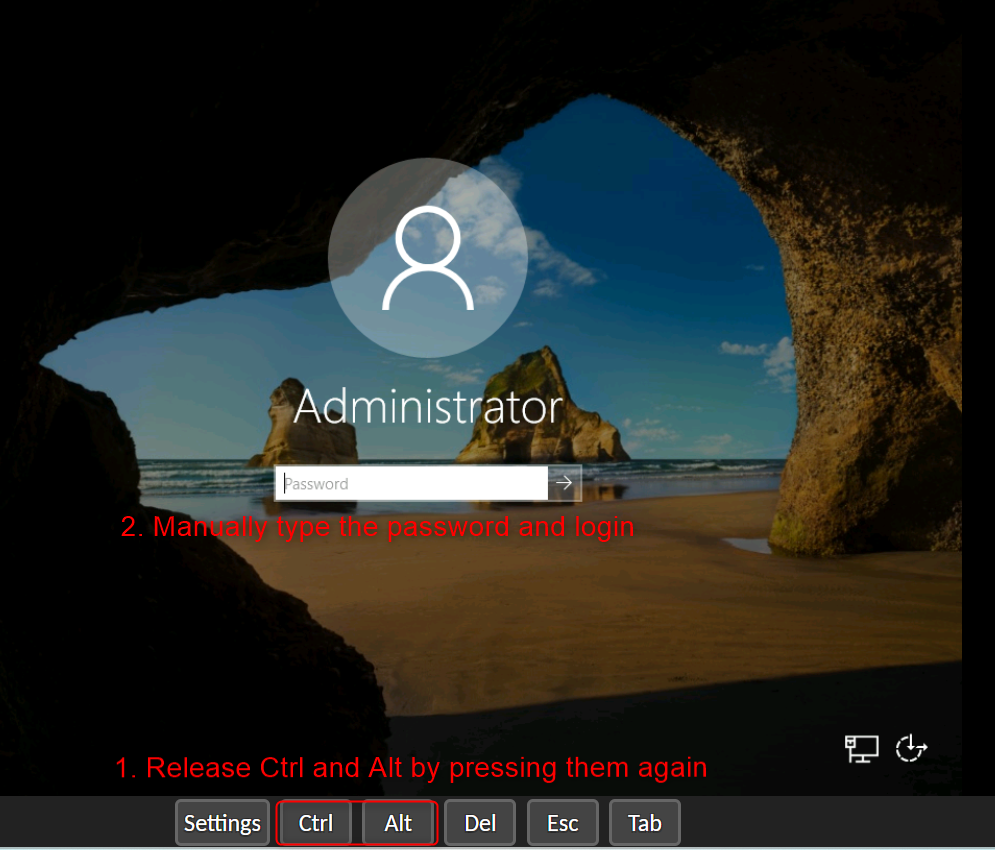
4. Once the server console is connected, click the bottom buttons Ctrl + Alt + Delete to get to the login screen.
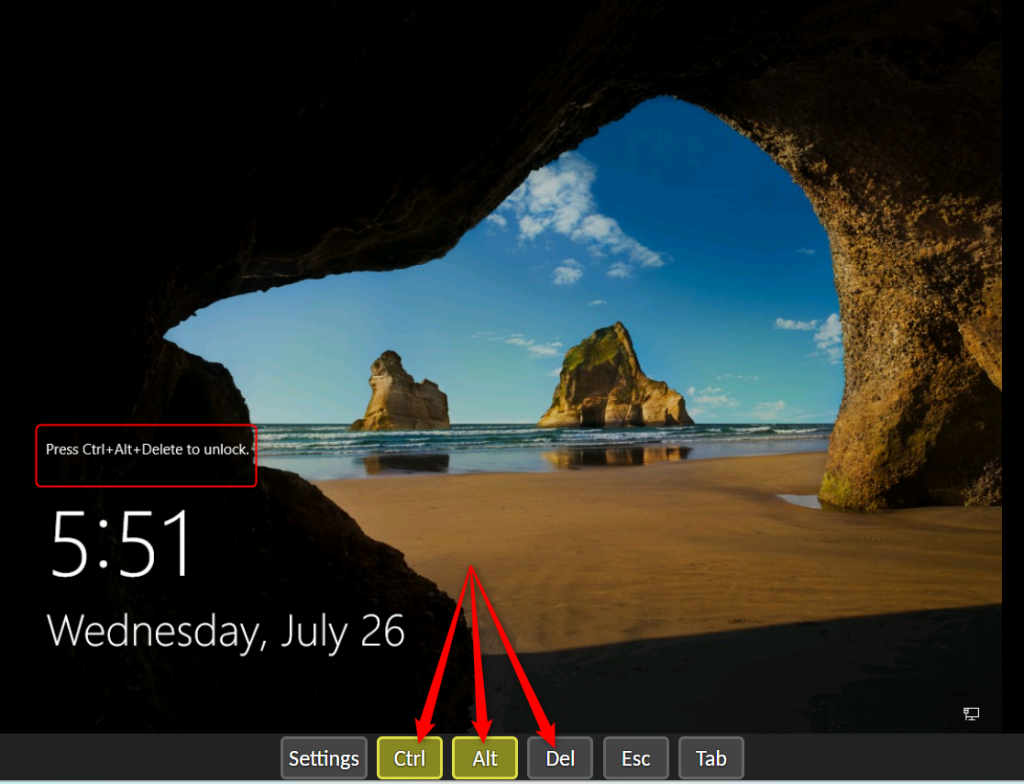
5. Release the Ctrl + Alt by pressing it again, then start typing passwords and login normally.
Using Second User
The basic idea is that we will first create a local user on the windows server and then initiate the RDP session to localhost.
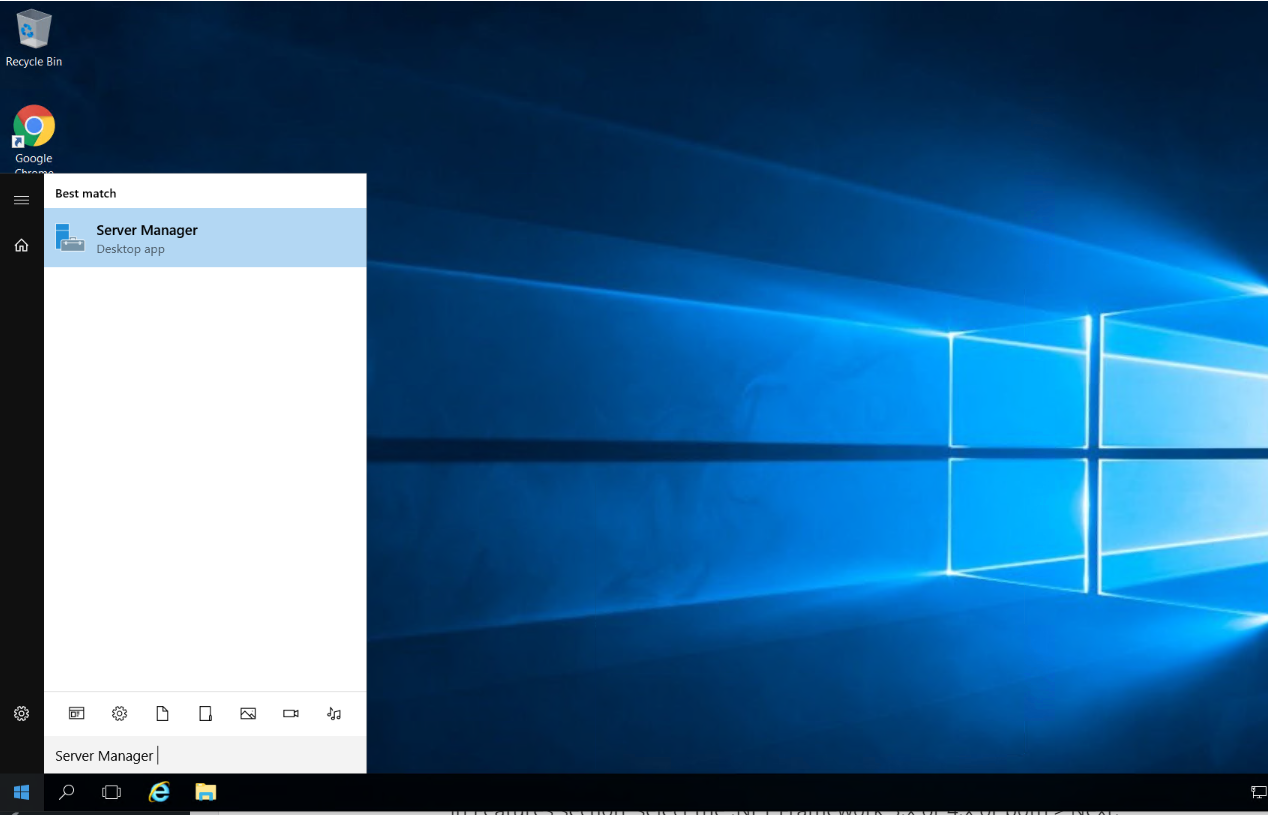
1. Login to Windows Server → search and open “Server Manager“.
2. Navigate to Tools → Computer Management.

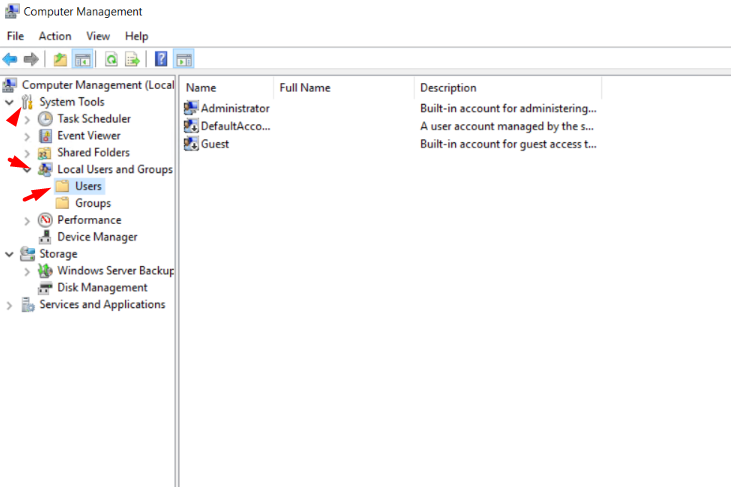
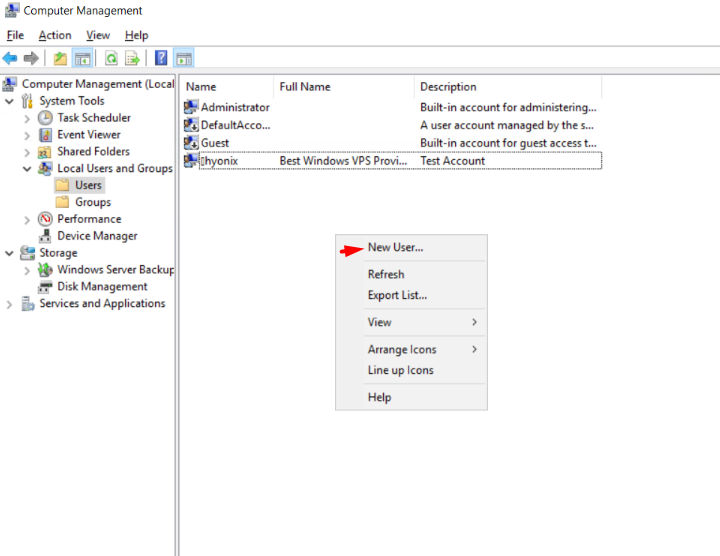
3. Navigate to System Tools → Local Users and Groups → Click on “Users” → Right-click and select “New User…“.
4. Fill in the following details,
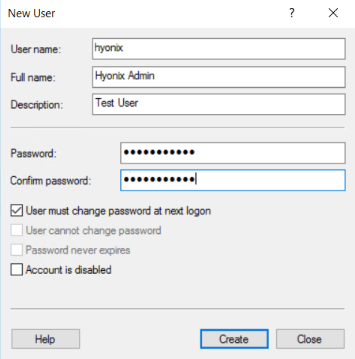
If you select the “User must change password at next logon” option, then if the created user login at first time, windows will forcefully ask the user to change the password.

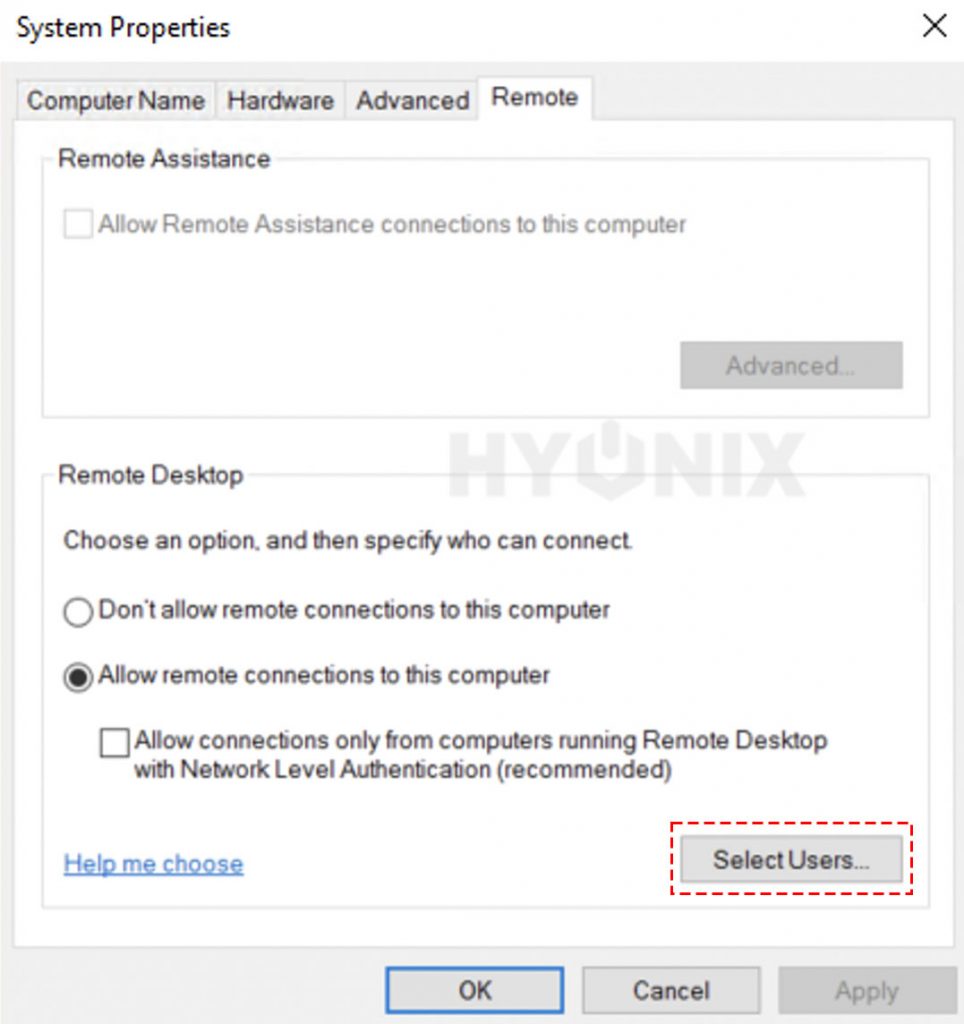
5. We need to grant remote access permission to the newly created user. To do that, navigate and open Start → Allow remote access to your computer.

6. Next, click on Select Users.
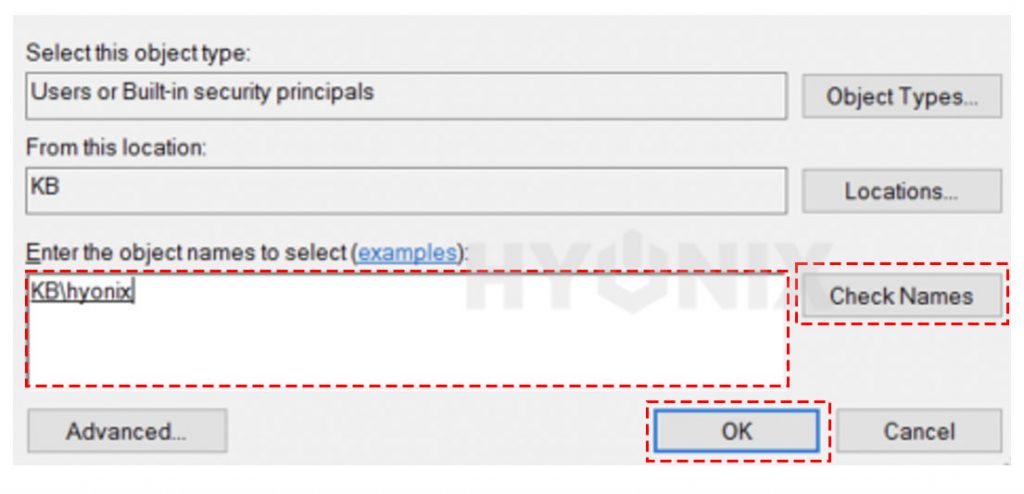
7. Enter the username → Click on OK.
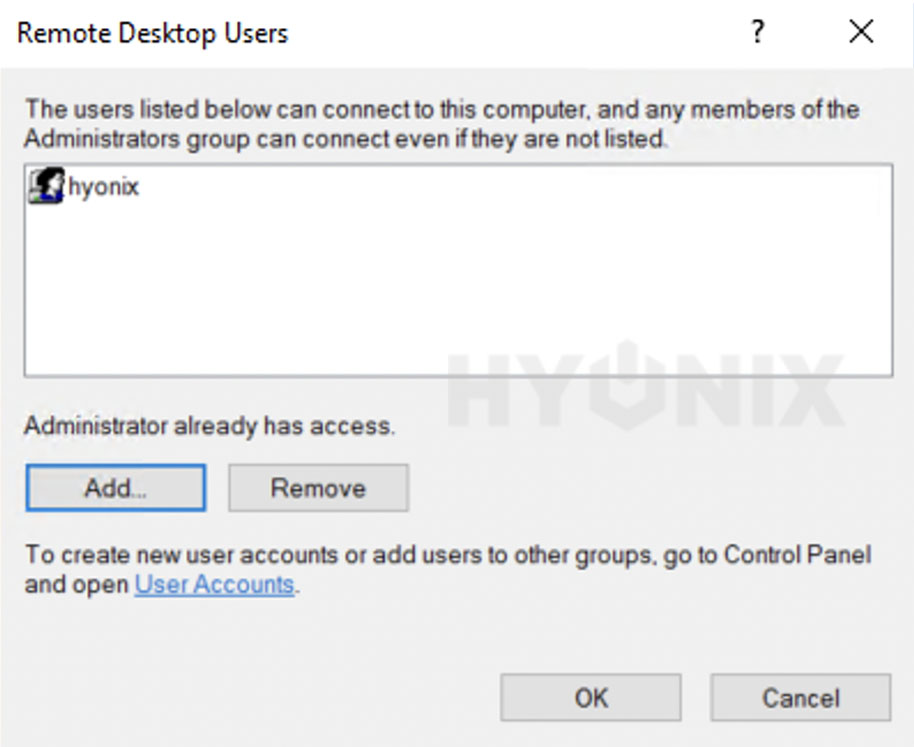
8. We have successfully added the user to allow remote access. To save the changes, click on OK.
9. Now, connect to windows server RDP with newly created user.
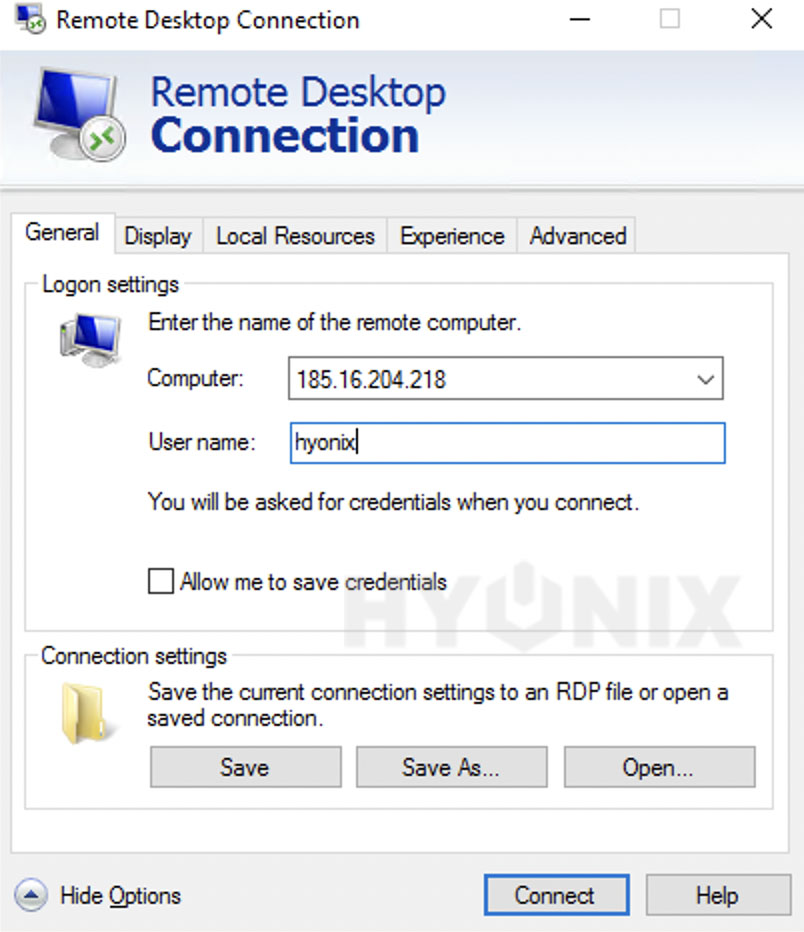
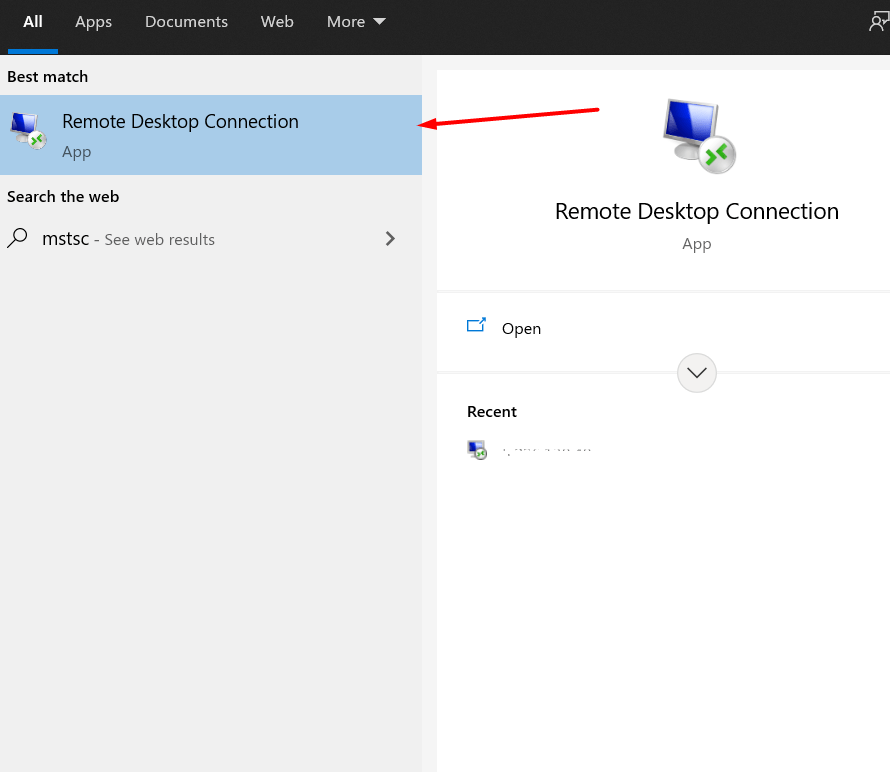
10. Let us make the RDP session from the Hyonix user profile. Search and open Start → “Remote Desktop Connection” or “mstsc” in the search box.
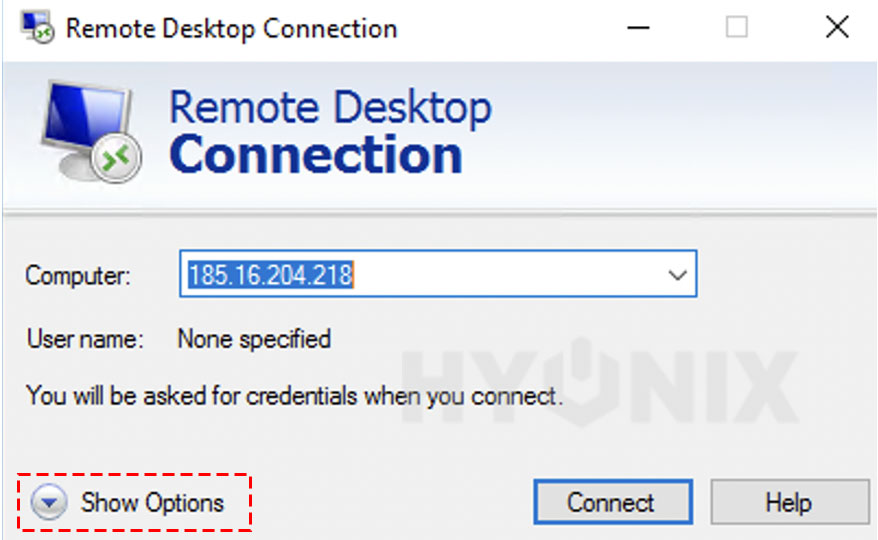
11. To expand available options, click on Show Options.
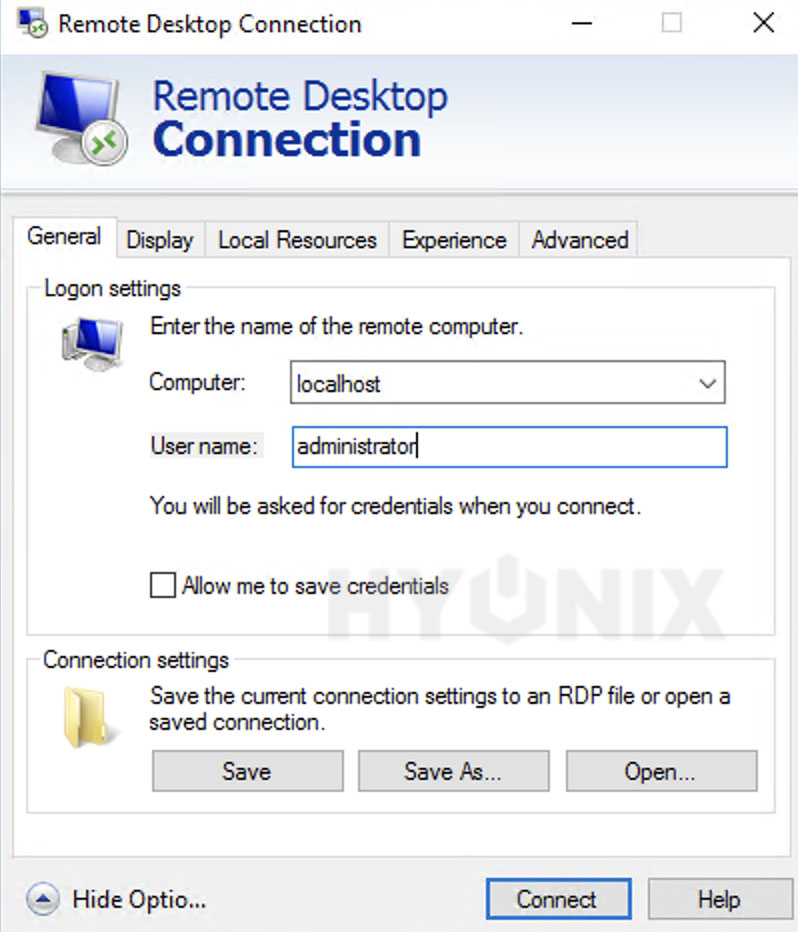
12. Enter “localhost” in the Computer field and administrator username → Click on Connect → Enter the password for the administrator user.
You have an RDP session within the RDP session, keeping the administrator RDP session alive to run macros without any interference.
Also, you can use another VPS to initiate RDP session to the windows server to keep session alive without interference.
Using NoMachine
NoMachine is an remote desktop service based on NX Technology. It works on 4000 port and gives the smoothest remote desktop experience for you.
First, download the NoMachine installer using following URL on the server as well as on your local system,
https://www.nomachine.com/download
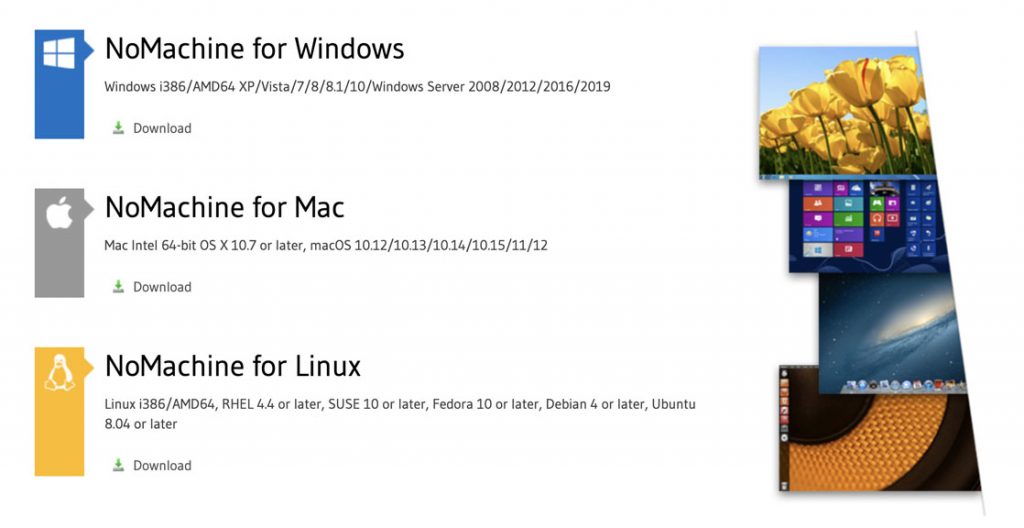
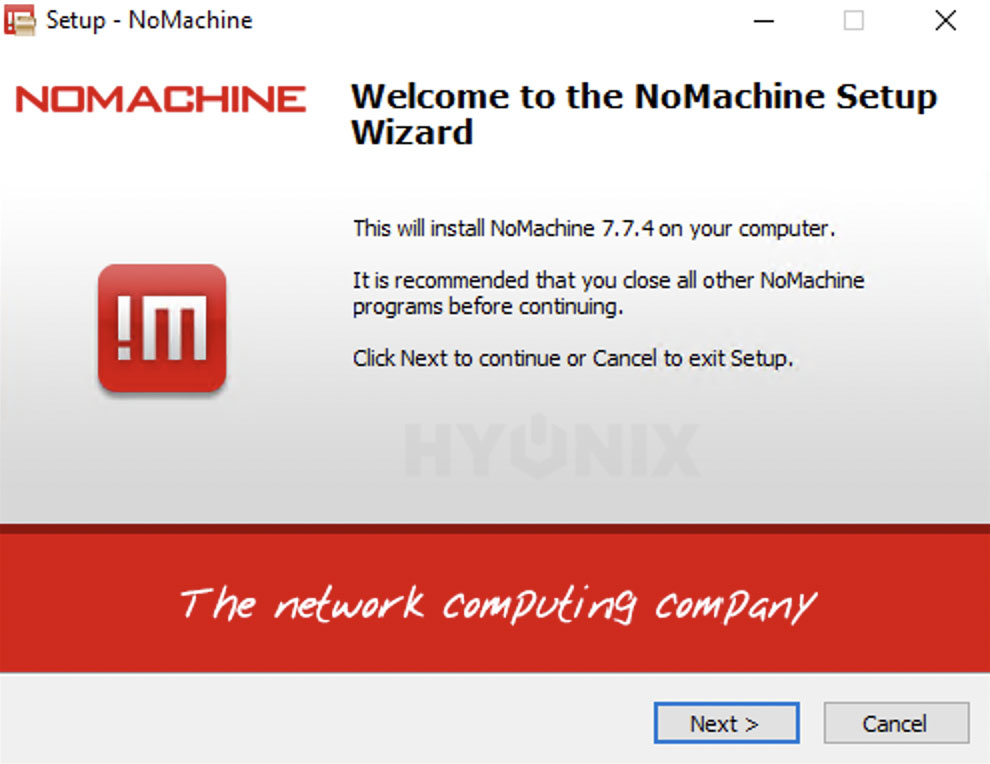
Now, install the NoMachine application on the server and on your local system.
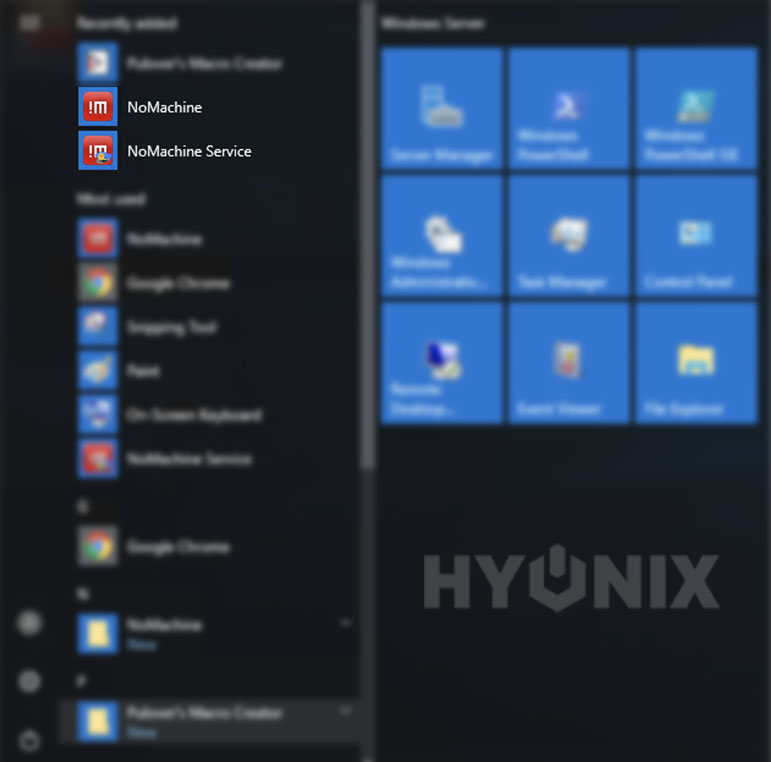
Next, open and keep NoMachine application running on the windows server.
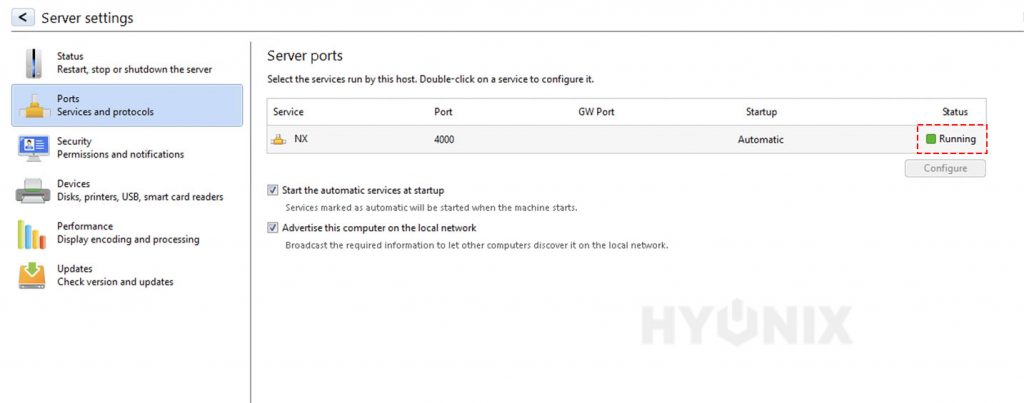
Navigate to Settings → Ports. Make sure the NX port status should be Running.
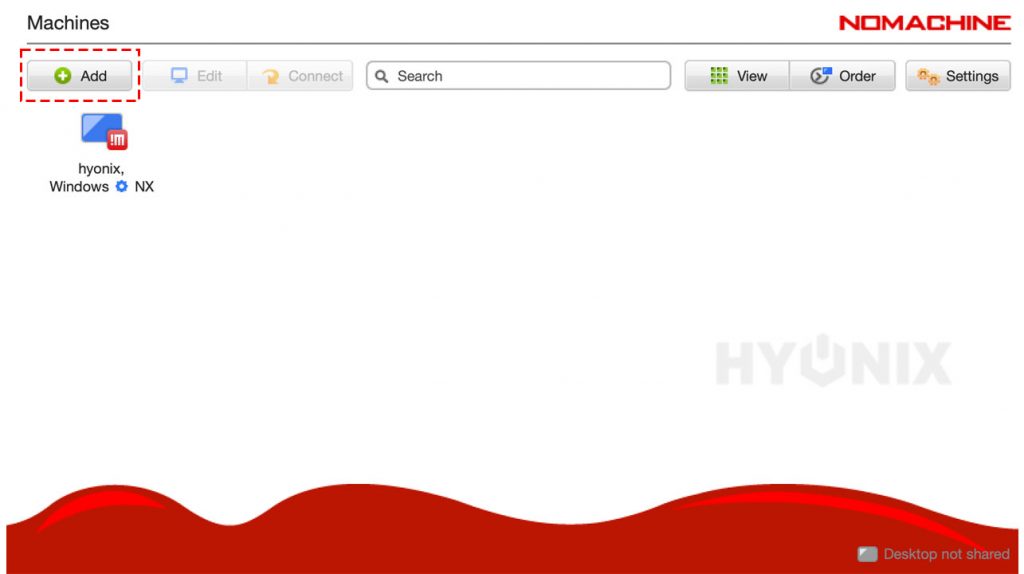
Open NoMachine application on your local system → Click on Add.
Enter the required information,
Name: Provide name of the machine.
Host: Enter the host IP address or hostname.
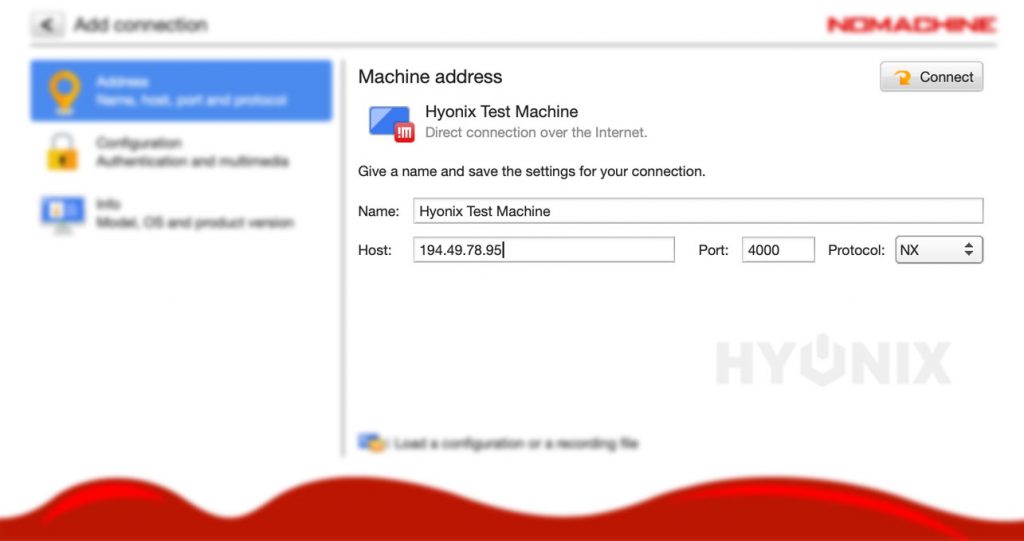
Finally, click on Connect.

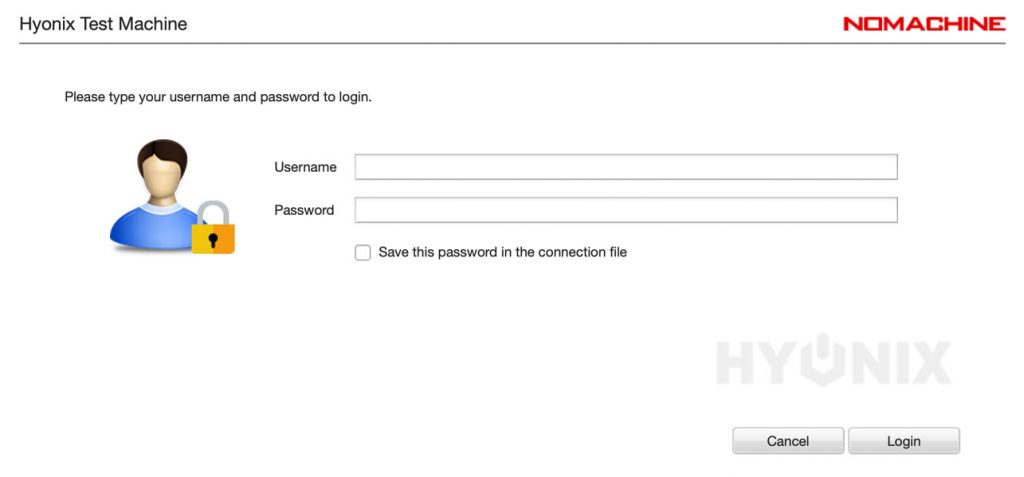
Enter the Username and Password of windows server user → Click on Login.
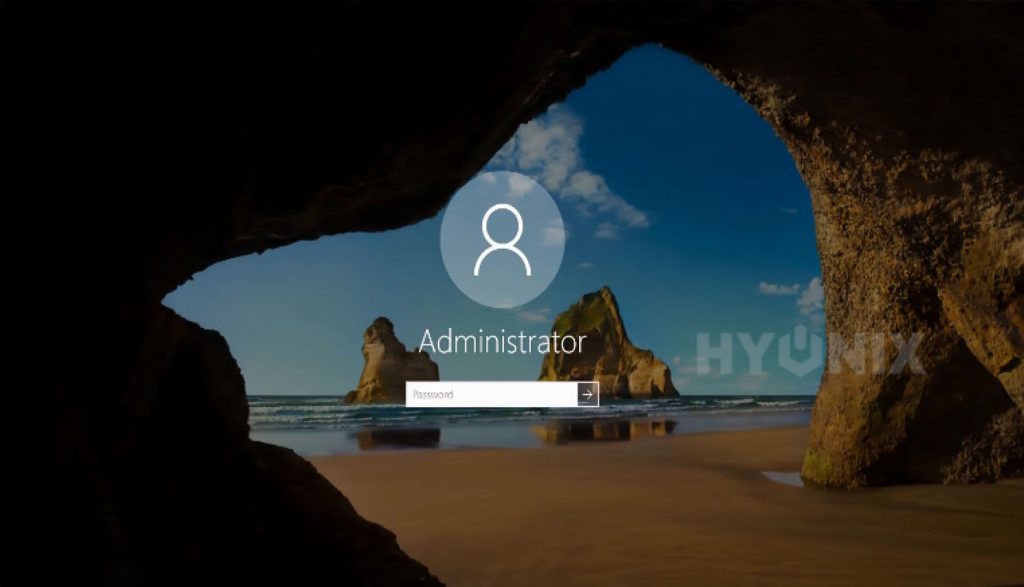
Following the https://knowledgebase.nomachine.com/AR02L00784 article, send CTRL + ALT + DEL command to a remote desktop.
For the first time, you need to enter the administrator password → Hit Enter.
Congratulations! You have successfully logged into Windows Server via NX protocol. Now, run the macro, and disconnect from the remote desktop.
Using VNC (Tight VNC)
We have covered almost every possible method to keep the RDP session alive. This is probably the last method to keep the RDP session alive. For this article, we will be using Tight VNC for the connection.
Download the Tight VNC using following URL (On Local System & Windows Server):
https://www.tightvnc.com/download.php
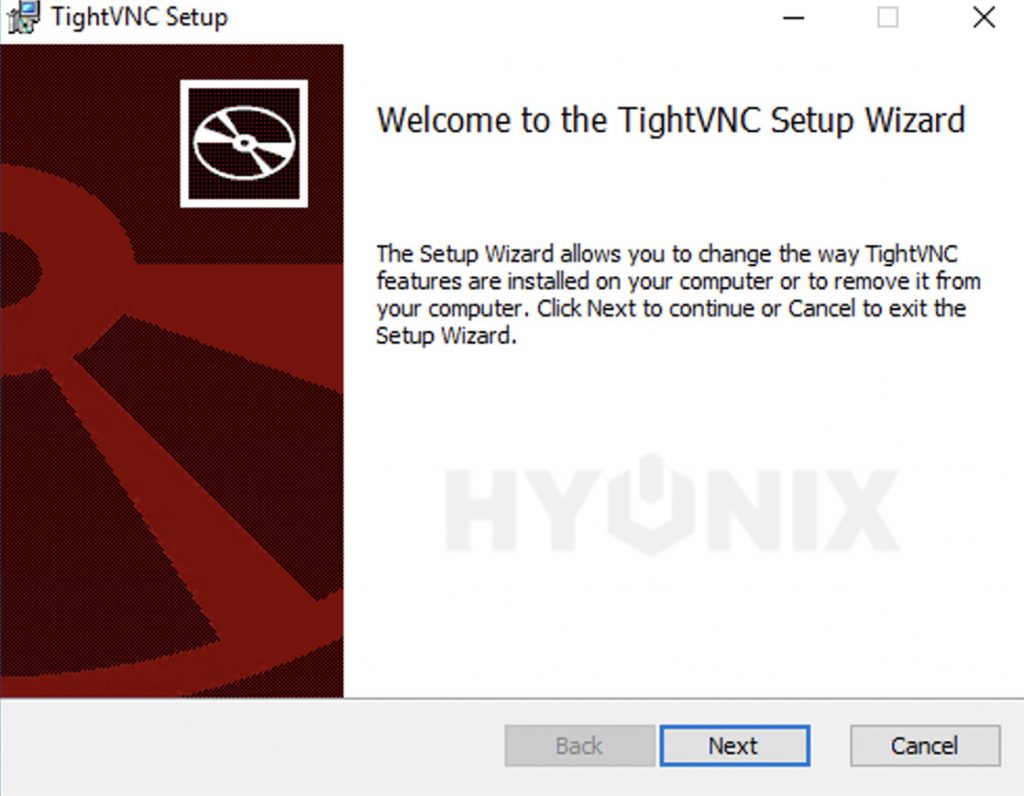
Now, install the TightVNC application on the Local System & Windows Server.
(On Windows Server) Open Windows Start → Run TightVNC Server.

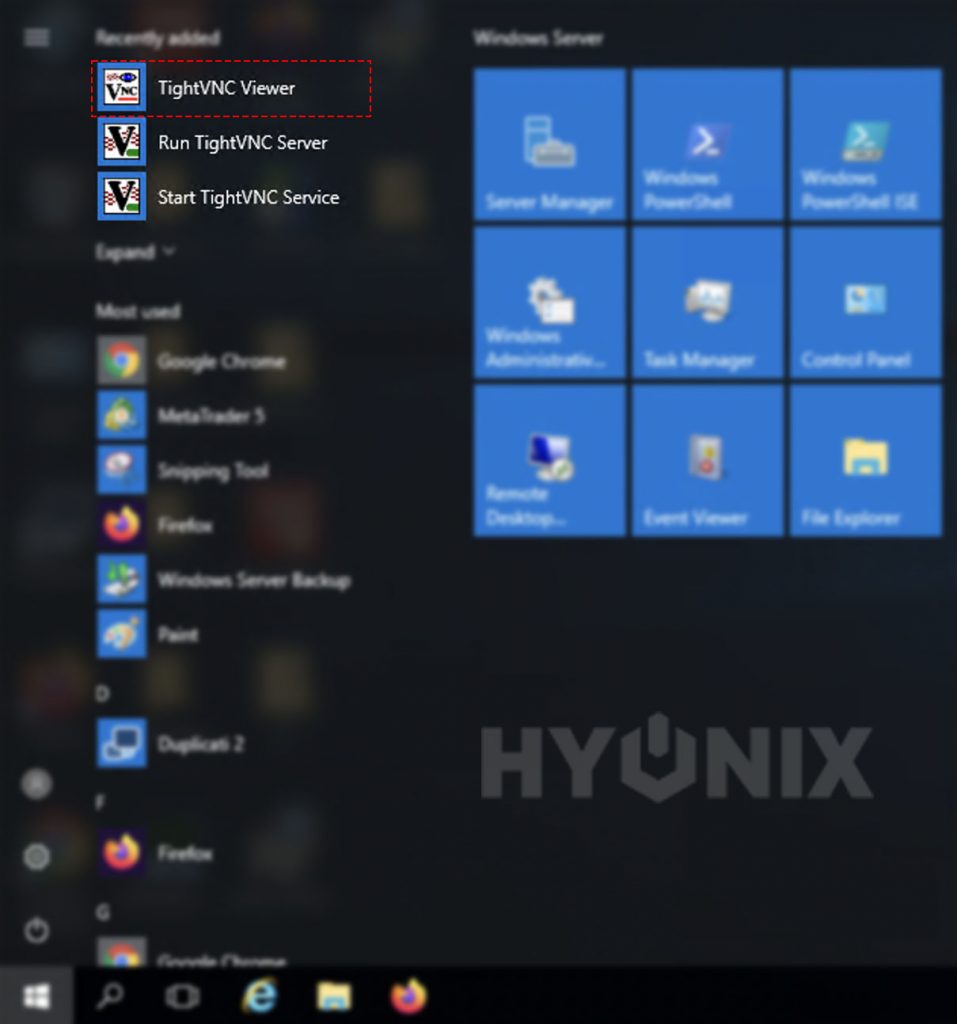
(On Local System), Open Windows Start → Run TightVNC Viewer.
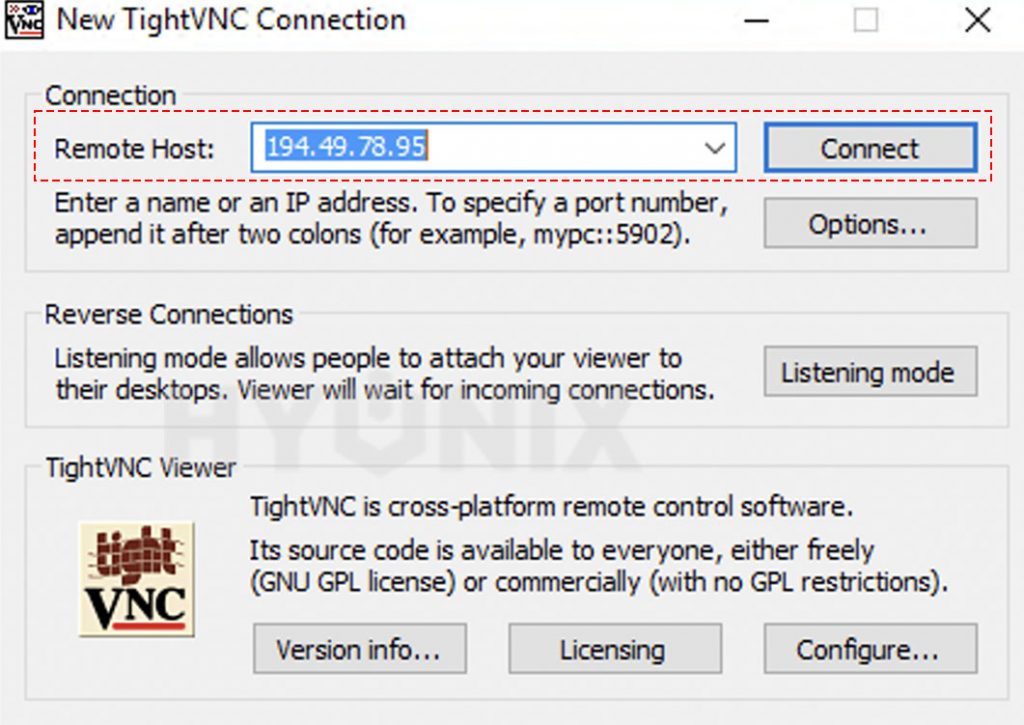
Enter the Remote Host IP Address → Click on Connect.
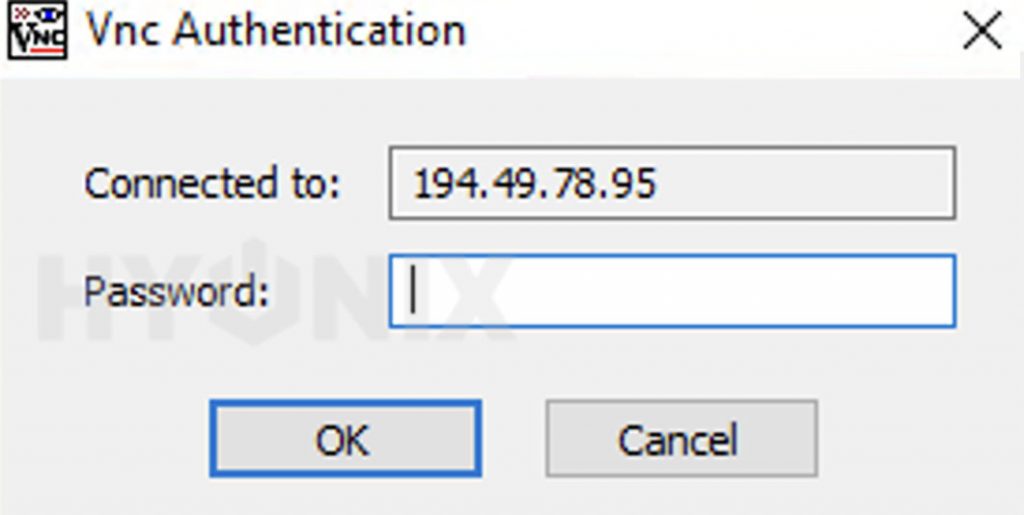
Now, enter the TightVNC password which you have configured while installing TightVNC on the Windows Server → Click on OK.
Send the CTRL + ALT + DEL command by clicking on the option (as shown in below image).
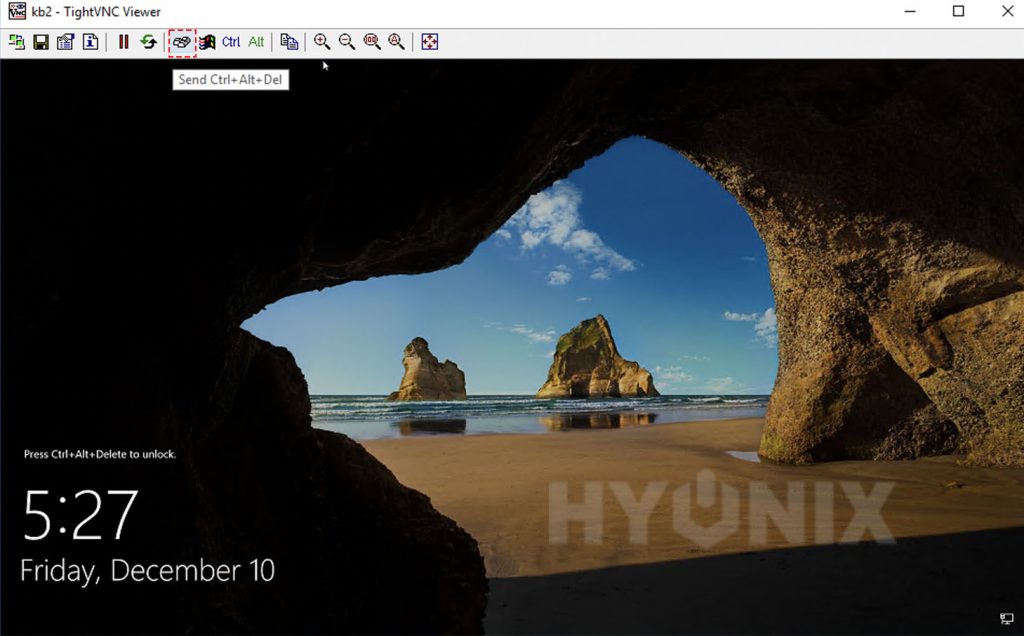
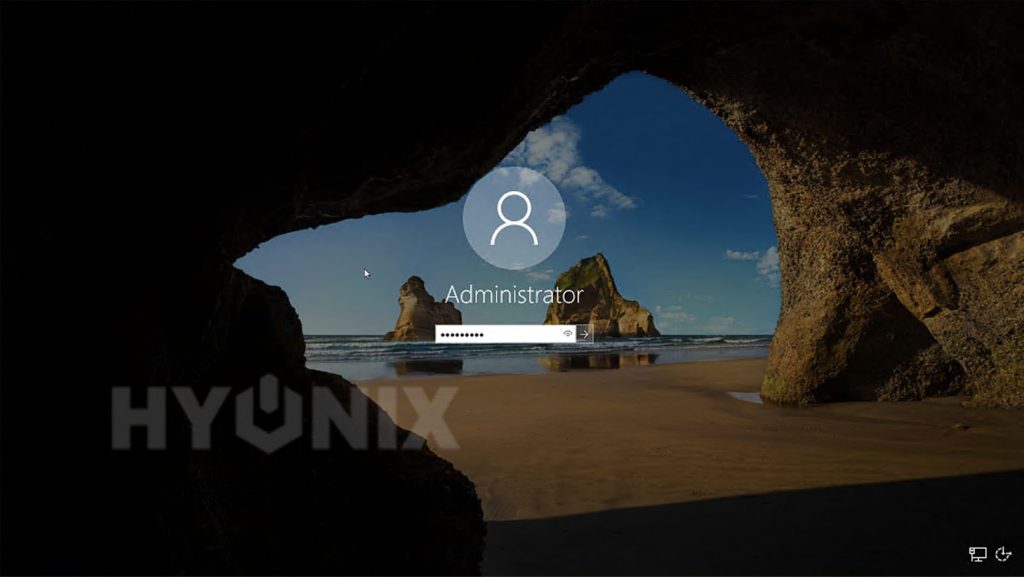
Next, enter the administrator password → Hit Enter.
Congratulations! You have successfully initiated the VNC connection. You can close the TightVNC Viewer window, but the RDP session will still be alive.
Conclusion
In the article, we went through how to keep the windows RDP session alive. This is best article, which will keep automated macros running without any problem.
Hyonix was founded in early 2018, as we believed the current pricing of Windows VPS was far too overpriced for most consumers. This makes it nonuser and budget-friendly for many people around the world. Our main goal is to change that – providing powerful licensed Windows VPS at a reasonable price so that everyone can grab one without thinking twice about the performance/price that you will get. Get yourself fully optimized Windows VPS starting @ $6.5/mo from Hyonix.com.