Many applications require the .NET Framework to be installed on the Windows Server. The .NET Framework doesn’t come pre-installed, you will need to manually install the .NET Framework on your Windows Server 2012, 2016, or later. In this article, we will go over how to install the .NET framework 3.x or 4.x on Windows Server 2012, 2016, or later.
How to install .NET Framework using Server Manager
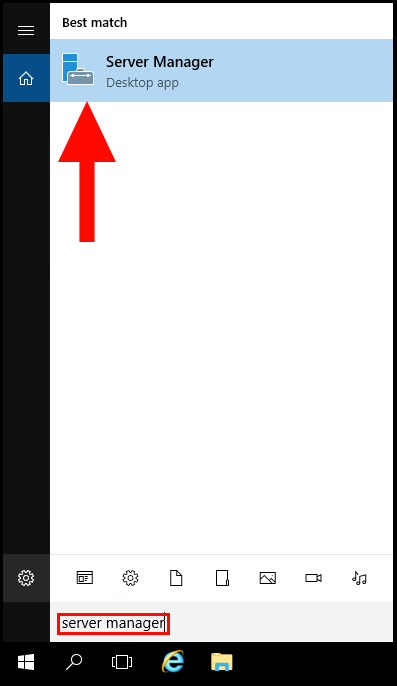
1. To start off, log in to your Windows Server 2012, 2016, or later and then open Server Manager.
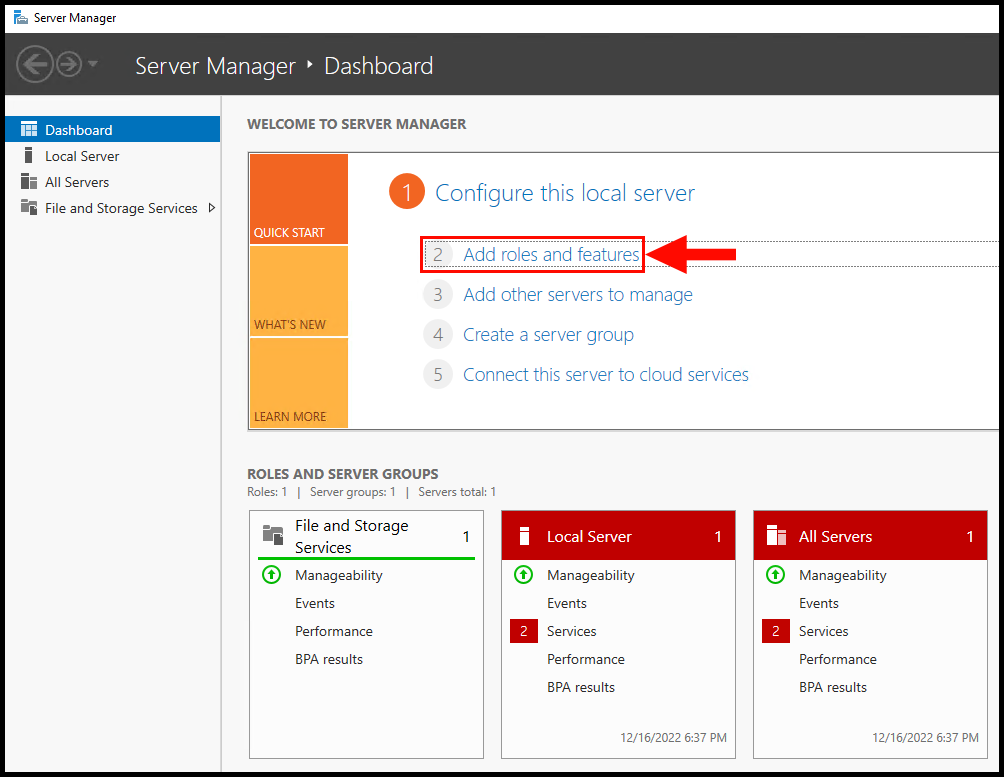
2. In the Server Manager window, click on Add Roles and Features.
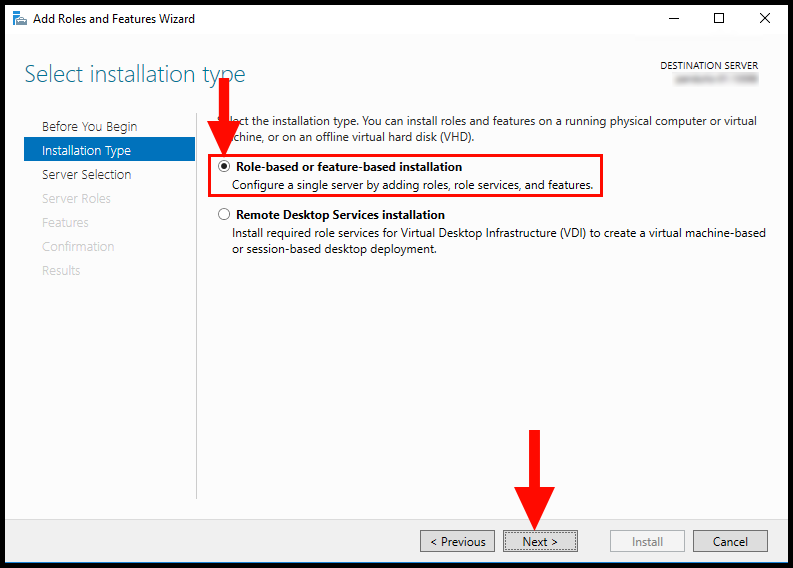
3. Then in the Installation Type section, select Role-based or feature-based installation, and then click Next.
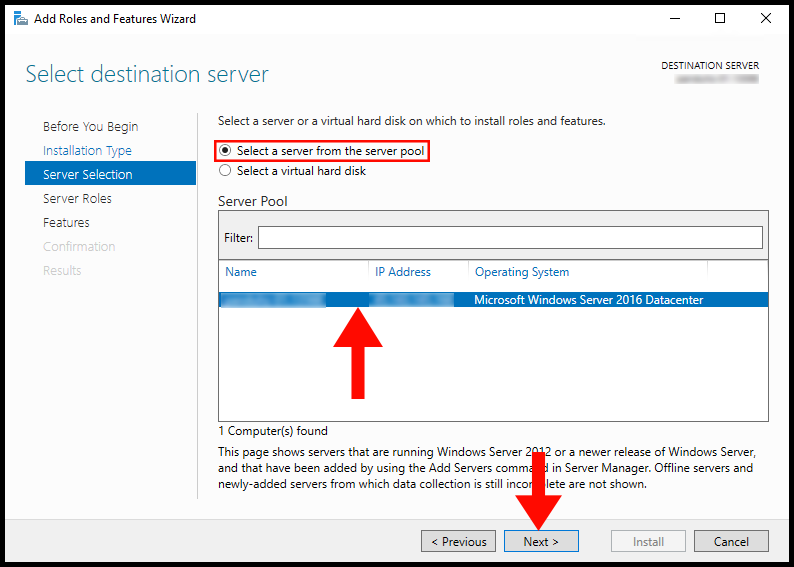
4. Next, the Server Selection page will appear. Select the option Select a server from the server pool and select your server in the Server Pool window. Then, click Next to proceed.
5. Do not select or Deselect anything in Server Roles Section, then click Next to proceed.
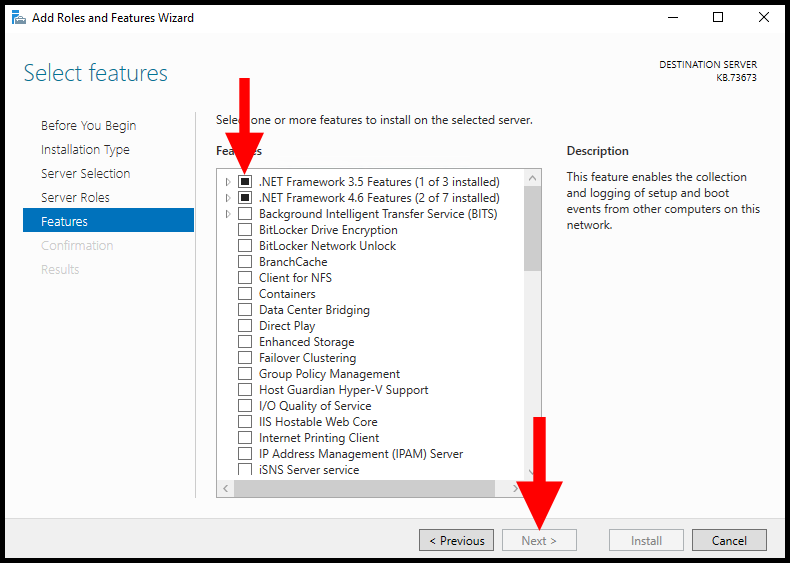
6. In the Features section, select the .NET Framework 3.x or 4.x or both, then click Next to proceed.
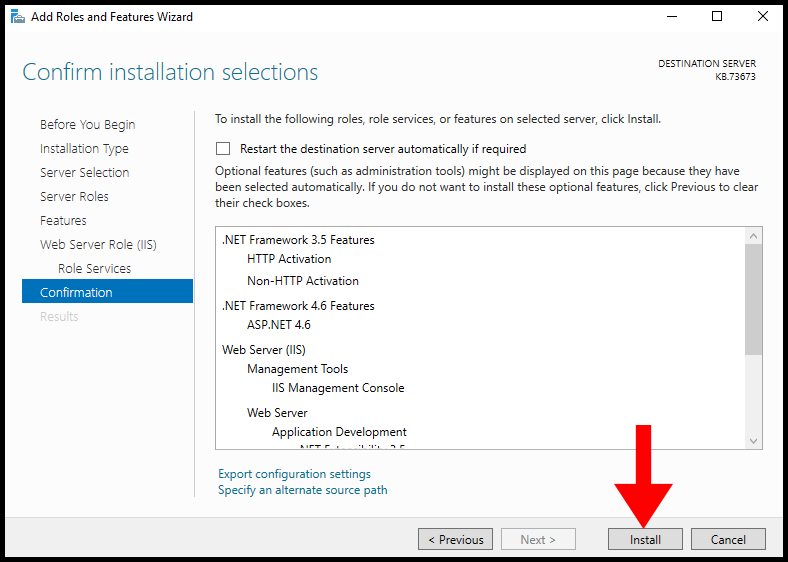
7. Lastly on the Confirmation screen, select Install to finish.
How to install .NET Framework using Offline Installer
If you want to install the .NET framework conveniently, then an offline installer will do the job for you. You just need to download the offline installer from the Microsoft website and process the installation. In this method, you will only need an internet connection while downloading the installer file. Afterward, you will not require an internet connection for the installation.
You can download any desired .NET Framework version by using the following URL,
For this article, we will be installing the .NET Framework 4.8. You can install any version of the .NET Framework as per your requirement.
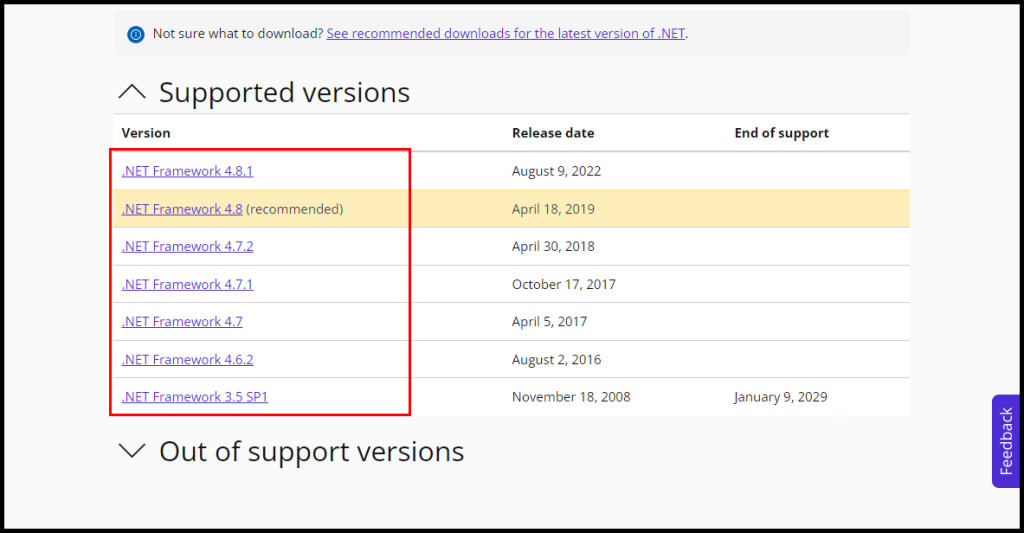
1. Visit the above URL: https://dotnet.microsoft.com/download/dotnet-framework/ and select the .NET Framework Version.
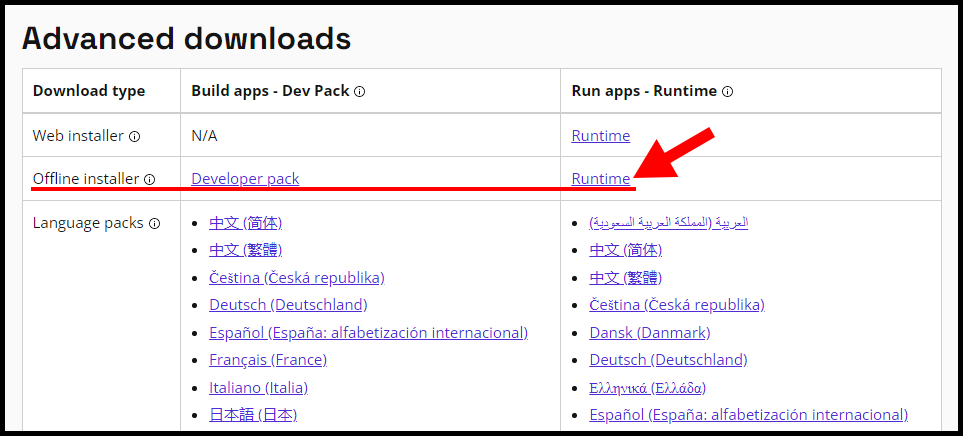
2. Scroll down a little bit and download the Offline Installer from the Advanced downloads section under Run apps – Runtime.
Run apps – Runtime: The runtime includes everything you need to run existing apps/programs built with .NET Framework.
3. Once the download has been completed, click and run the executable file.
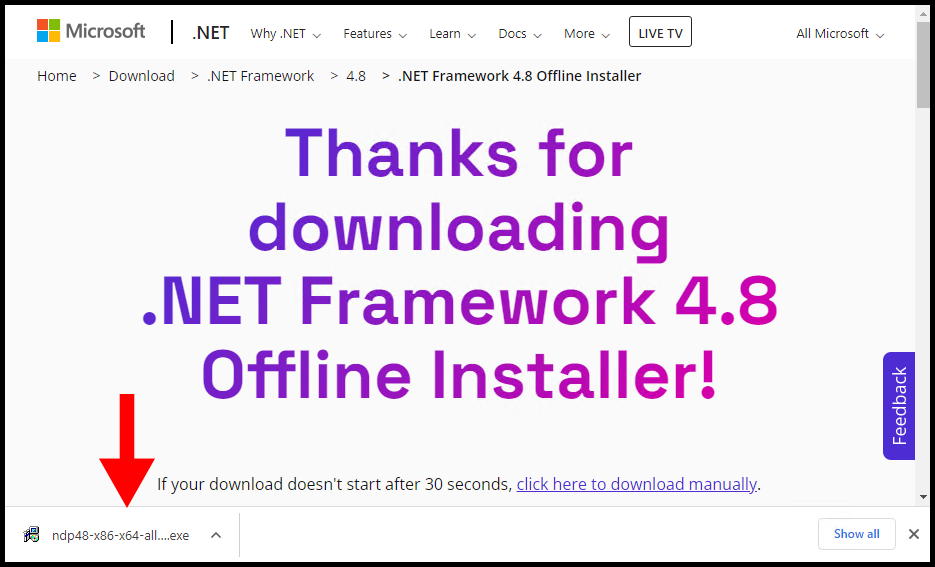
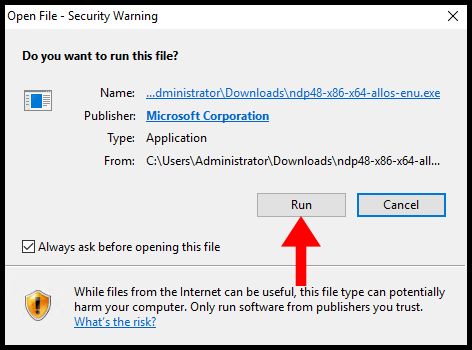
4. You will see the below pop-up warning Do you want to run this file? then click on Run.
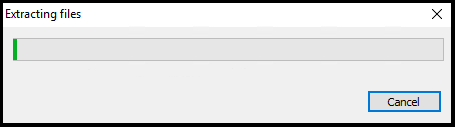
5. Now, windows will extract the files to start the installation.
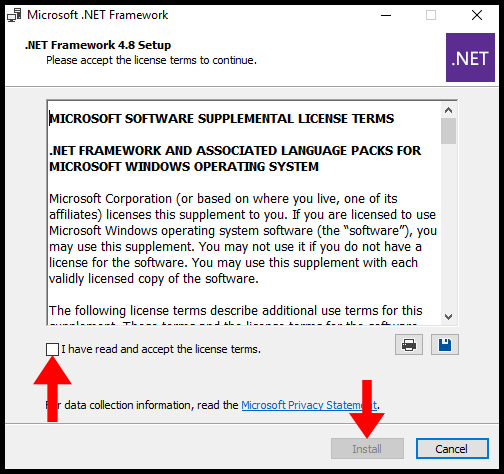
6. Once you have read the license terms, check the box I have read and accept the license terms and then proceed to press Install.
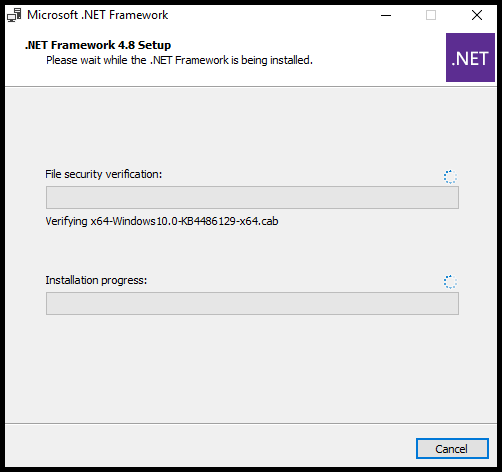
7. Next, the installation will begin.
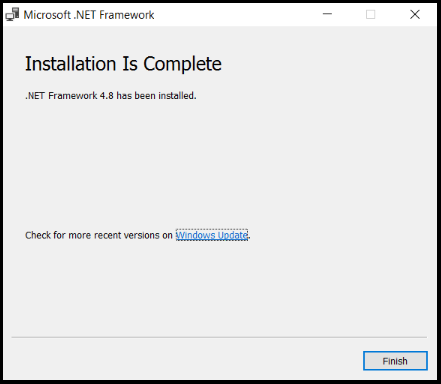
8. Once the installation is done, your server will now have .NET Framework.
How to install .NET Framework using Online Installer
If you want to process the .NET Framework with Online Installer i.e. Web Installer you must have an internet connection while processing the installation.
You can download any desired .NET Framework version by using the following URL,
For this article, we will be installing .NET Framework 4.6. You can install any version of the .NET Framework as per your requirement.
1. Visit the above URL: https://dotnet.microsoft.com/download/dotnet-framework/ and select the .NET Framework Version.
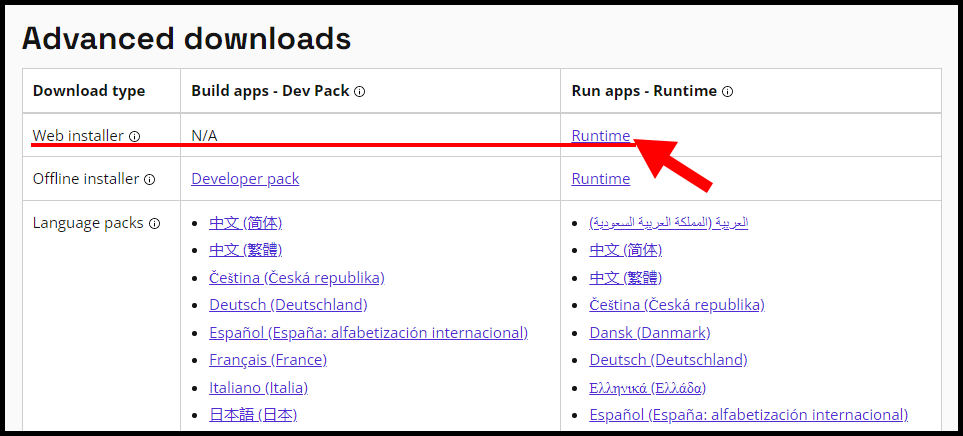
2. Scroll down a little bit and download the Web Installer from the Advanced downloads section under Run apps – Runtime.
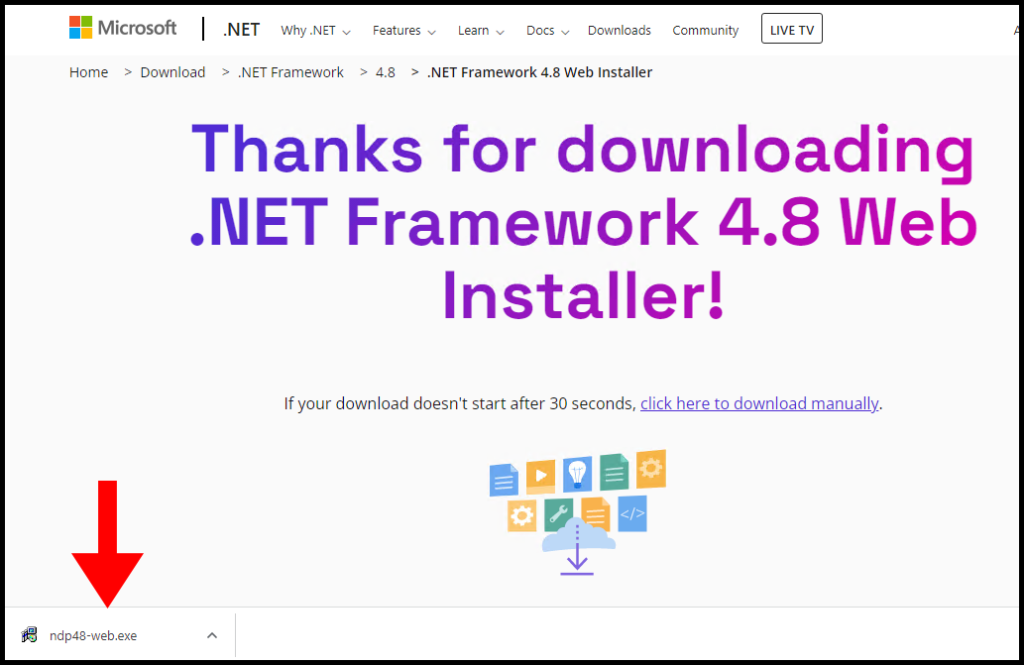
3. Once the download has been completed, click and run the executable file.
3. You will see one warning Do you want to run this file? then click on Run.
4. Now, windows will extract the files to start the installation.
5. Once you have read the license terms, check the box I have read and accept the license terms and then proceed to press Install.
6. Next, the installation will begin.
7. Congratulations, the .NET framework has been installed on your server.
Errors & Fix
Problem 1) .NET Framework 4 has not been installed because HRESULT 0xc8000222
Resolution:
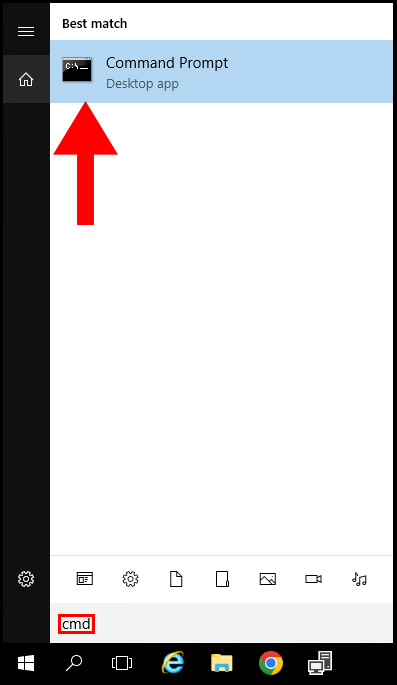
1. First, open Command Prompt.
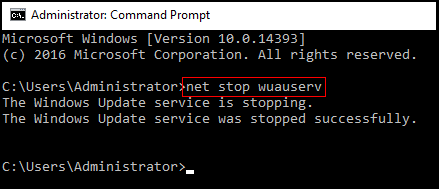
2. Type “net stop wuauserv” and hit Enter.
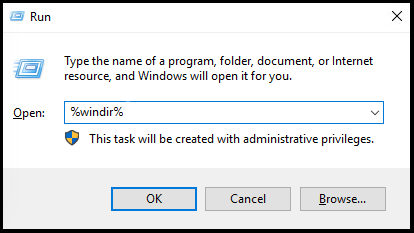
3. Now, open RUN (Windows Key + R) and type %windir%, then hit the OK button.
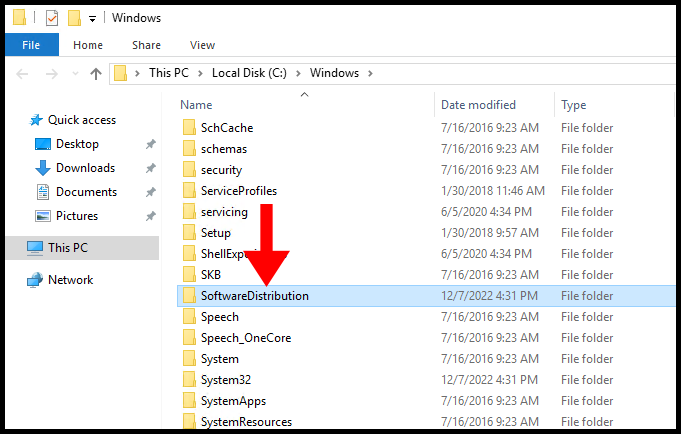
4. Then scroll down and find SoftwareDistribution and rename it to SD-kbp.
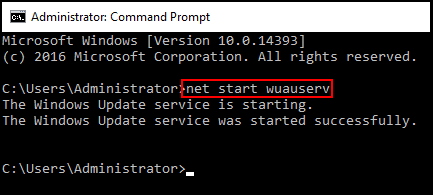
5. Finally, reopen Command Prompt and type “net start wuauserv” and hit Enter.
6. Now, try to install the .NET Framework.
Problem 2) The installation fails with the error 0x800f081f.
Resolution: This type of error encounters when supported files for the installation are not found. To install, NET-Framework-Core; you must have ISO of Windows Server 2016 or 2019. Now, mount the ISO file as a virtual drive. (Example E:)
Now specify an alternative source in the “Confirmation” option. There you need to put “E:sourcessxs” and hit OK.
Finally, process with the last steps of the installation.
All the Hyonix Windows VPS comes with Netframework by default