Plesk is a graphical user interface control panel specially designed for the shared environments for Linux as well as Windows operating systems. Generally, Plesk is being used by the majority of Windows users due to its simplicity and ready-to-deploy features. Also, Plesk is a fully commercial control panel; you need to purchase a license.
In this article, you will learn about: How to install Plesk Control Panel on Windows Server?
Method 1 – One-Click Installation
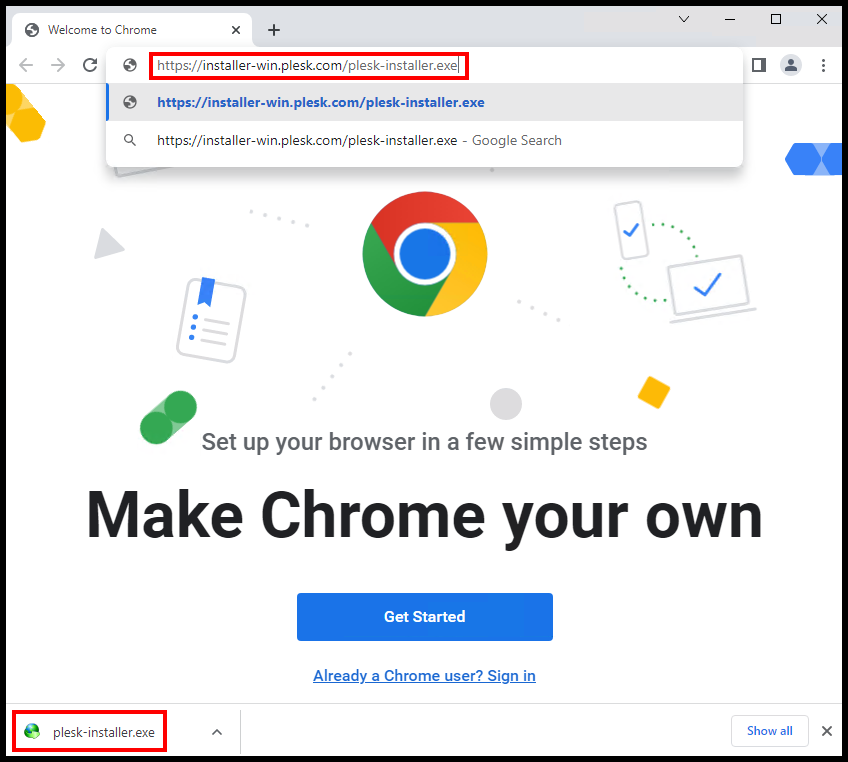
1. To start off, log in to your Windows server, and on an internet browser navigate to https://installer-win.plesk.com/plesk-installer.exe to download the Plesk Installer.
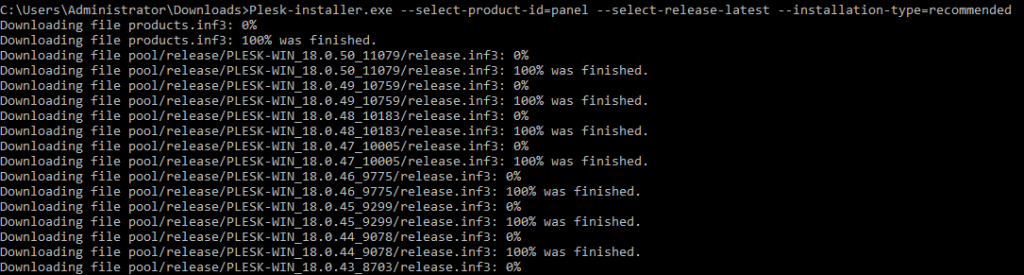
2. Open the command prompt application and run the following commands below
cd C:UsersAdministratorDownloads

Plesk-installer.exe --select-product-id=panel --select-release-latest --installation-type=recommended

3. Now, windows will start installing Plesk by downloading its latest version, all the available security and software updates, along with its set of default components.
Note: If you find some of the Plesk components and updates are missing, do not worry; you can install them from the Plesk interface after the installation of Plesk.
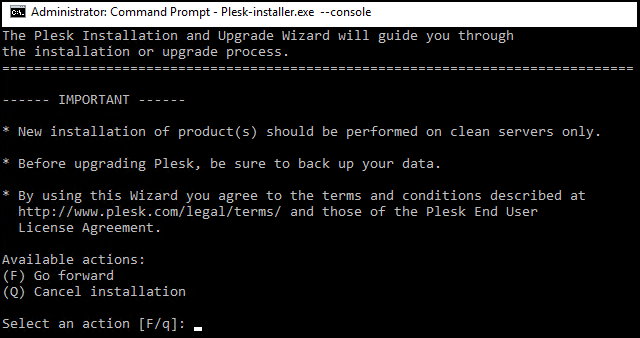
Method 2 – Manual Installation
1. To start off, log in to your Windows server, and on an internet browser navigate to https://installer-win.plesk.com/plesk-installer.exe to download the Plesk Installer.
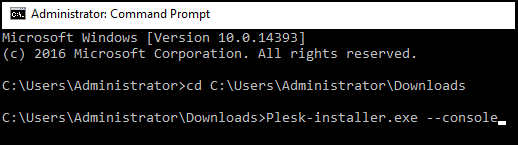
2. Open the command prompt application and run the following commands below
cd C:UsersAdministratorDownloads

Plesk-installer.exe --console
3. Now, you need to agree and begin the Installation by typing (F) to go forward.
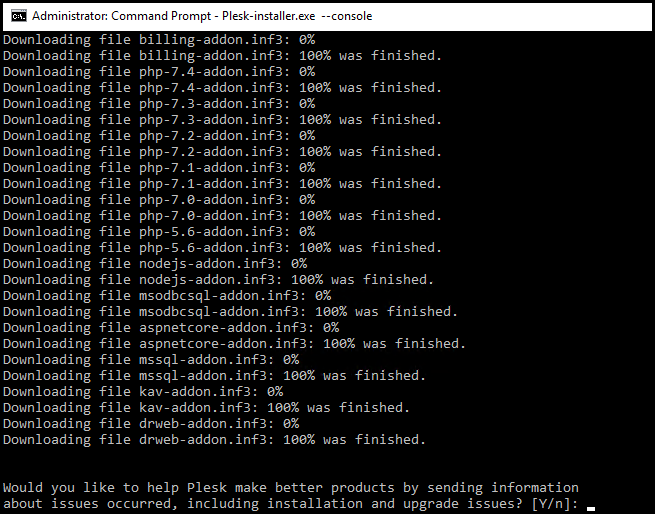
4. Plesk will start downloading the required components and asks for your consent to send bug/crash reports to improve the panel experience. If you want to agree to it enter Y. If you don’t want to send the information to Plesk directly, you can decline it by typing N.
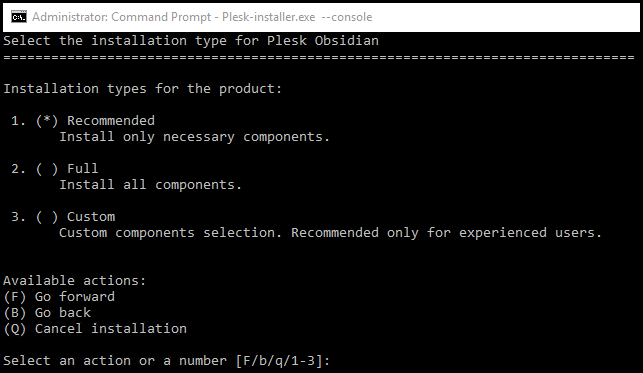
5. Here, you need to select the version of Plesk that you would like to select from Recommended, Full, or Custom. We will go with a Recommended option for this article, and if we require any component that is missing post-installation, we can install it later using Add/Remove Feature. Now, enter 1 and then enter F.
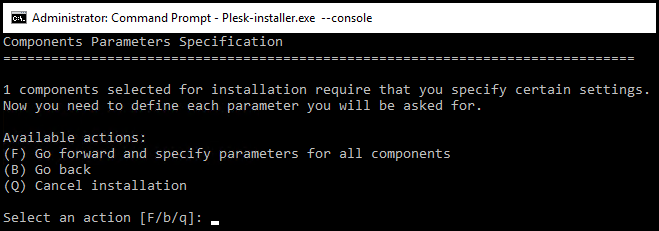
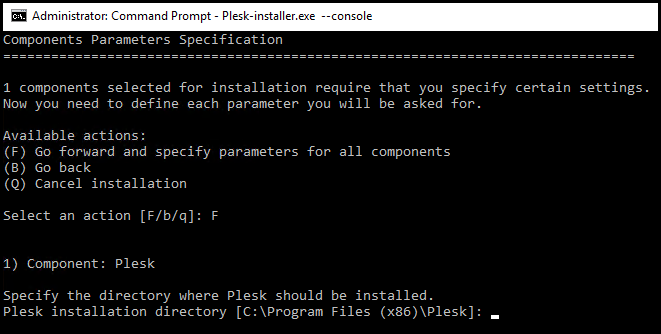
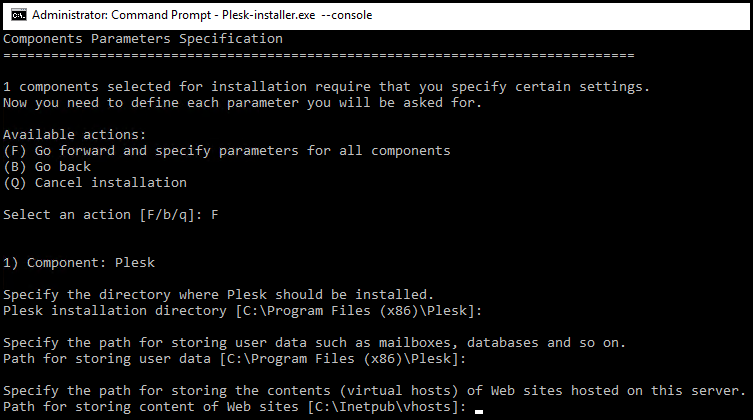
6. Next, you need to define the parameters for the components to be installed. Here, select F (Go Forward specify parameters to all the components).
7. Now, define the Plesk installation directory. On our installation server, we have default C: partition. So, we don’t want to change the installation directory. In this case, we will hit Enter and go ahead with the process. If you want to change the directory of the Installation, define that in this step.
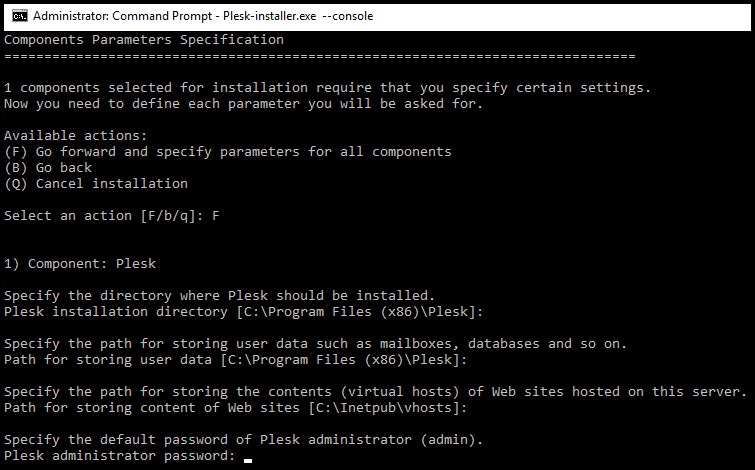
8. Then, you can specify the path for storing user data or leave it as default by clicking the enter key.

9. Next, you can specify the path for storing contents on virtual hosts or leave it as default by clicking the enter key.
10. Now, configure the Plesk administrator password.
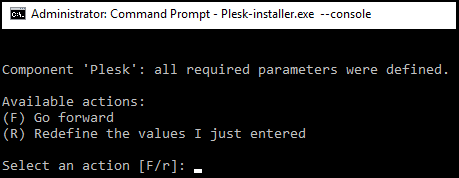
11. Next, you will see the message “Component Plesk: all required Parameters were defined“, to process next, enter F.
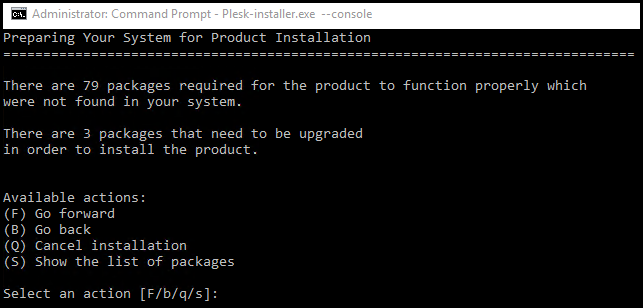
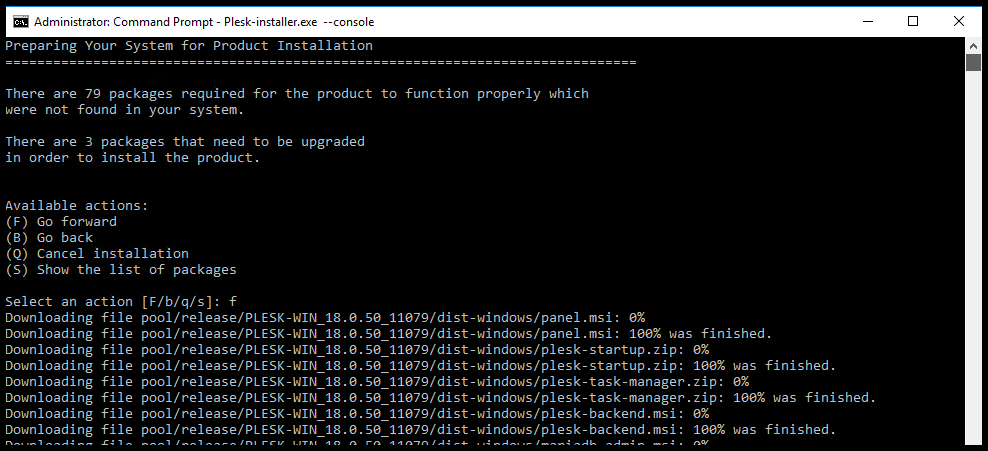
12. Again, if you want to list the packages installed in the installation process, then enter S. If you want to go forward with the process, enter F.
13. Finally, Plesk will start the installation of all the packages and components which are required.
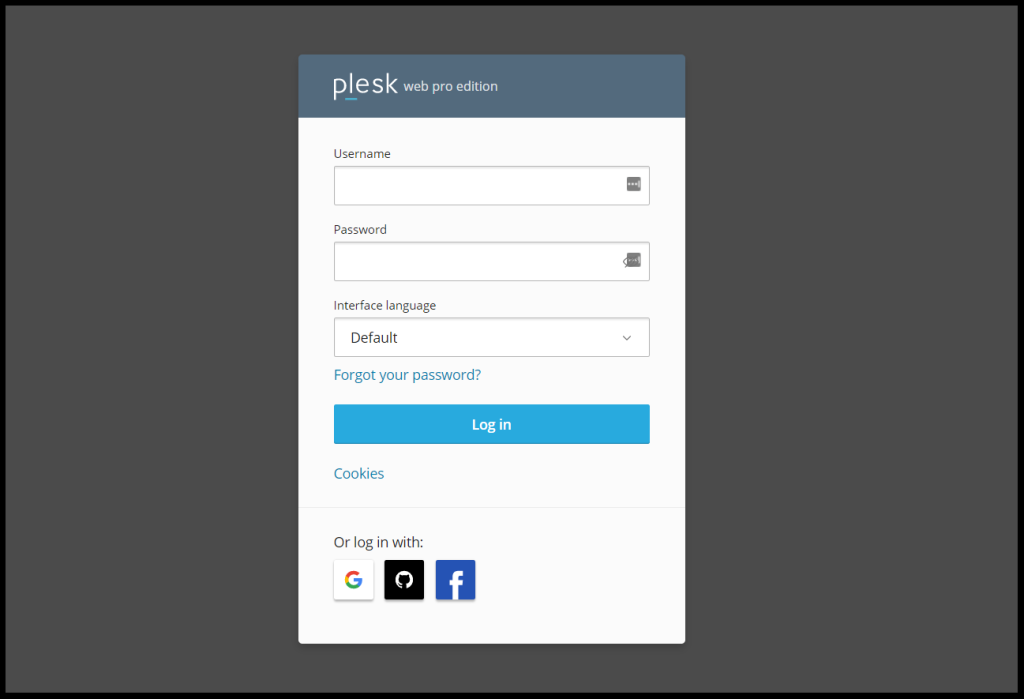
14. After Installation, you can access Plesk using,
https://your-server-ip or https://server-hostname
https://your-server-ip:8443 or https://server-hostname:8443