Private Internet Access is the leading Virtual Private Network (VPN) service provider available in the market. Due to its affordability and the wide range of location choices many windows based users love to have it installed and use it on their windows server. We continuously get queries on how to install PIA (Private Internet Access) on a windows server, and here we go. Let’s get started!
Installation
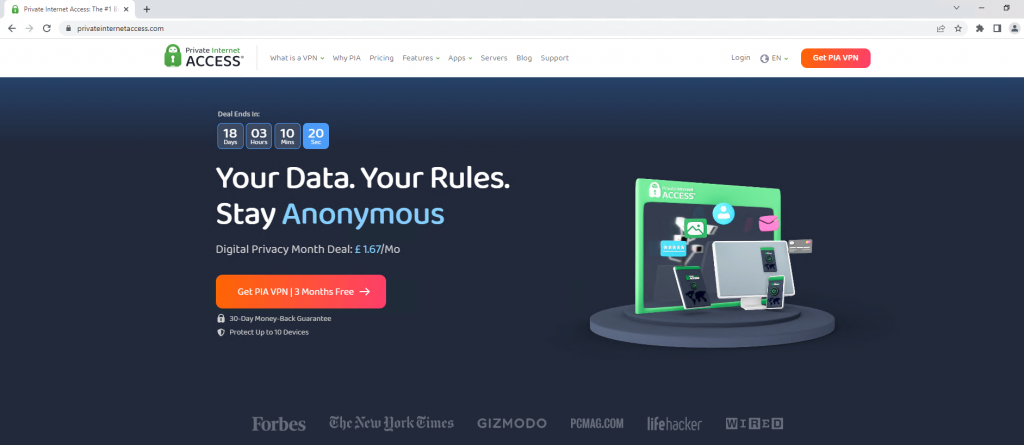
First, visit https://www.privateinternetaccess.com/.
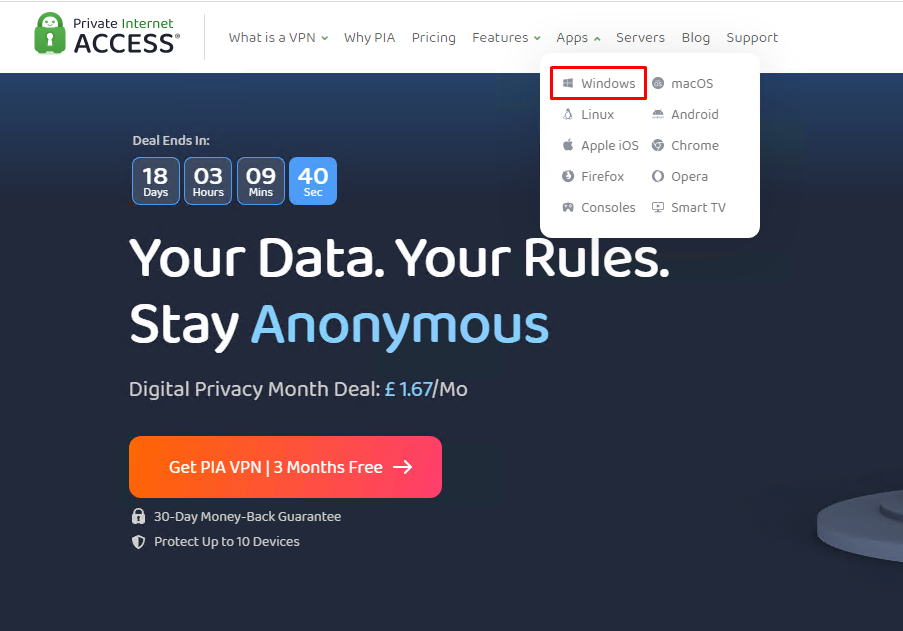
Navigate to Apps, and click on Windows to download the installer.
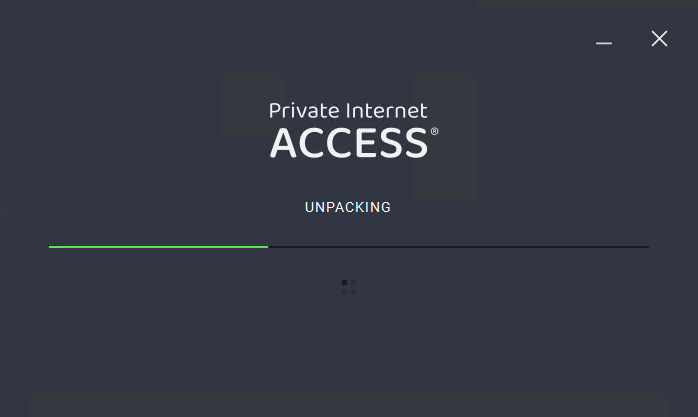
Double–click on the installer and the installer will start the installation of the PIA VPN application. It will take time depending on the server’s performance.
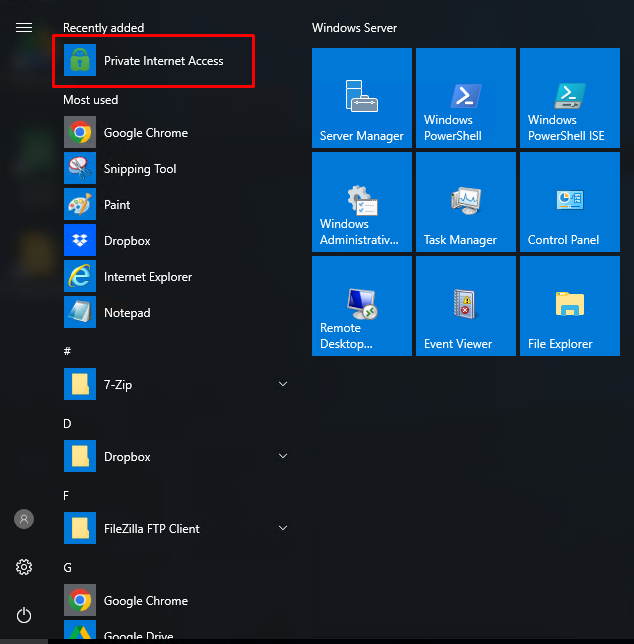
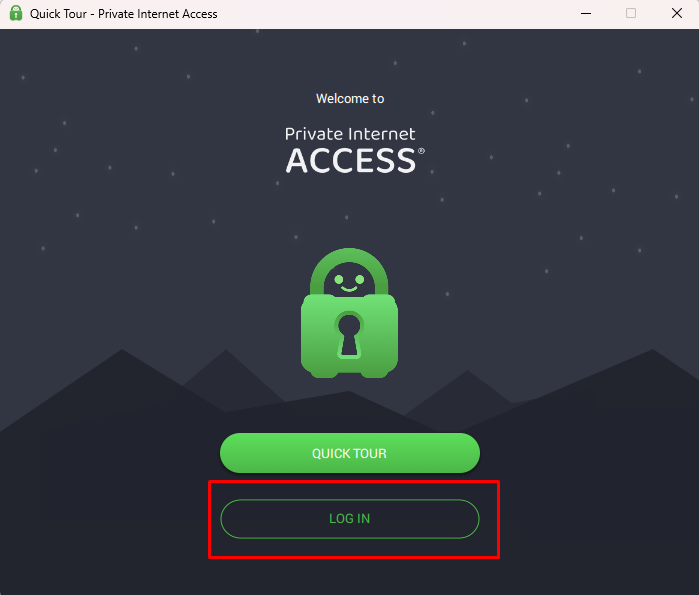
Now, search and open the Private Internet Access application.
Next, click on Login. You can also click on QUICK TOUR to get familiar with the application.
Enter your Registered Email Address and Password.
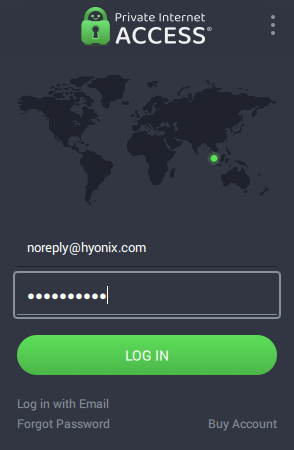
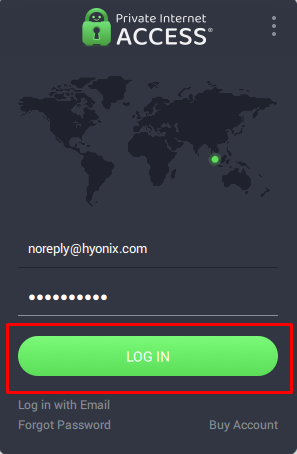
Finally, click on Login.
Now, you should have a list of available VPN locations, just click on any location to get connected to it.

Troubleshooting
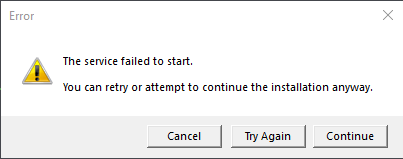
In many windows server operating systems; this is the common error you will face “The service failed to start” it is because WLAN packages aren’t installed on the server which allows the PIA application to start.
Follow the below steps to install Wireless LAN Service,
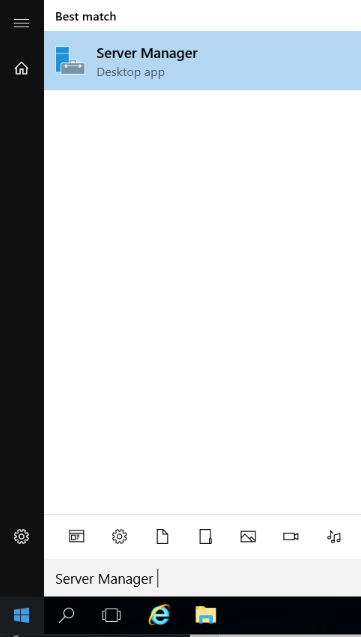
1. Login to Windows Server → Search and Open “Server Manager“.
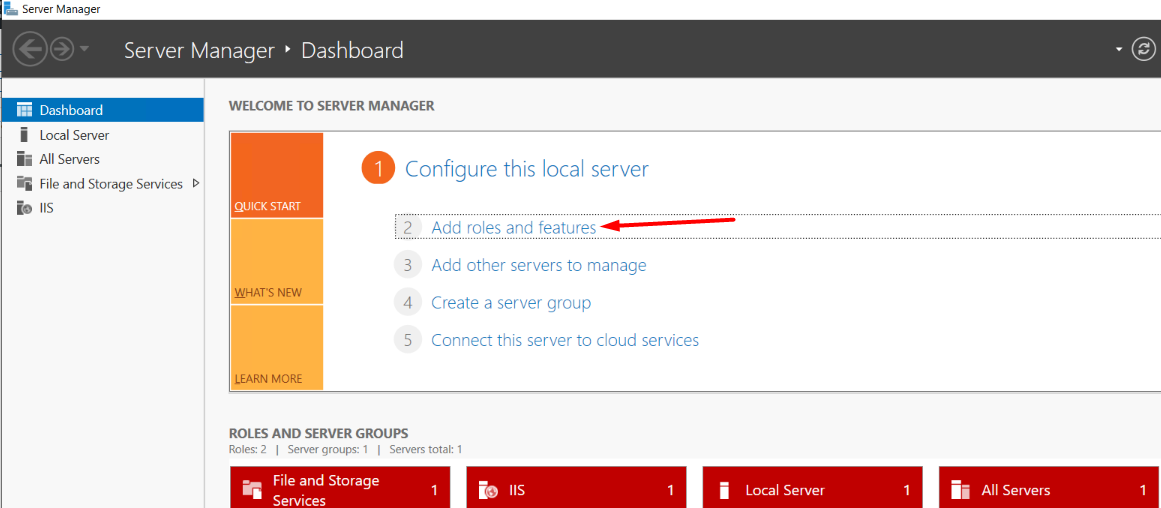
2. Click on “Add Roles and Features“.
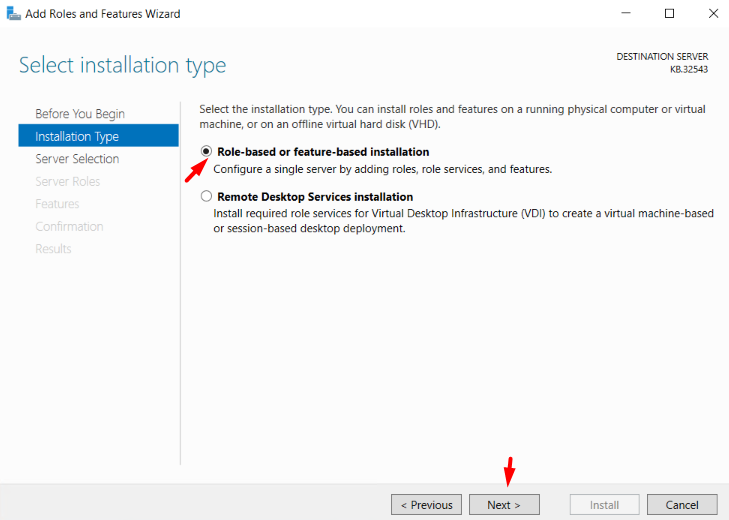
3. In the Installation Type section, select Role-based or feature-based installation → Next.
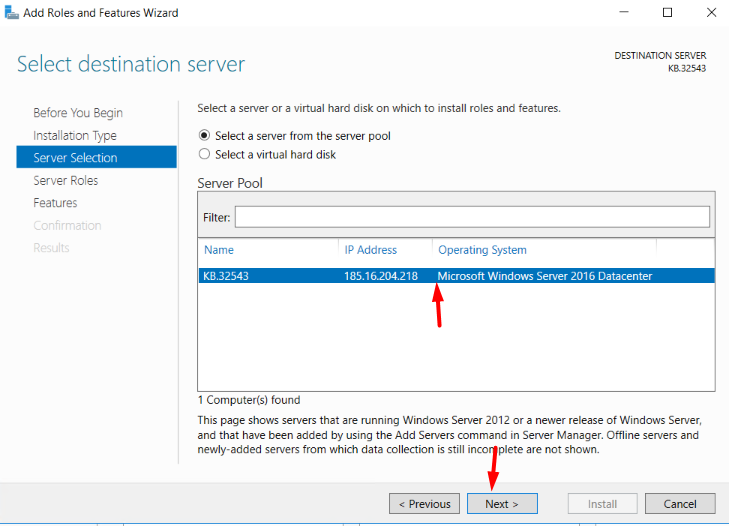
4. In Server Selection, select your Windows Server; if your server is configured in the network, then select the particular server from the list to process the installation → Next.
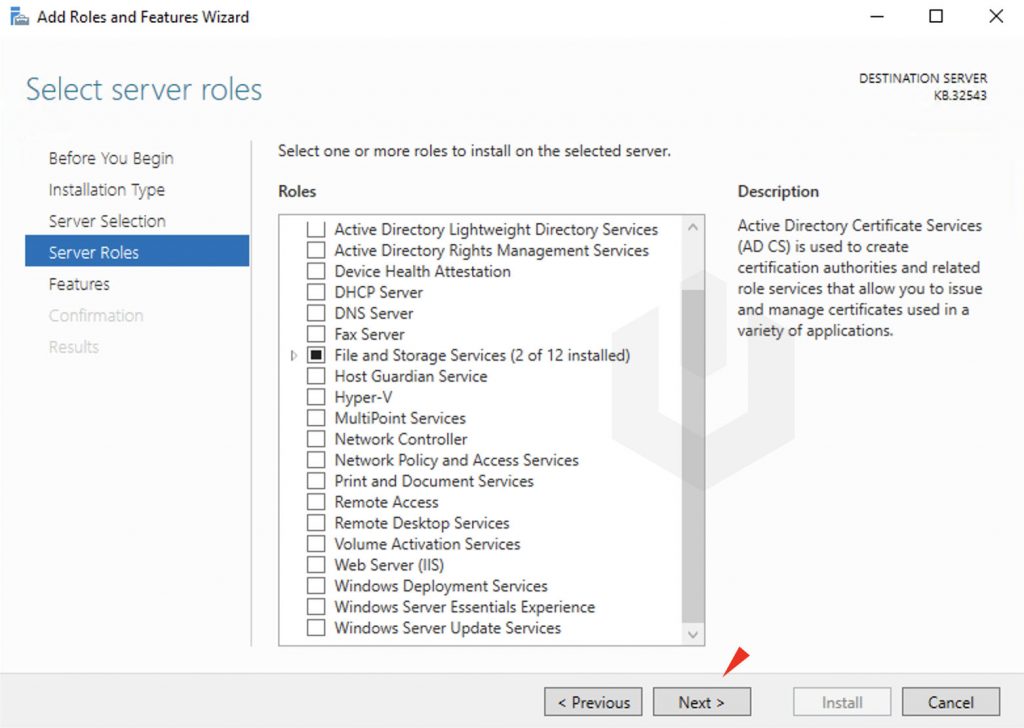
5. In the Server Roles, click on Next.
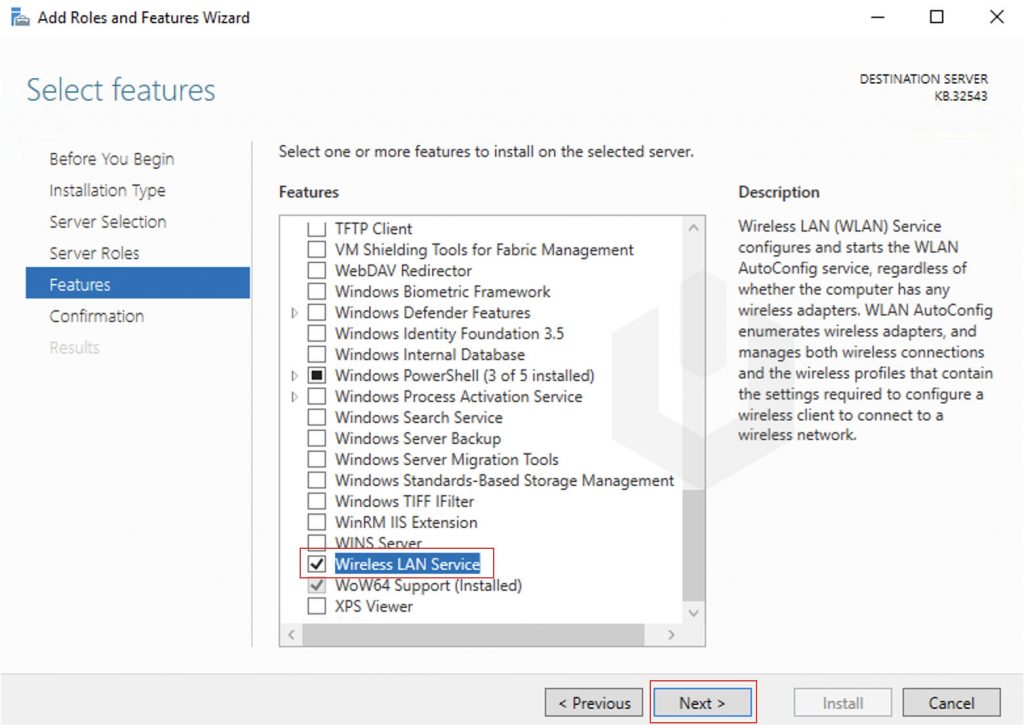
6. In the Features, select Wireless LAN Service → Click on Next.
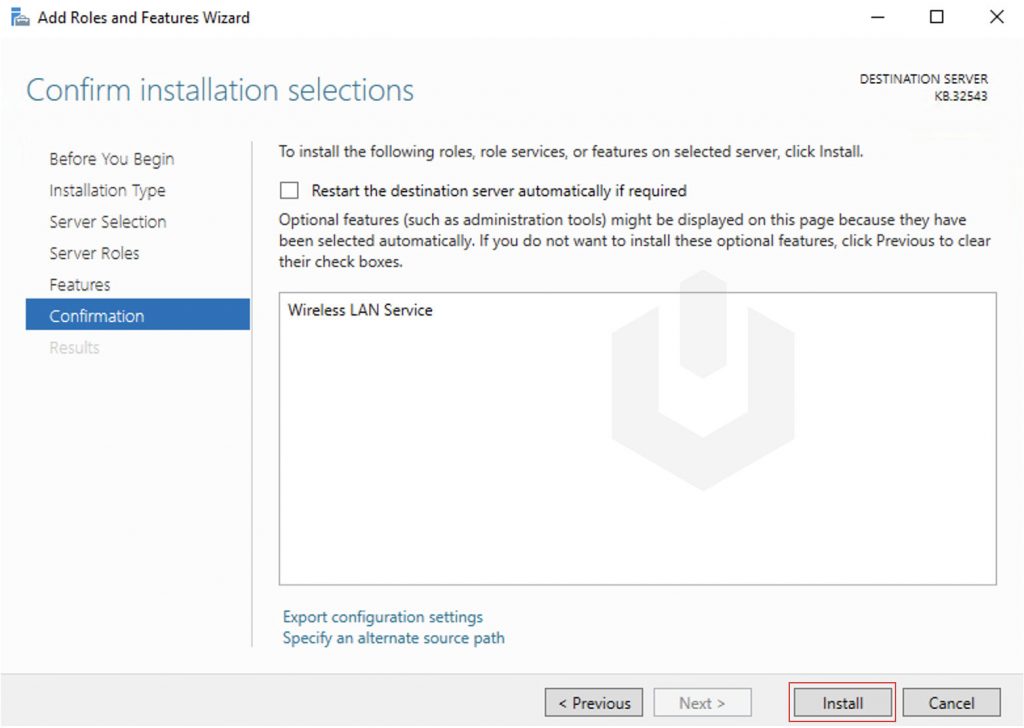
7. In the Confirmation, you will see the summary of components that are about to be installed on the windows server → Click on Install.
8. Congratulations! You have successfully installed Wireless LAN Service.
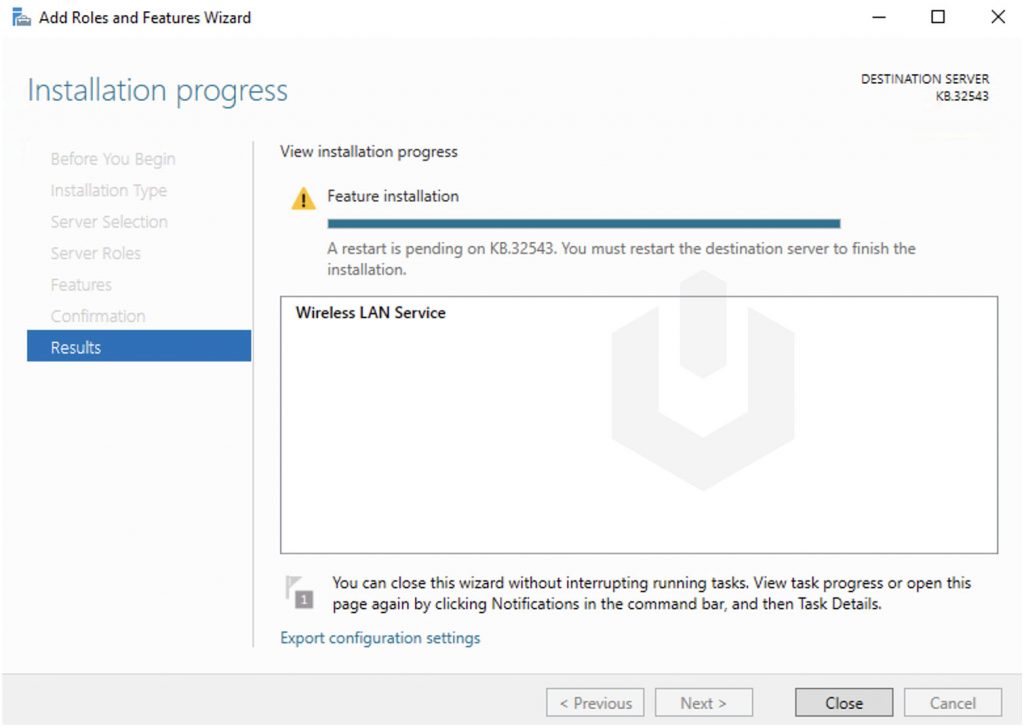
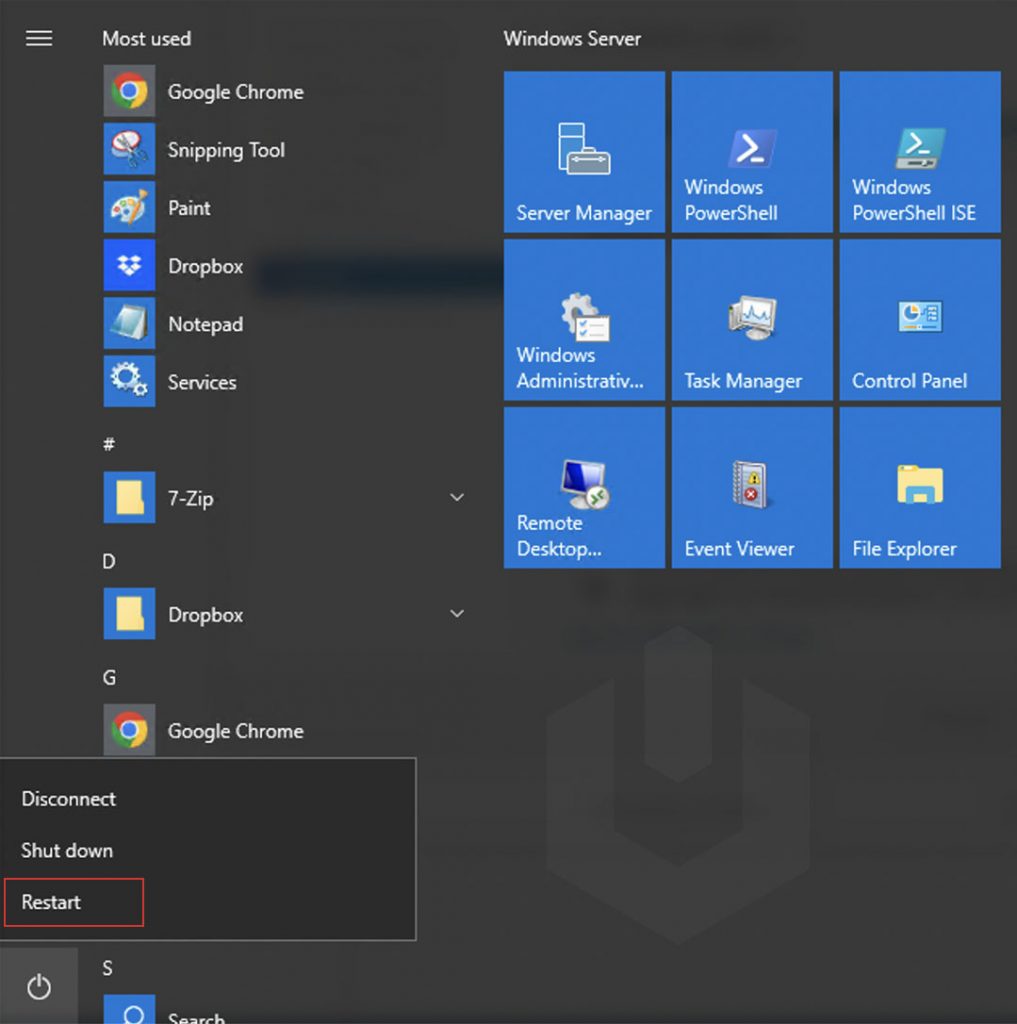
9. Finally, restart the Windows Server to make the changes live.
Now, try to install/login the Private Access Internet application!