NodeJs is a javascript runtime that runs Javascript outside the web browser. It is open-source and supported for Linux as well as Windows. NodeJs is being used in traditional websites, and due to lets single threat operations, it is also used in back-end API. In this article, you will learn how to install NodeJS on a Windows Server.
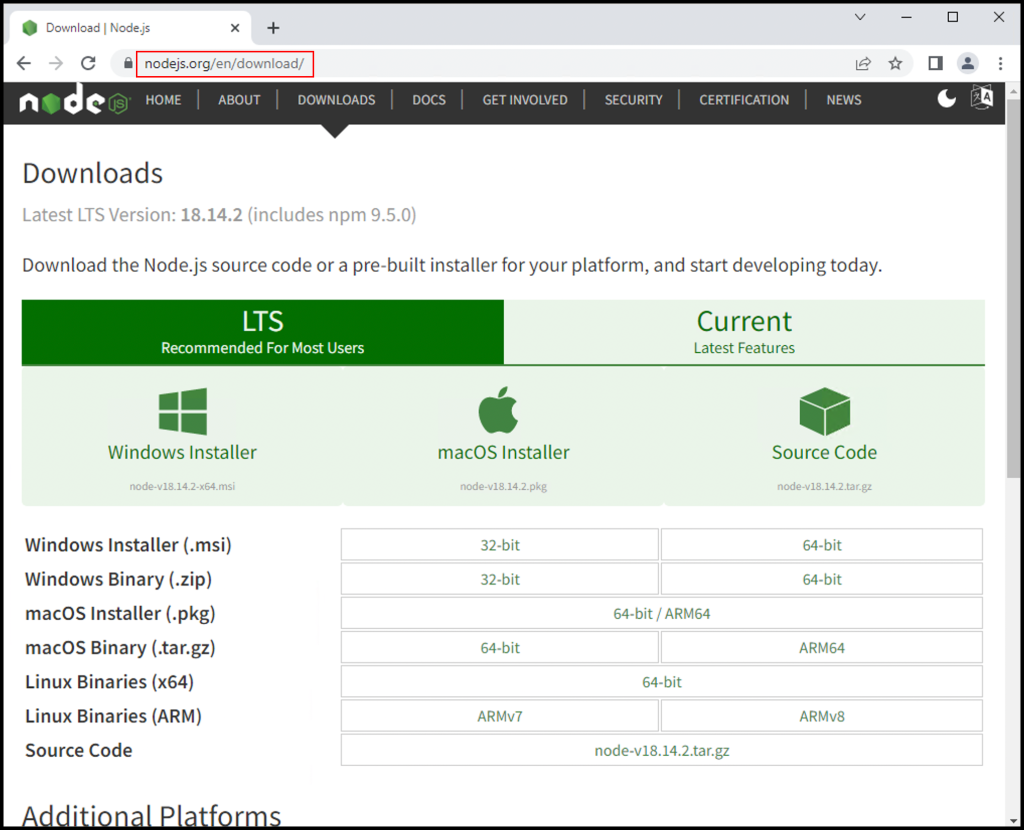
1. Download the NodeJs installer file as per your system specifications on your Windows server from https://nodejs.org/en/download/
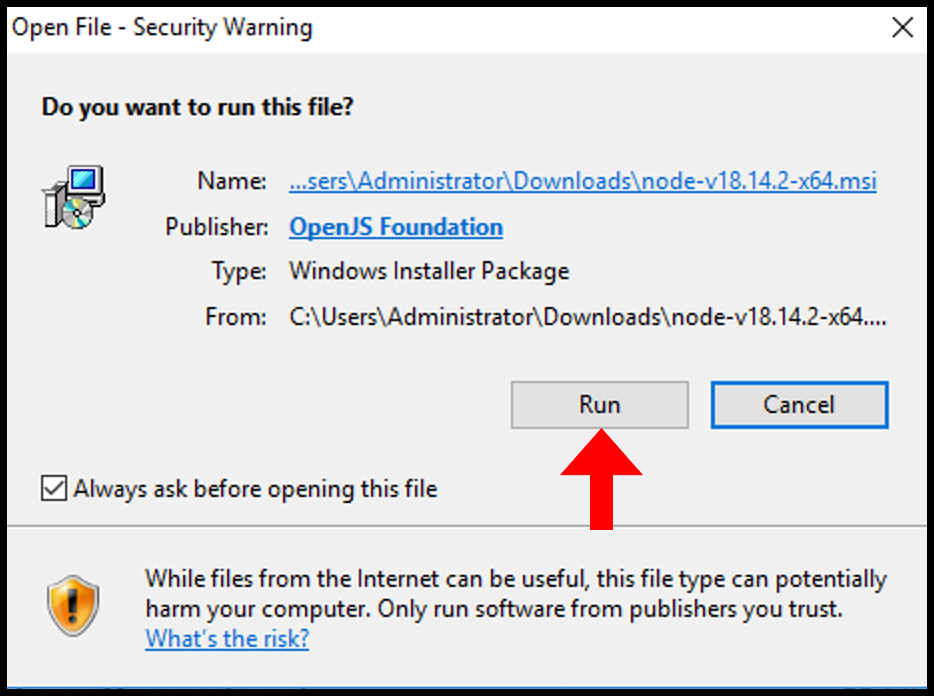
2. Then open the downloaded file and click Run to begin the installation of NodeJS.
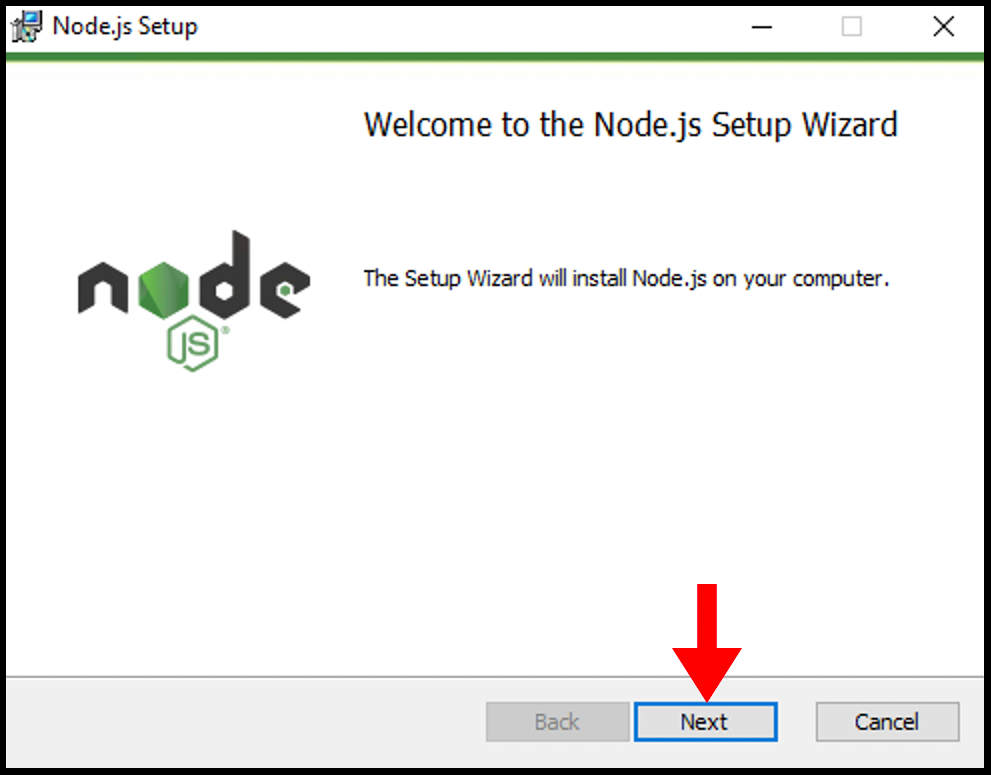
3. You will then be greeted by the welcome screen for the Node.js Setup Wizard, click Next to move on.
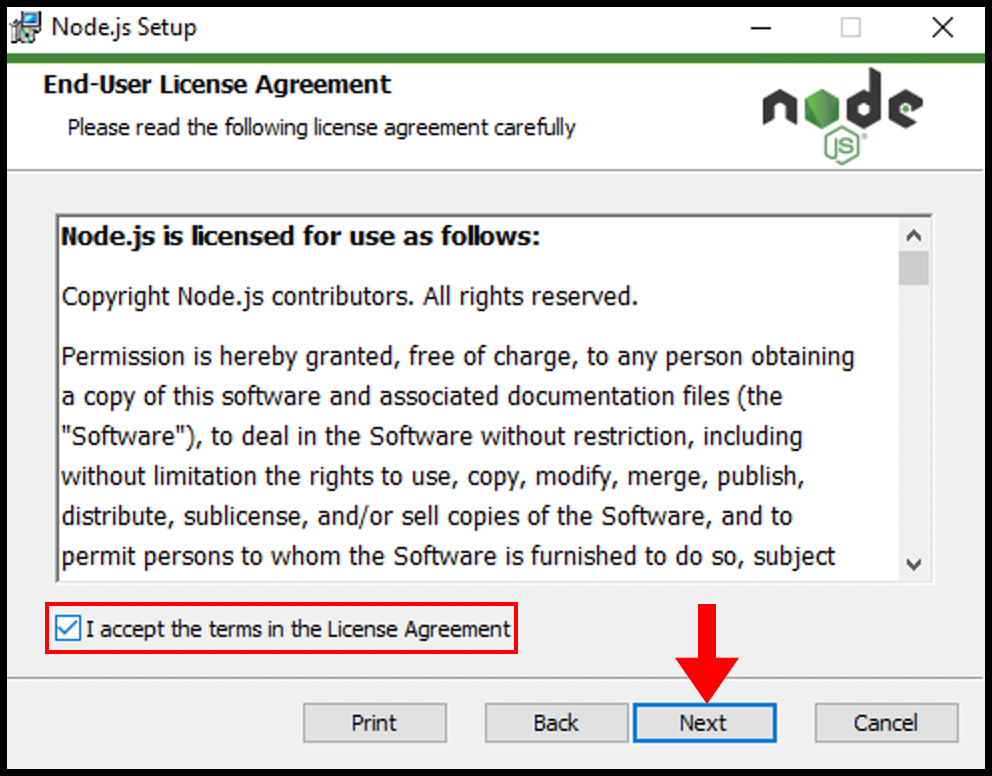
4. Next, read the End-User License Agreement once done click I accept the terms in the License Agreement and then click Next to continue with the setup.
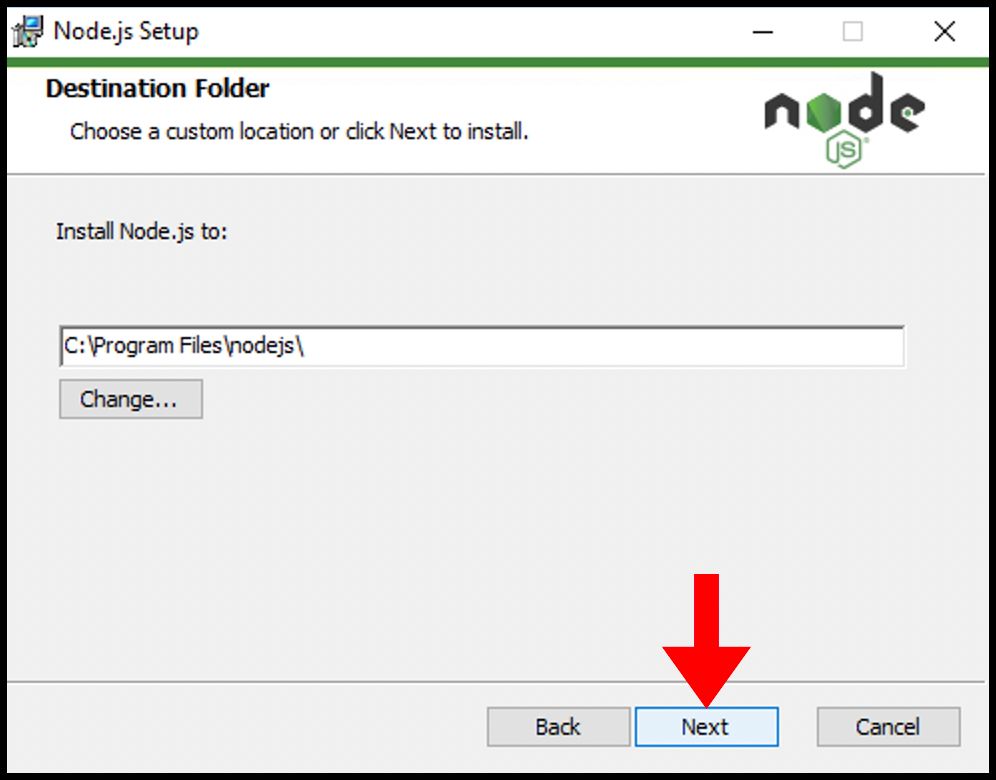
5. Next, you can set a destination folder, the setup wizard will automatically create one but if you desire to change it you can click Change. We will be leaving it as default and clicking Next to move forward.
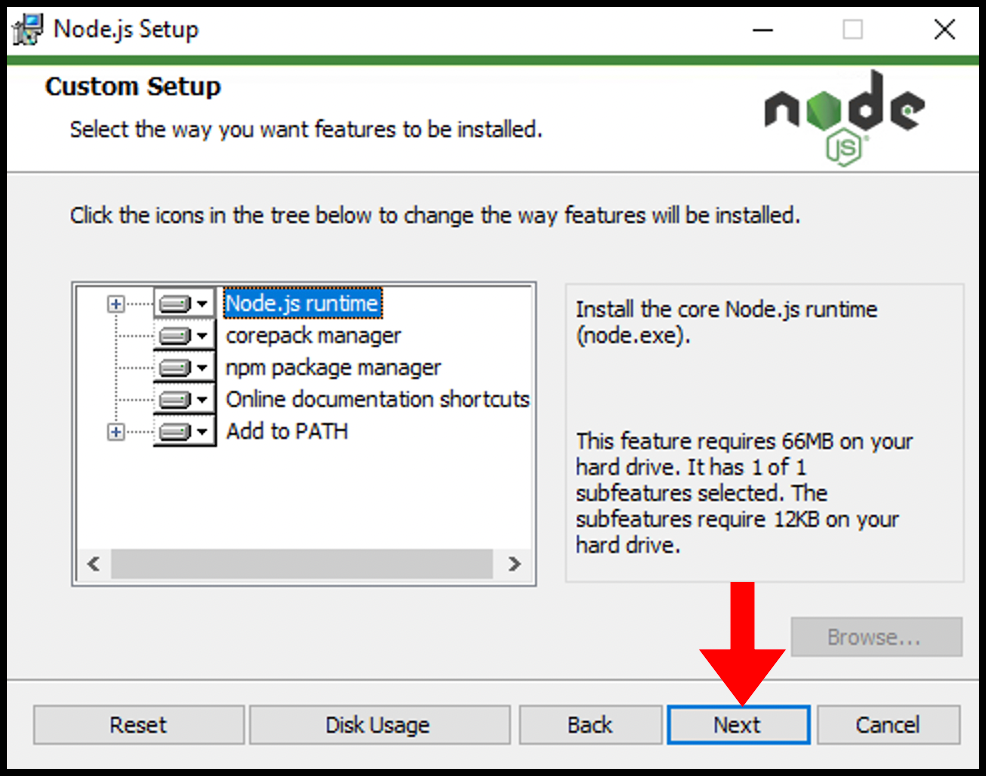
6. In the Custom Setup, you can configure the way you want to install the packages of NodeJs. For the purposes of this guide we will leave it as default, click Next to move on.
7. In this step, you can select the necessary tools to compile native modules of NodeJs. For this guide, we will be leaving it as default click Next to move forward.

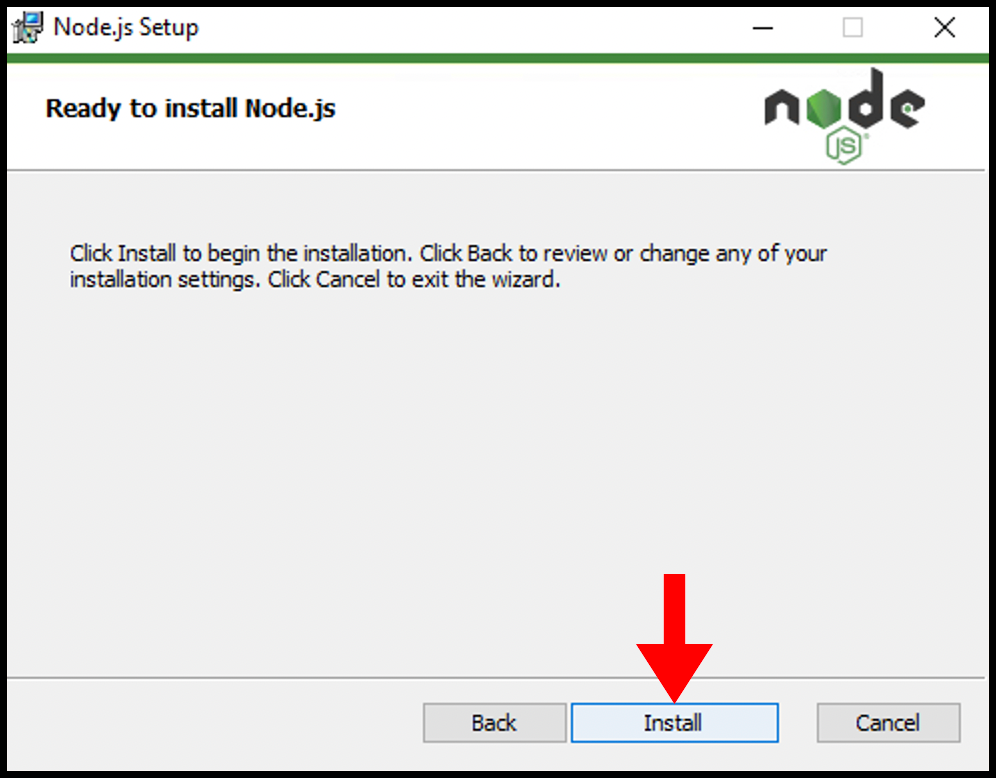
8. Finally, you are all set to start the installation of NodeJs. Click on Install to begin the installation.
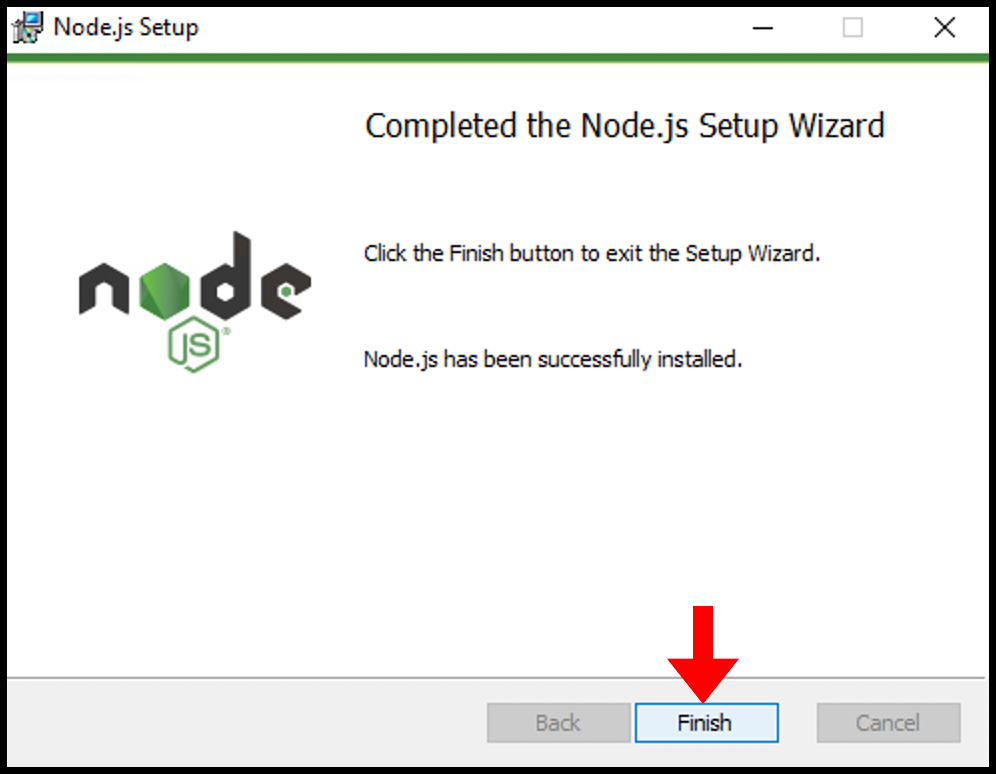
9. Congratulations! NodeJs has been successfully installed on the Windows server.