Production servers and working environments require plenty of applications and programming engines on the server. To deploy and run Java-based projects on the server, you will need to install Java on the windows server.
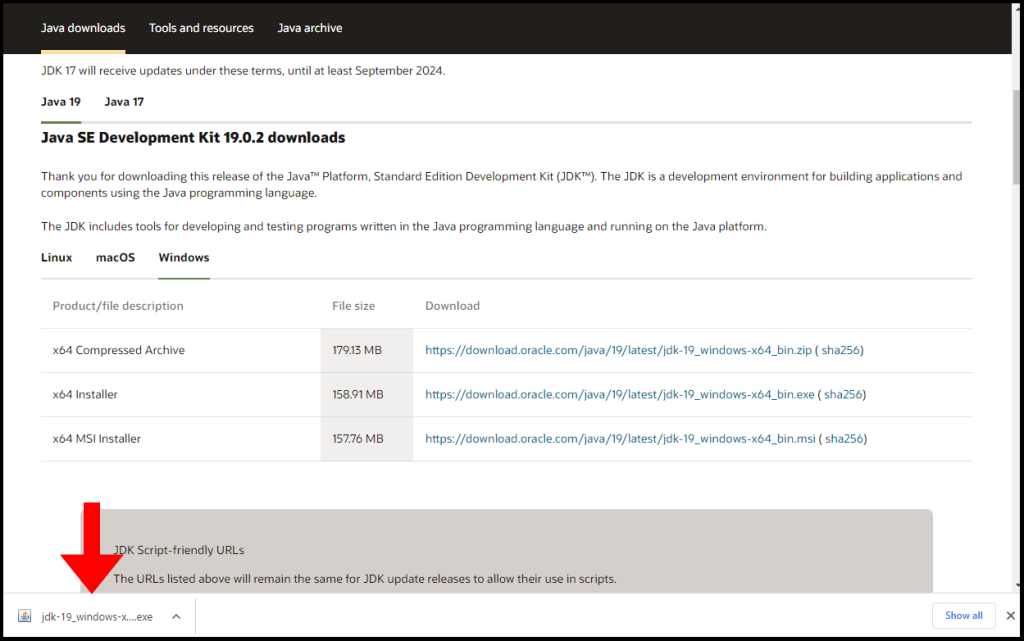
1. To start, log in to your Windows VPS and open your internet browser of choice, in this case we will be using Google Chrome, and visit the website here. Then click Windows and click the download for x64 Installer.

3. Next, click on the download to run the installer as seen below.
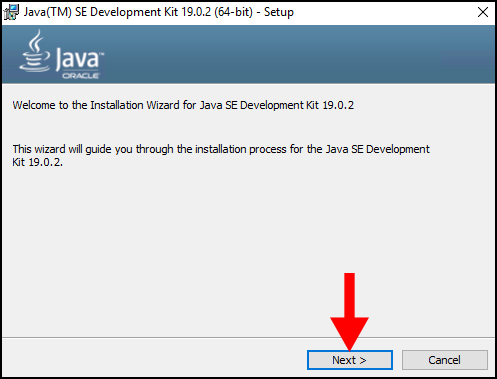
4. The setup window for the installer will open and click Next to start.
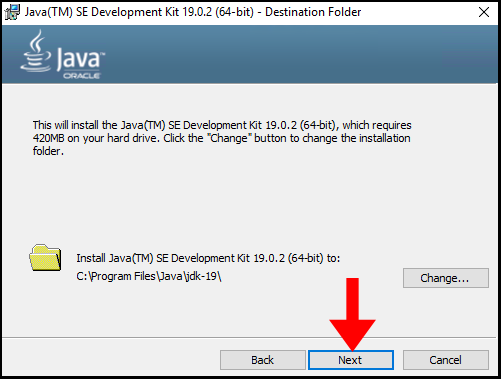
5. On the next page, click Next to proceed with the setup.
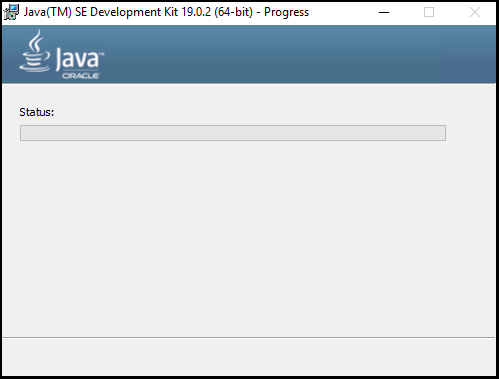
6. Now the installation will begin on this page with the Status and progress bar.
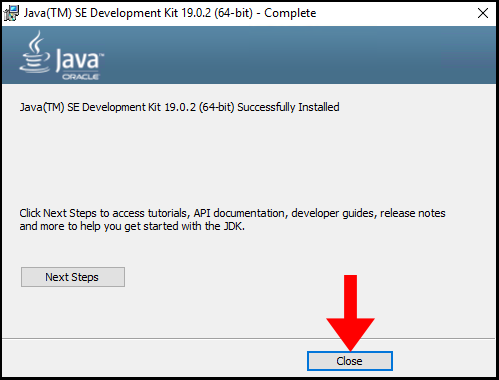
7. Once the installation is complete, you will see a similar screen as below and you can close out the wizard by clicking Close
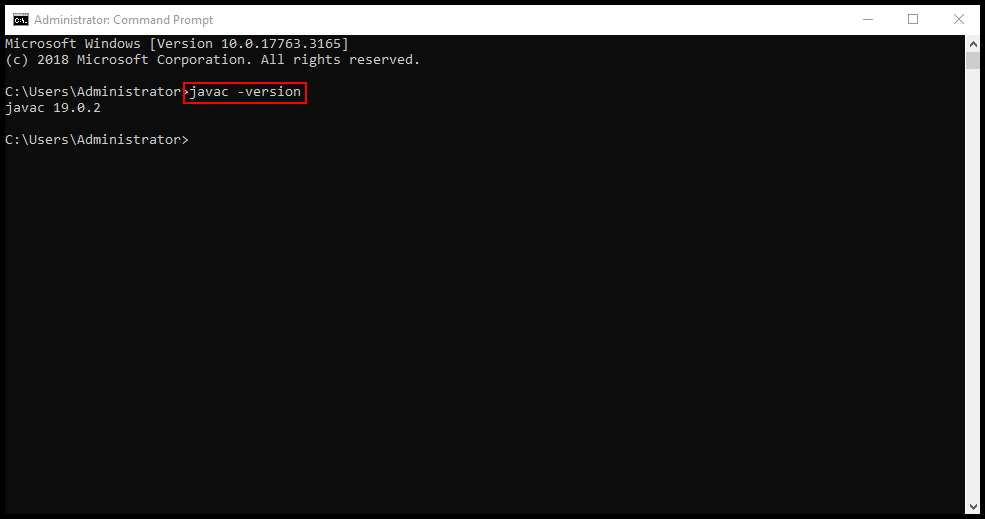
9. To verify the Java installation version, open Command Prompt, and type in the following command. You should see a response with the Java version appear, similar to the image below. We have successfully gone through how to install Java on a Windows server.
javac -version