Every user or a client connected to a windows server requires a CAL (Client Access License). To manage client access licenses, you need RDS Licensing. This article teaches, how to install and activate the RDS licensing Role on Windows Server?
Install RDS Licensing Role
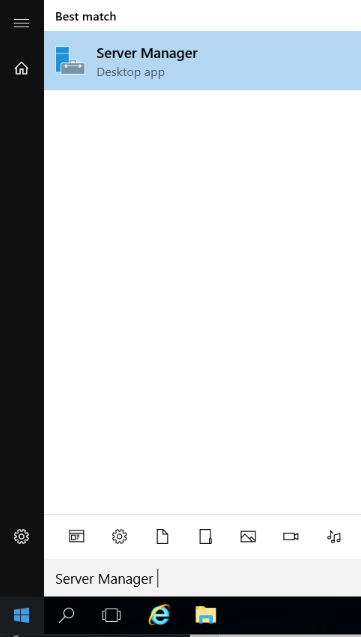
1. Login to Windows Server → Search and Open “Server Manager“.
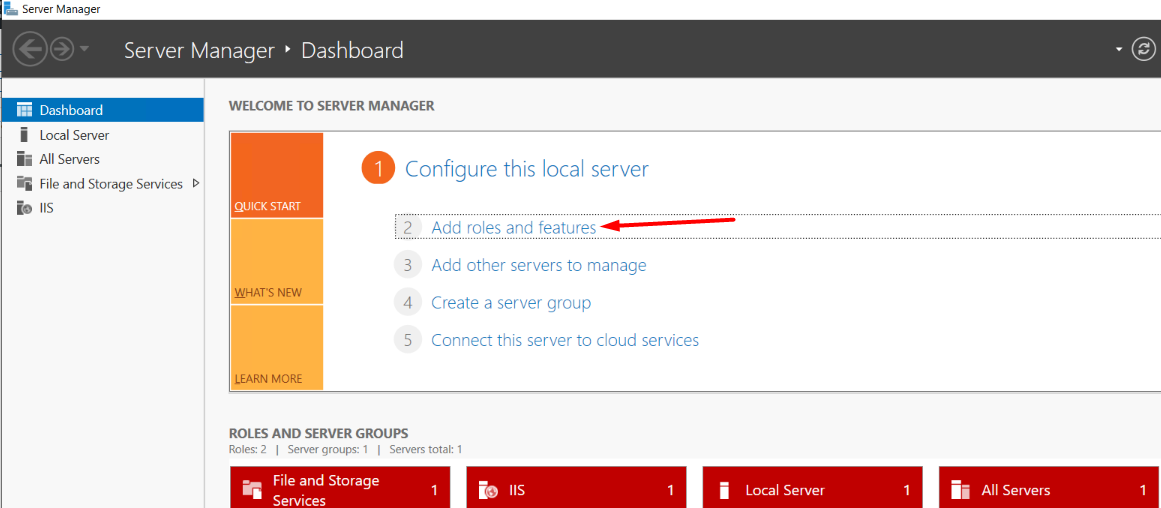
2. Click on “Add Roles and Features“.
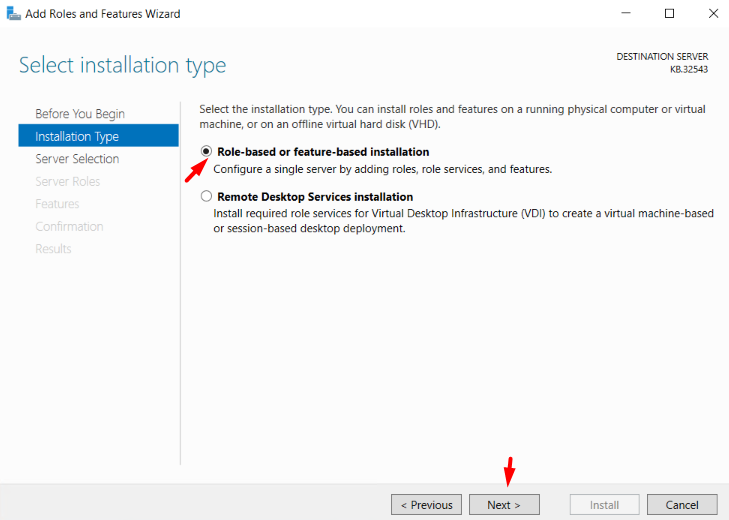
3. In the Installation Type section, select Role-based or feature-based installation → Next.
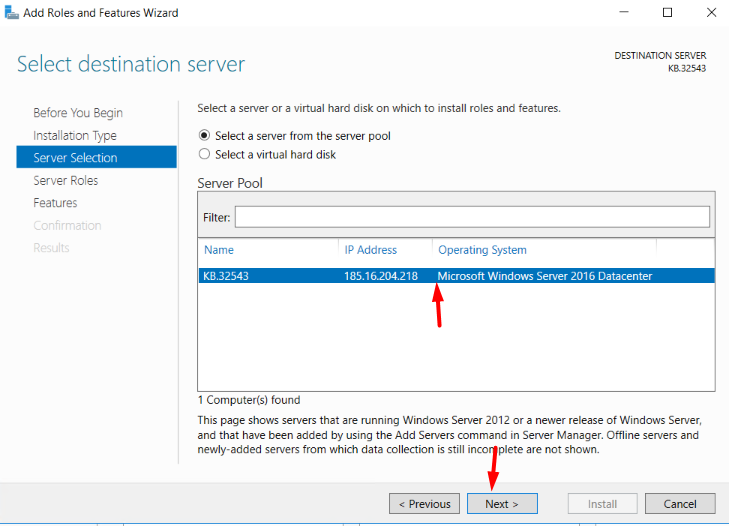
4. In Server Selection, select your Windows Server; if your server is configured in the network, then select the particular server from the list to process the installation → Next.
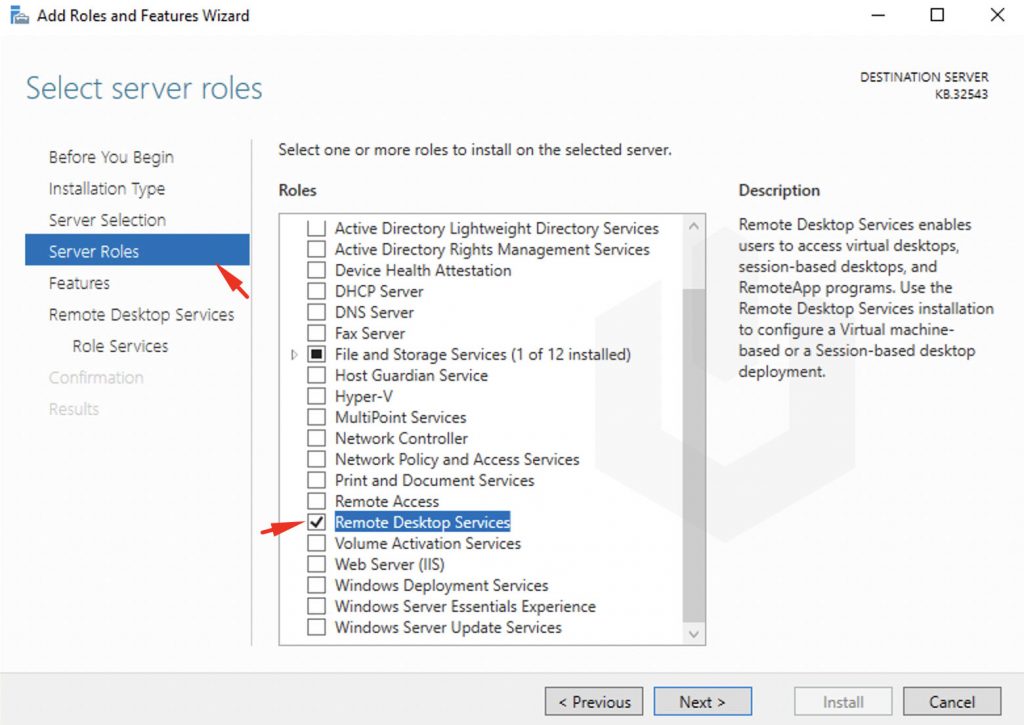
5. In the Server Roles, select Remote Desktop Services → Click on Next.
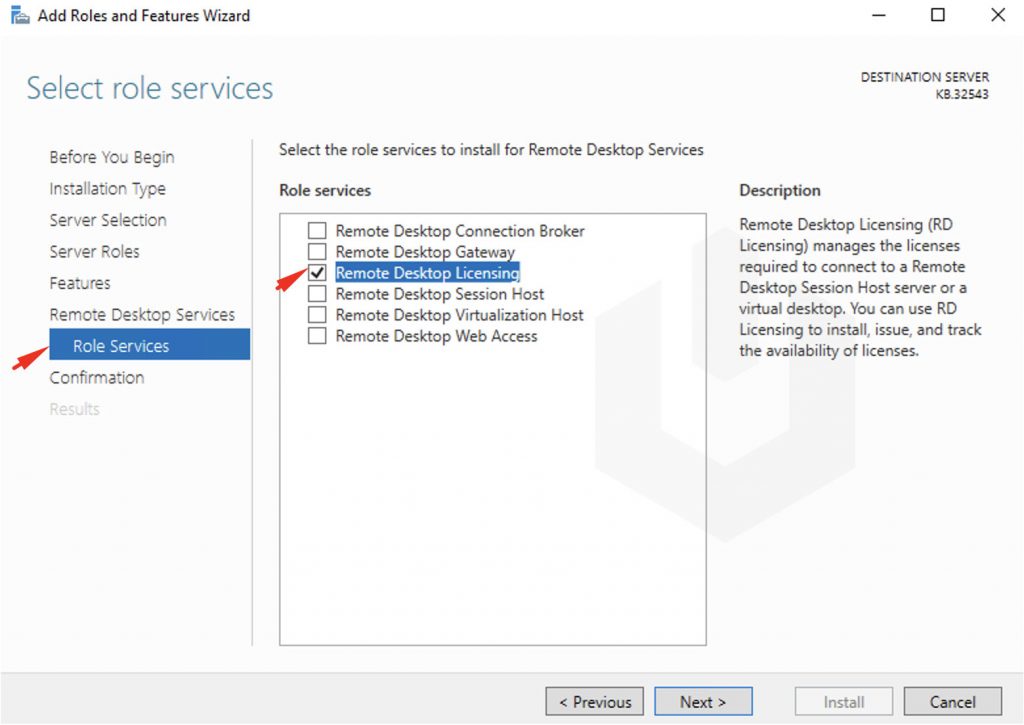
6. Skip to Role Services → Select Remote Desktop Licensing → Click on Next.
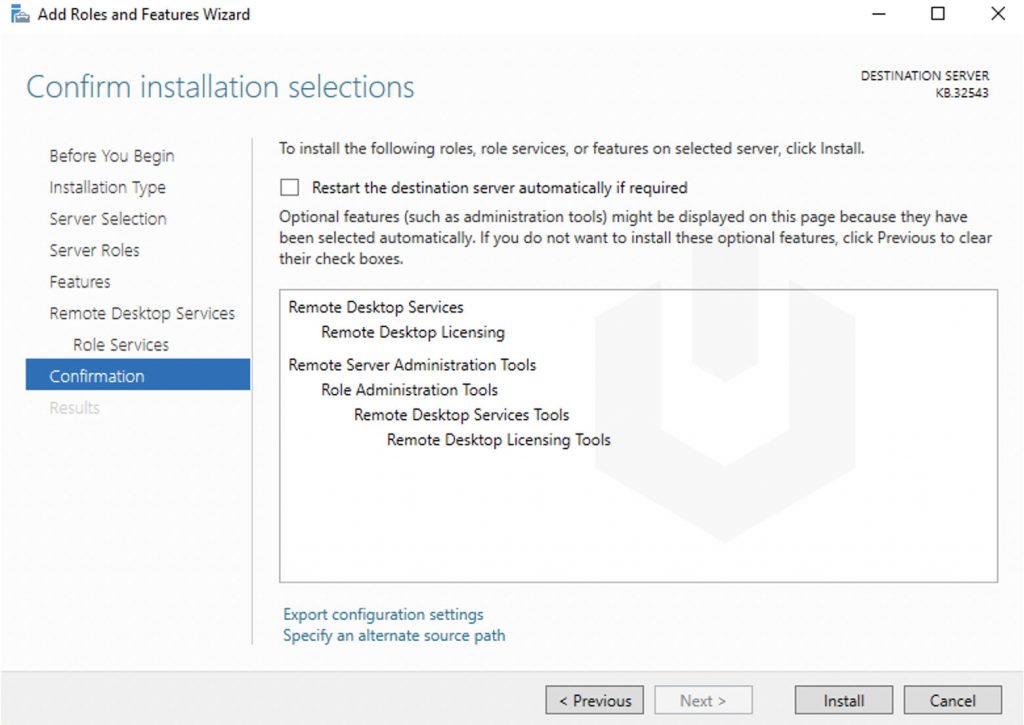
7. Finally, Click on Install.
8. Congratulations! You have successfully installed Remote Desktop Role Licensing.
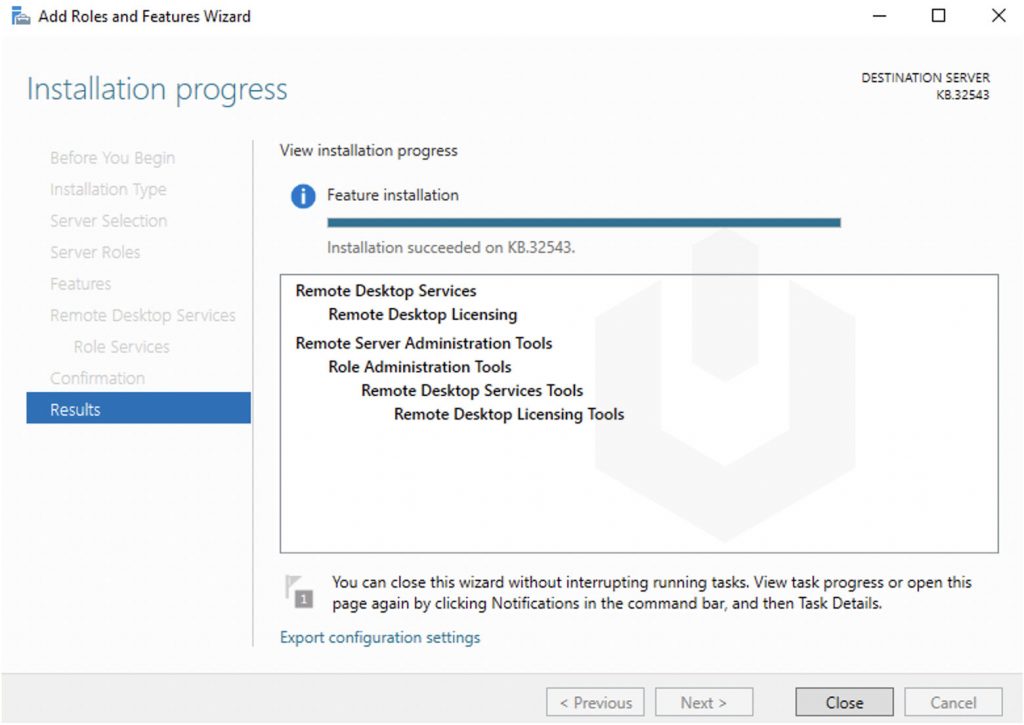
Now, you can manage the RDS service using the Remote Desktop Licensing Manager console (licmgr.exe).
Activating the RDS License Server
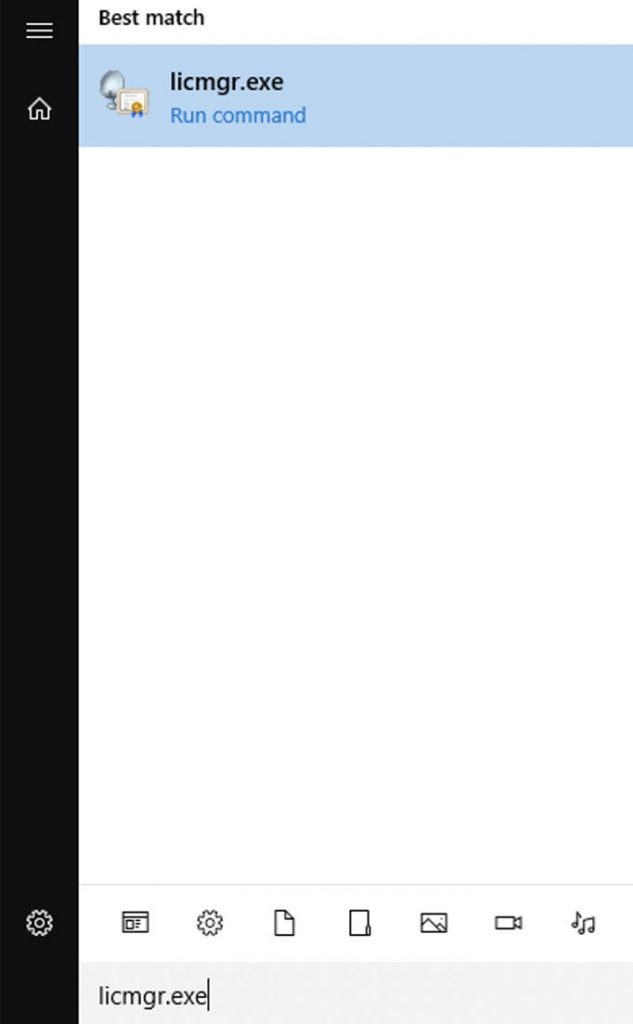
1. First, search and open Remote Desktop Licensing Manager (licmgr.exe).
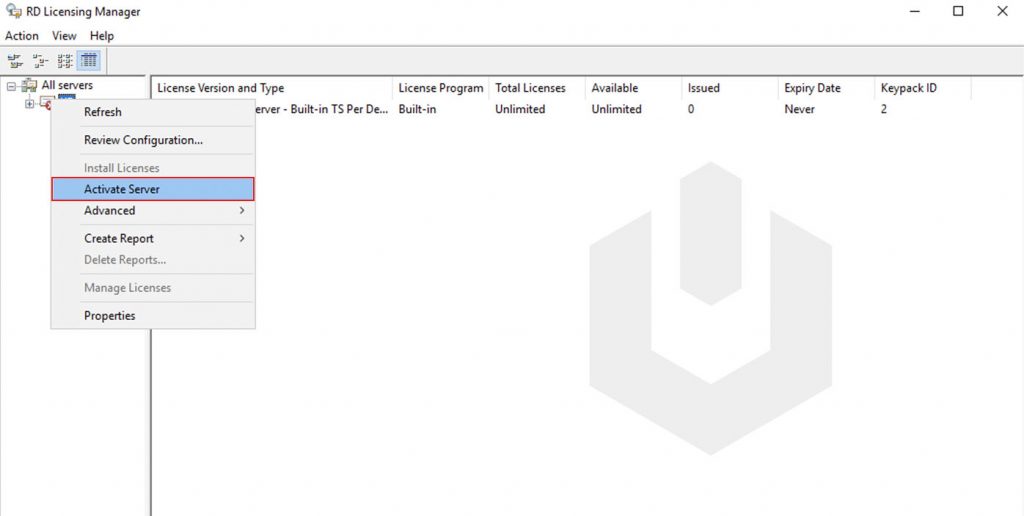
2. Expand All Server → Right–click on the RDS Server → Click on Active Server.
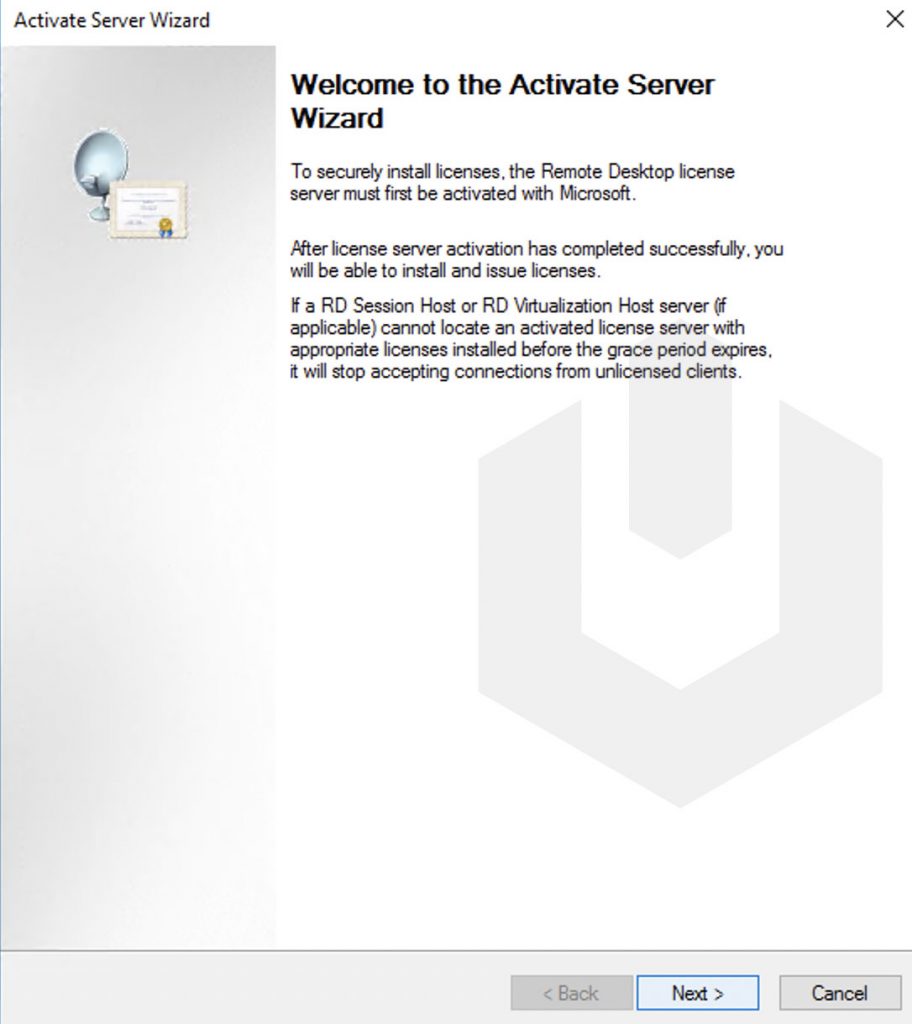
3. As soon as you click on Active Server, it will start the activation setup wizard, which will guide you through the activation. Suppose your windows server is directly connected to the internet. In that case, windows will directly get connected to the Microsoft servers to activate the RDS License Server, or else it will guide you through the procedure to activate the RDS license server using a web browser or phone → Click on Next.
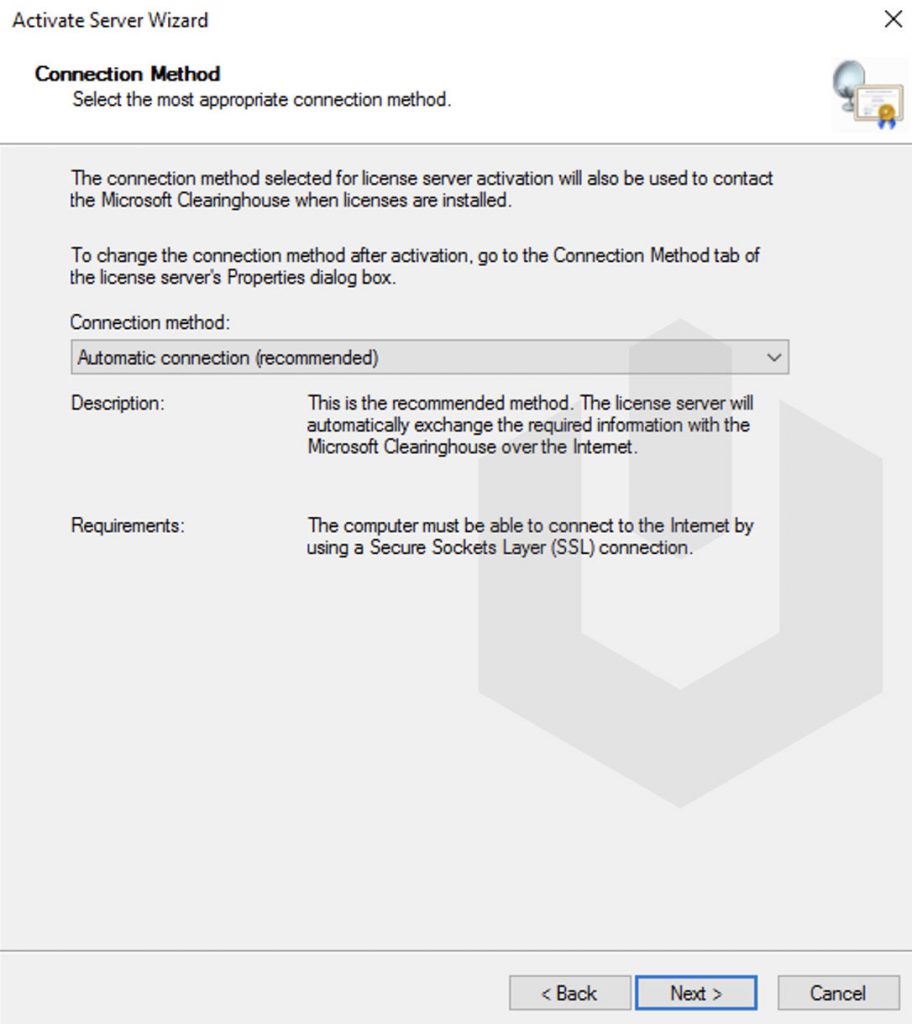
4. Our windows server is connected to the internet so we will select the Automatic connection → Click on Next.
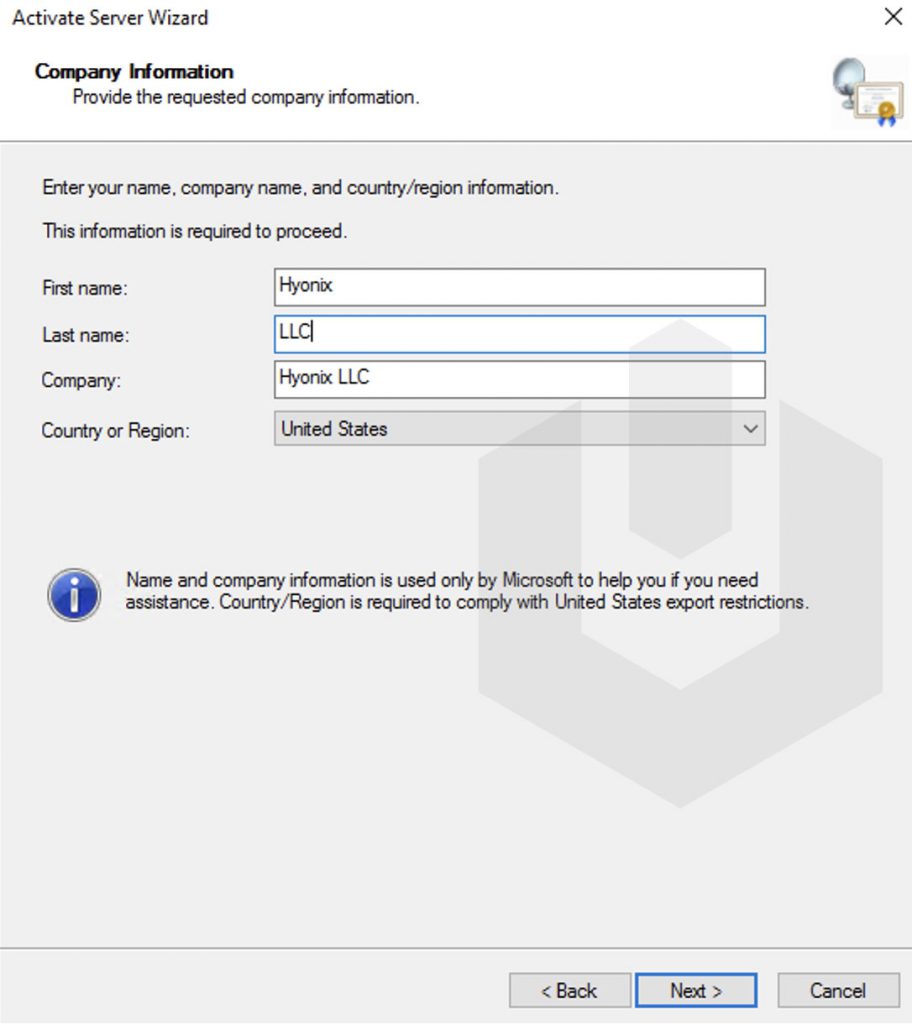
5. Enter the company information (First Name, Last Name, Company Name, Company Email Address, Address → Click on Next.
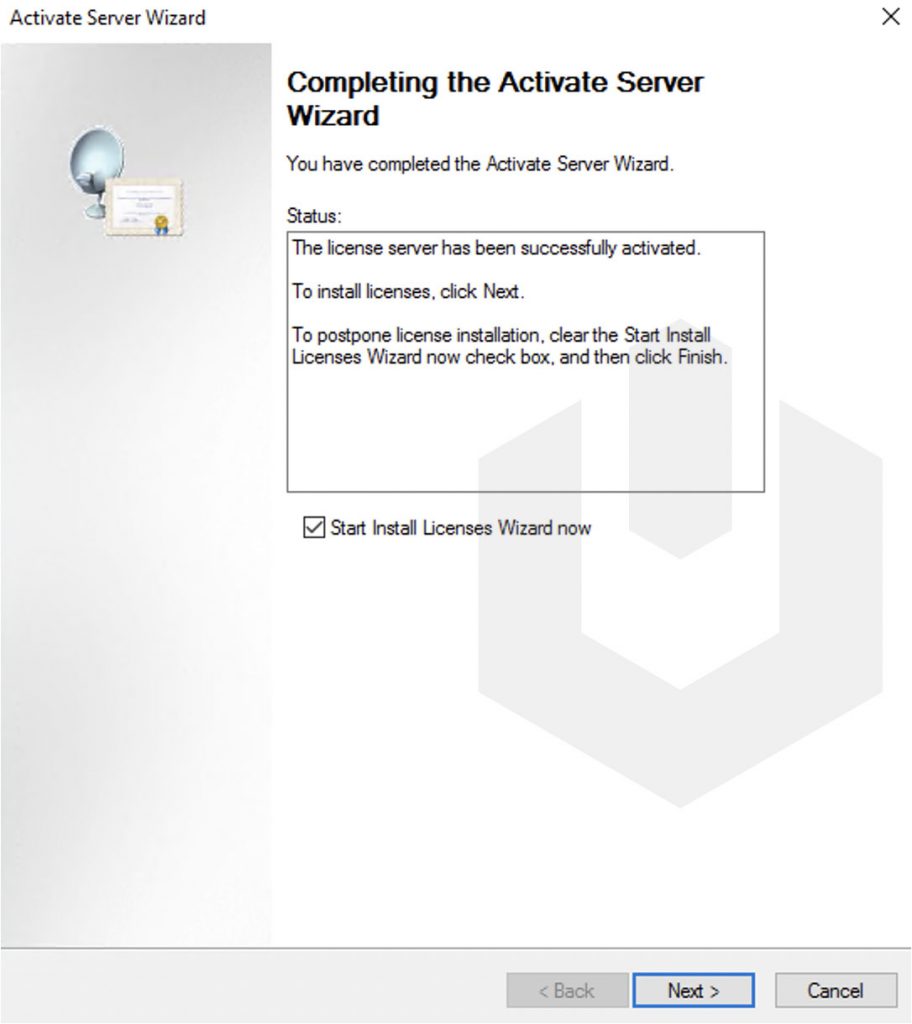
6. Congratulations! You have successfully activated the RDS license server.
