If you want to disable/enable Firewall in Windows server, there are 2 basic methods to do it. Please follow the method that is easier for you
Method 1. Via Server Manager
1.1 Disable Windows Firewall via Server Manager
If you want to disable Windows Firewall, please follow the following steps in 1.1
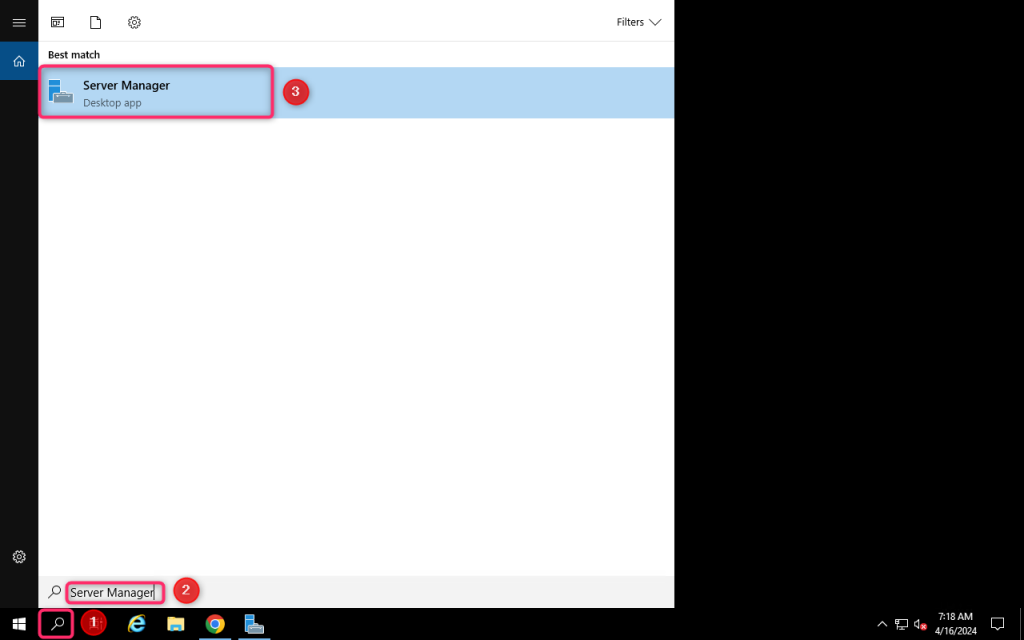
Step 1: Login to your Windows server, search and open Server Manager
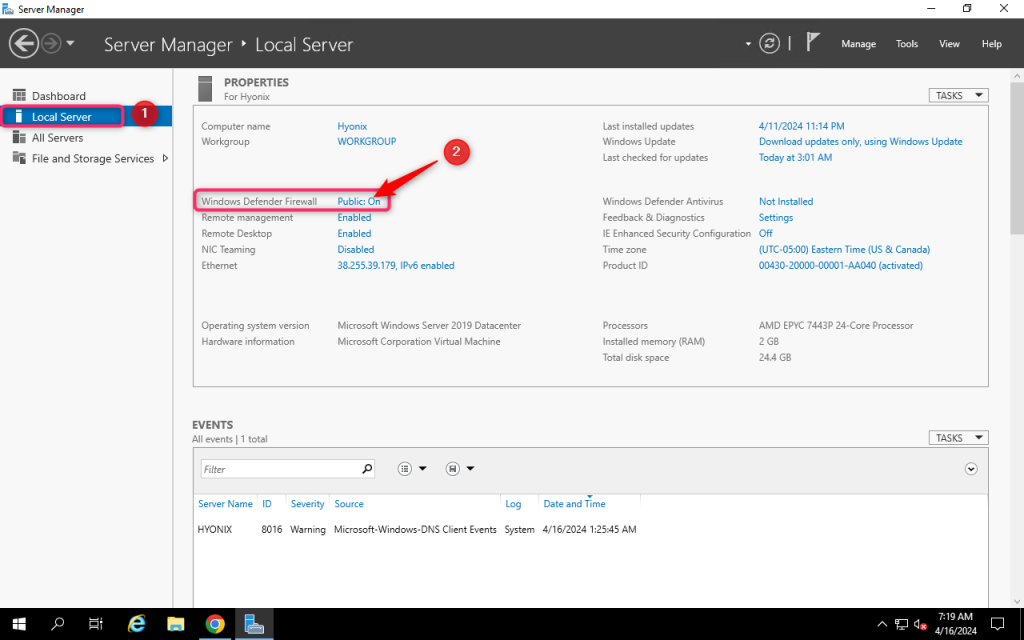
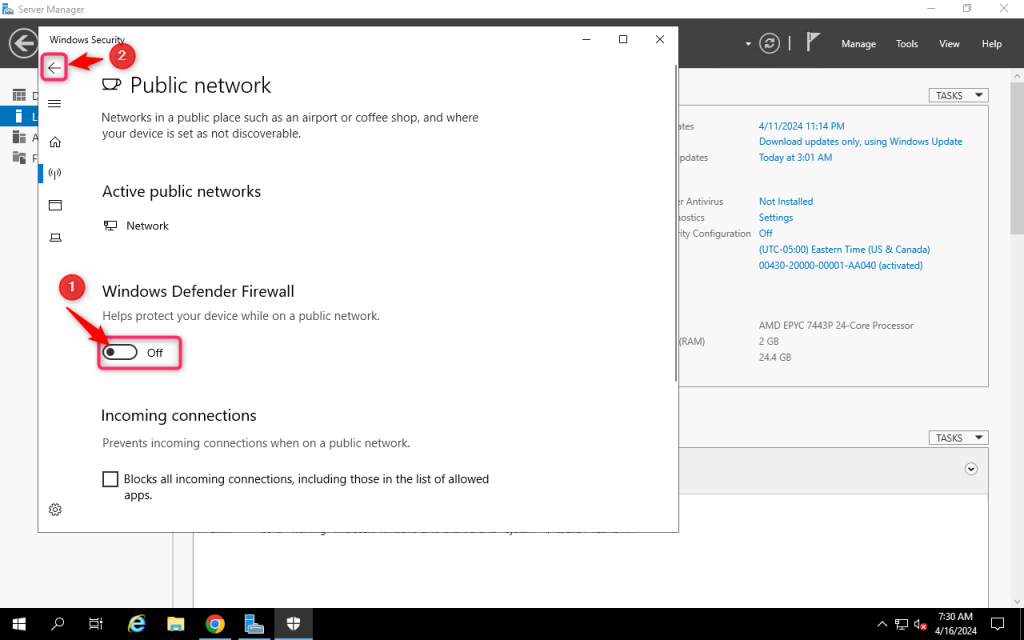
Step 2: Navigate to Local Server tab and Click on Public: On from Windows Defender Firewall
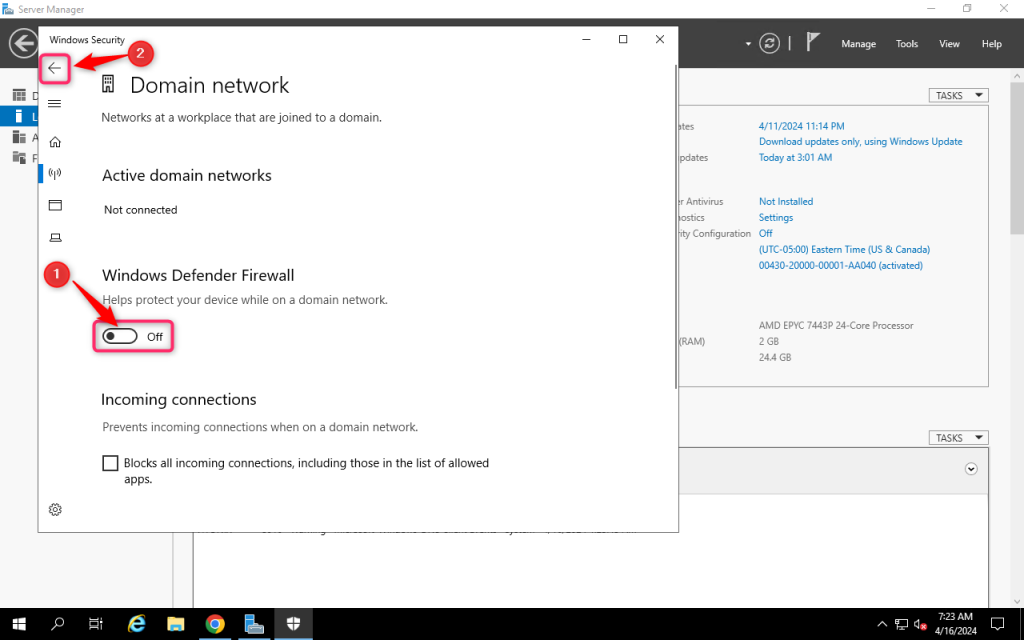
Step 3: Click on Domain Network, turn off Windows Defender Firewall, then go back
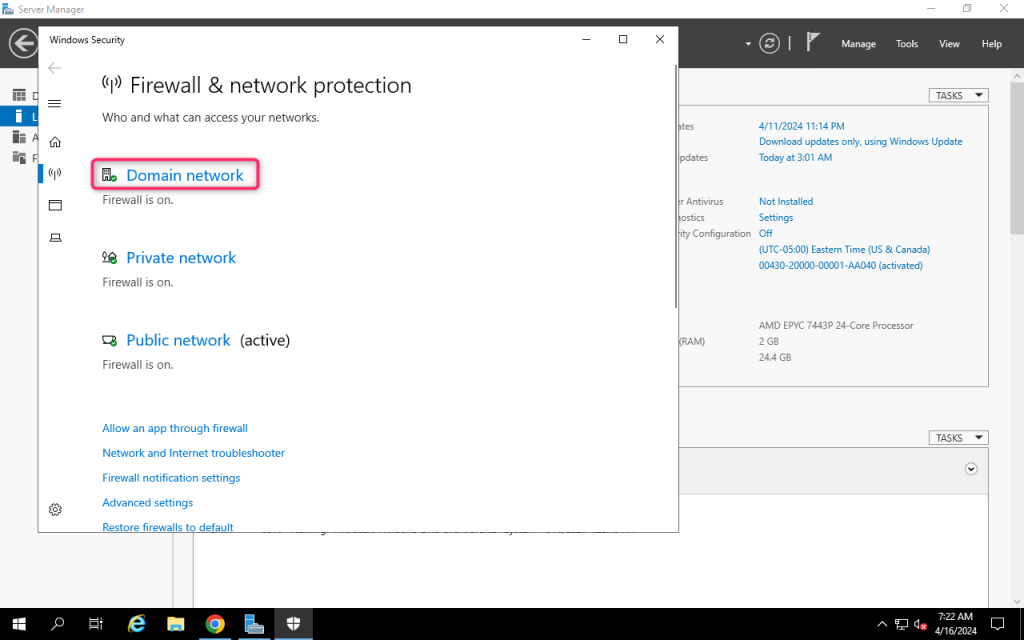
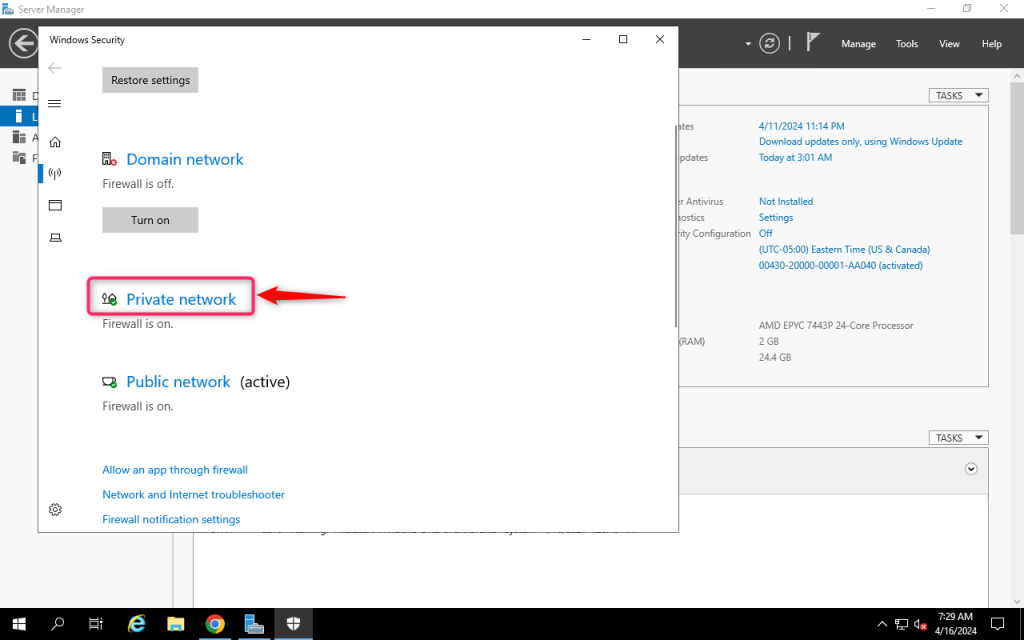
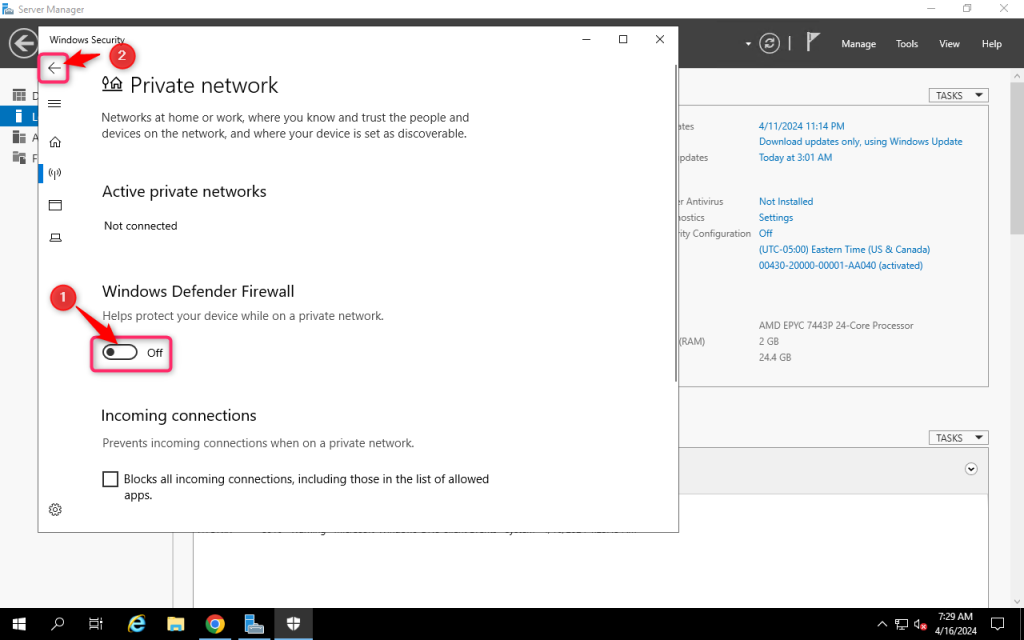
Step 4: Click on Private Network, turn off Windows Defender Firewall, then go back
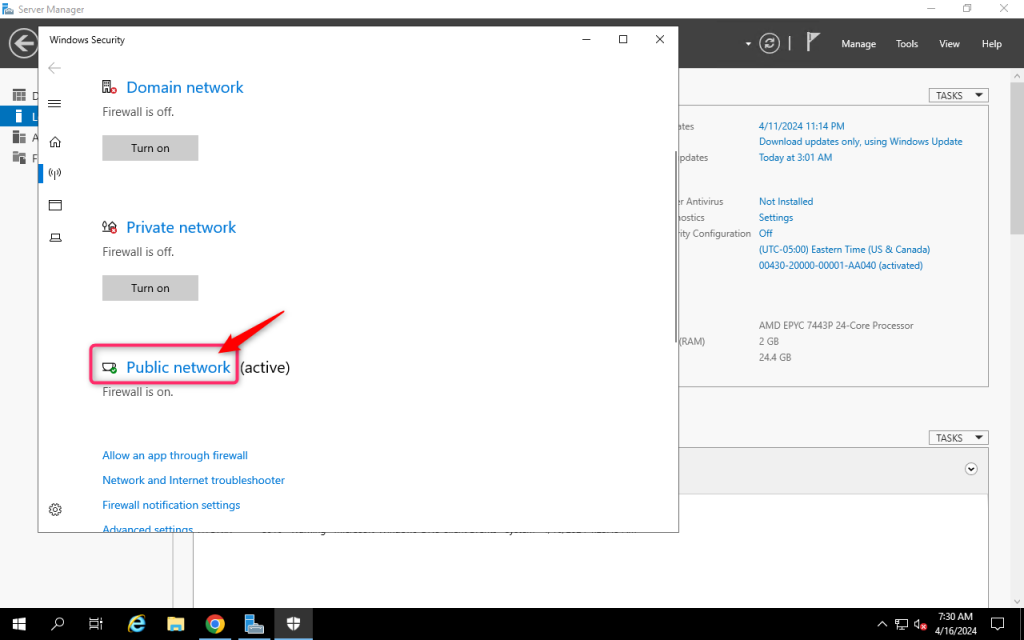
Step 5: Click on Public Network, turn off Windows Defender Firewall, then go back
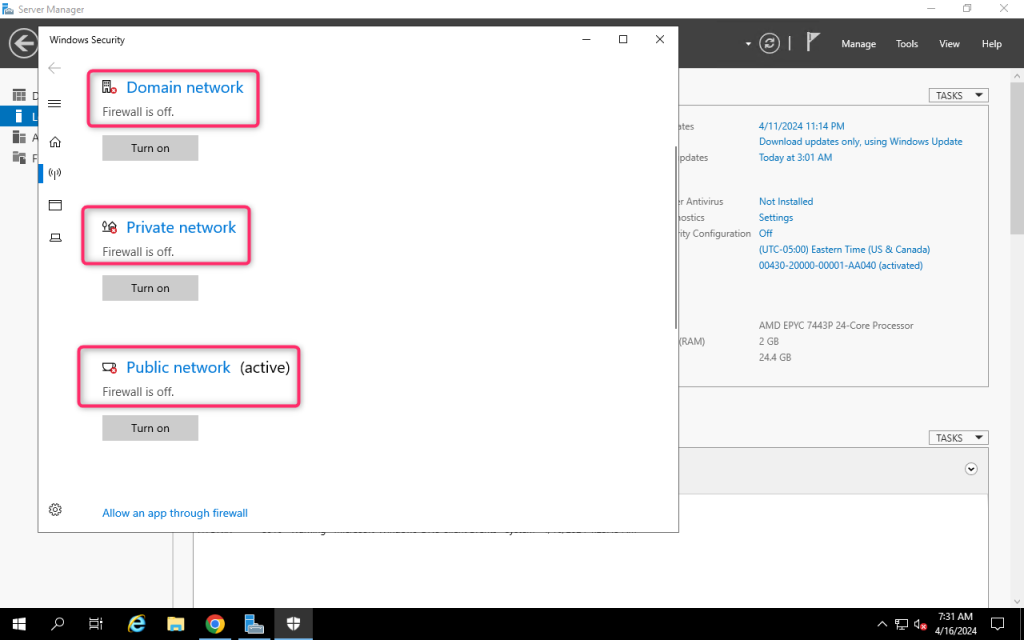
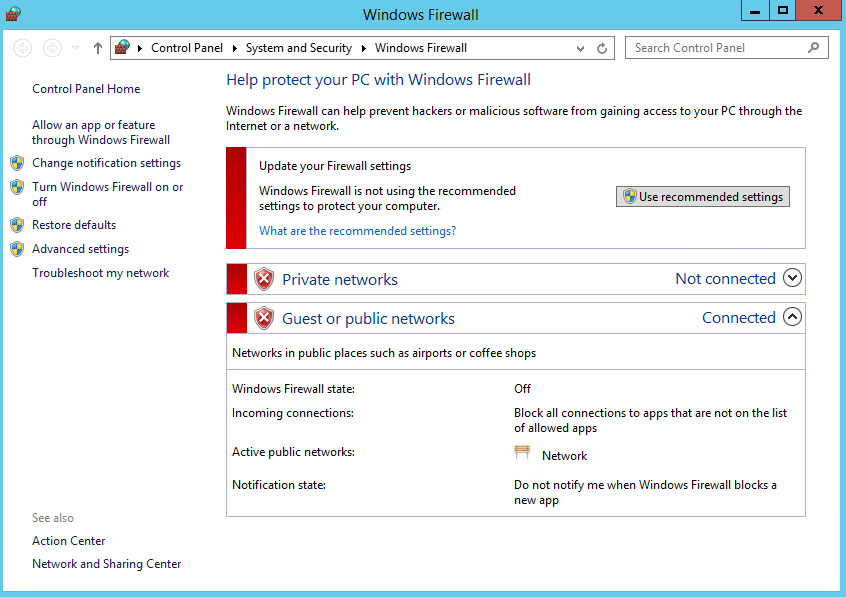
Your server Windows Firewall (Domain Network, Private Network, Public network) is now disabled
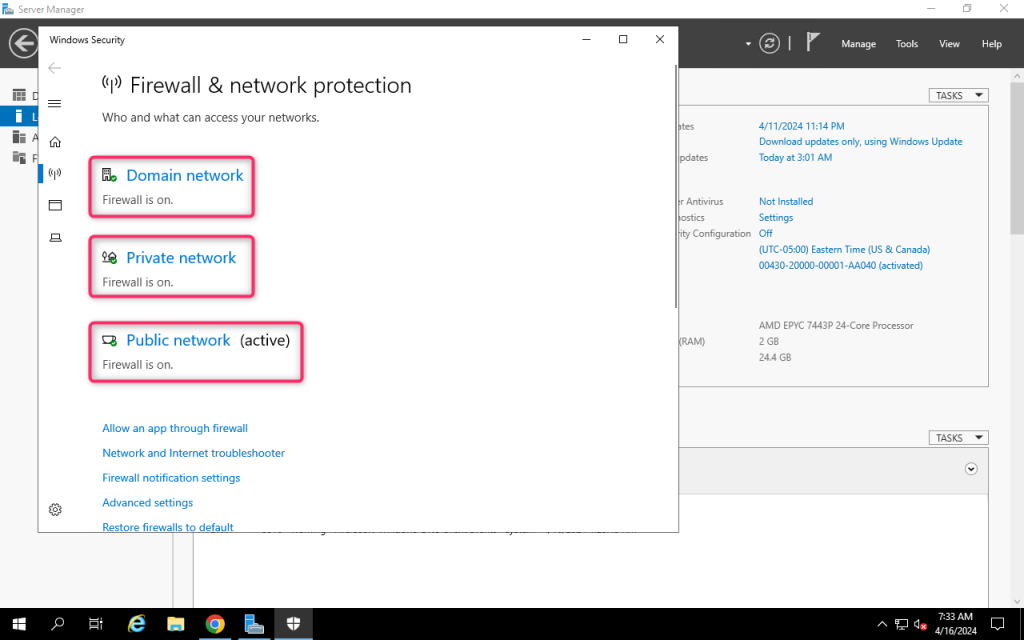
1.2 Enable Windows Firewall via Server Manager
If you want to enable Windows Firewall, please do the same when disabling Windows Firewall as above but instead of disabling it, please enable it

Method 2. Via PowerShell
2.1 Disable Windows Firewall via PowerShell
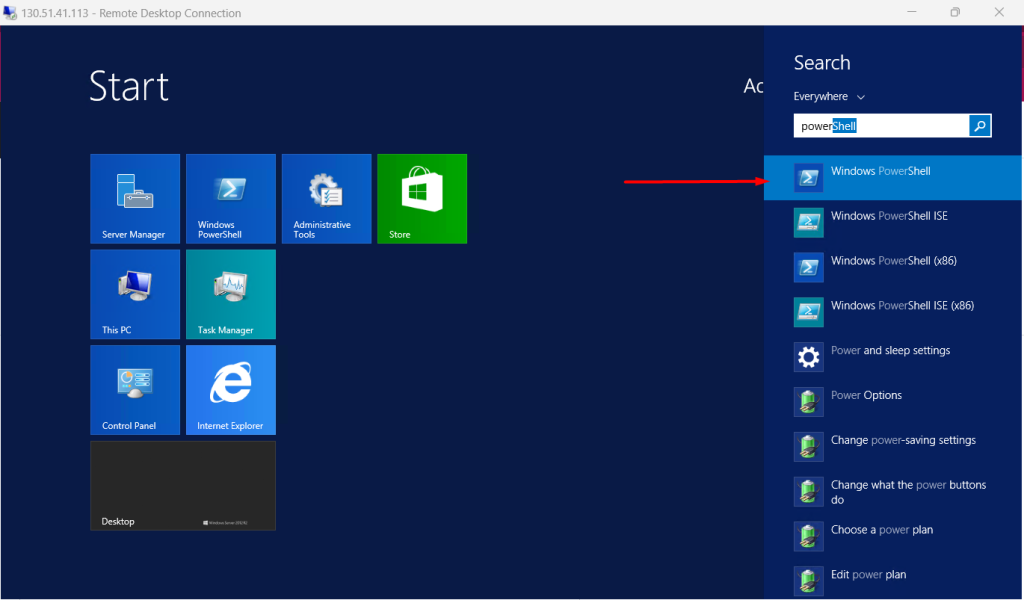
Step 1: Login to your Windows server and open Windows PowerShell
Step 2: If you want to DISABLE Firewall, please run the following command:
Set-NetFirewallProfile -Profile Domain,Public,Private -Enabled false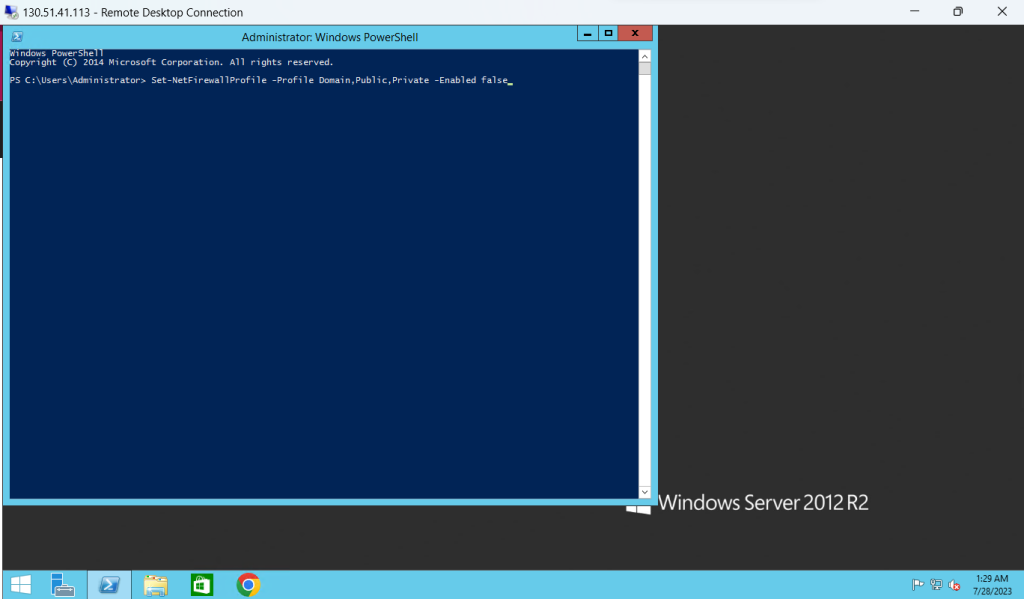
Then hit enter, you will see Firewall is now disabled
2.2 Enable Windows Firewall via PowerShell
Step 1: Open Windows PowerShell
Step 2: If you want to ENABLE Firewall, please run the following command:
Set-NetFirewallProfile -Profile Domain,Public,Private -Enabled true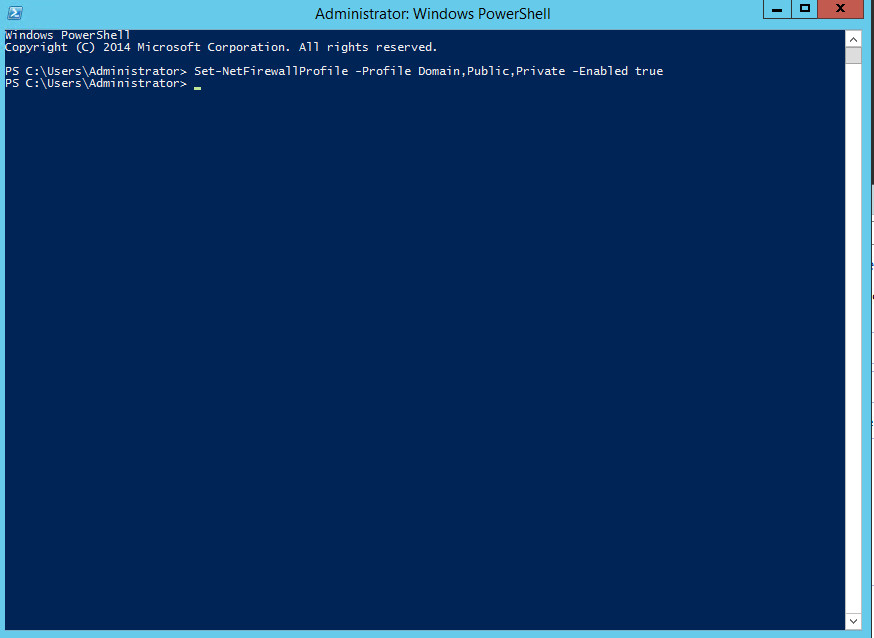
Then hit enter, you will see Firewall is now Enabled