In this article, you will learn: How to create and restore checkpoints or snapshots.
Checkpoints (called Snapshots in Windows) were introduced with Hyper-V. Checkpoints are recovery points that make a copy of the virtual machine’s data and hardware configuration, which you can restore back to if anything goes wrong.
Hyonix offers 1 checkpoint per windows VPS, if you are looking for multiple checkpoints you can open a ticket using: Open Ticket.
Take Snapshot or Checkpoint from Hyonix Portal.
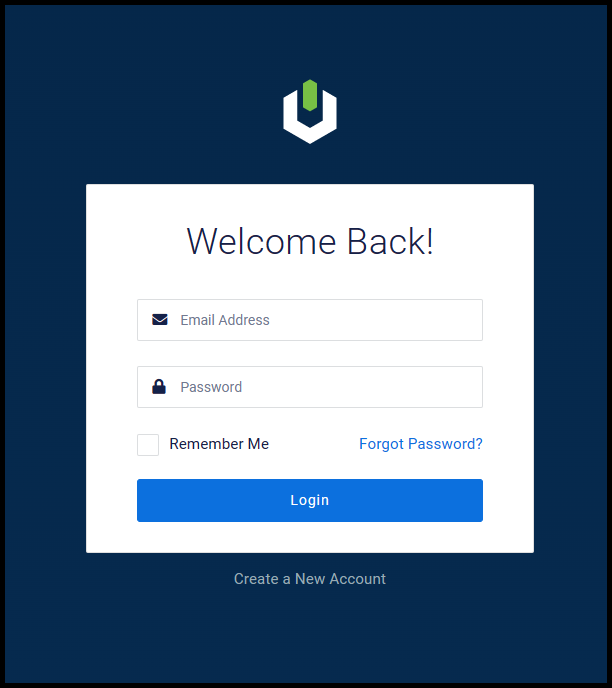
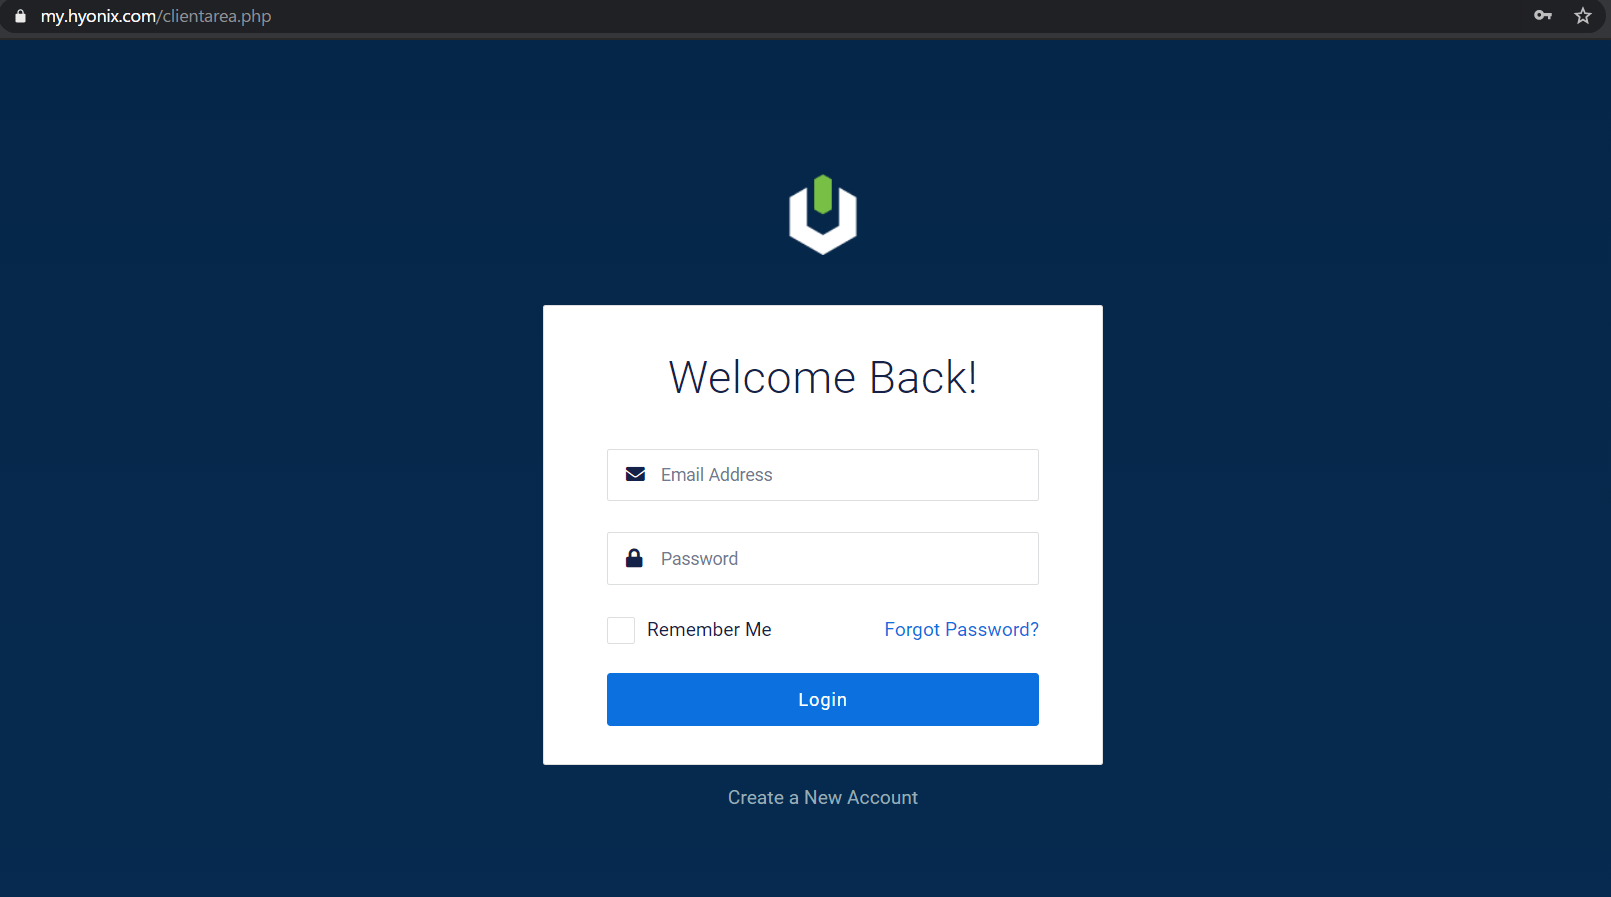
1. To start off, log in to the Hyonix Portal with your registered email address and password.
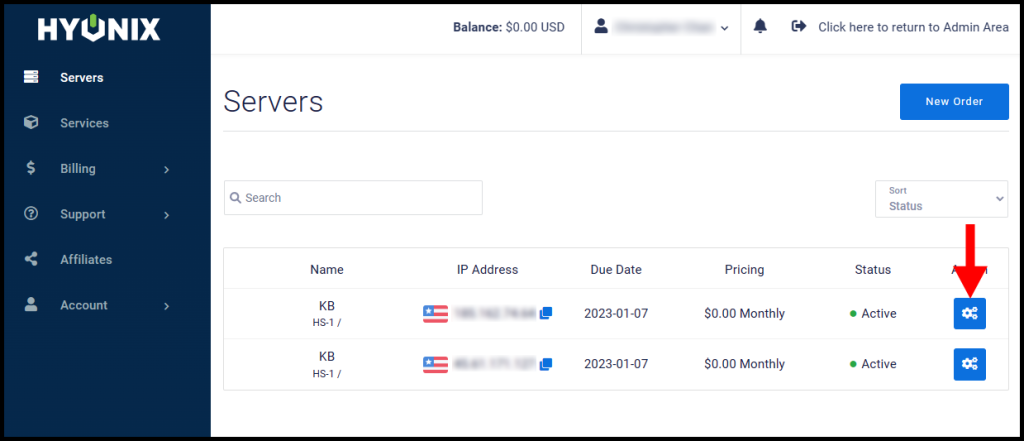
2. Then, navigate to VPS/Server Control Panel by clicking on the “⚙️” icon.
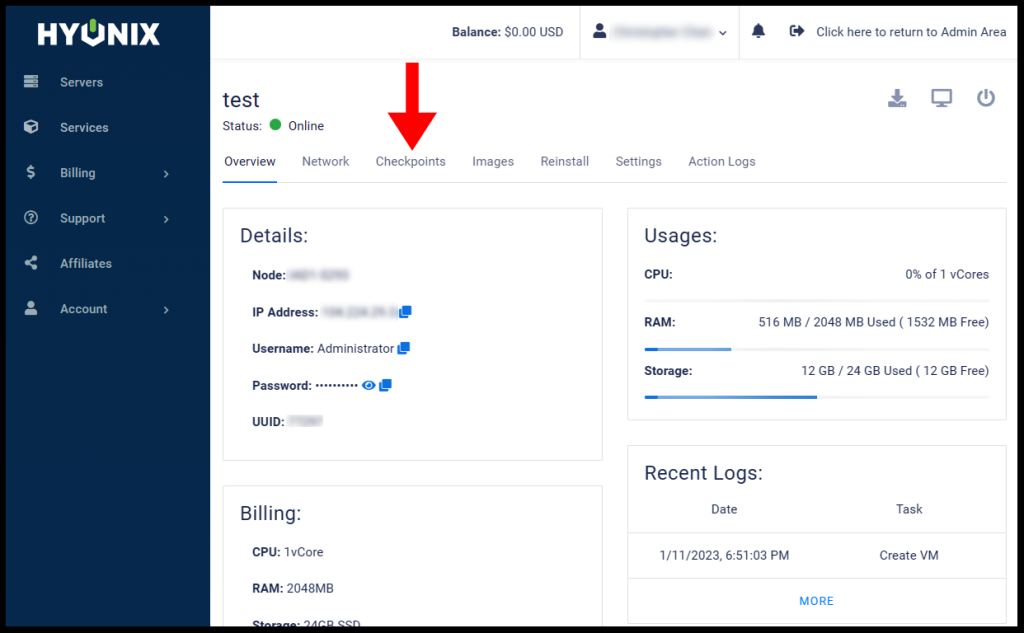
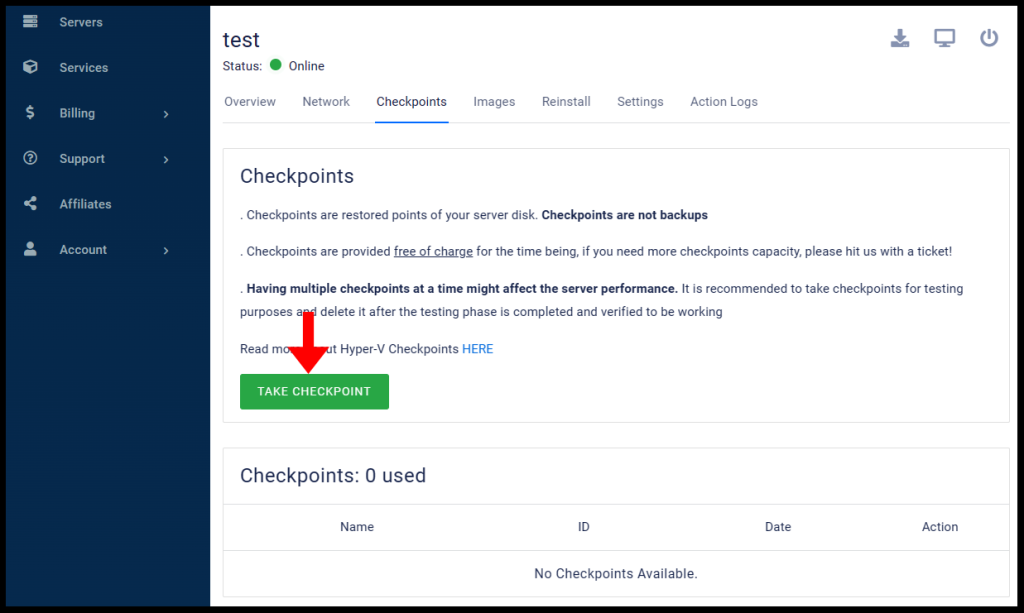
3. Next, click the Checkpoints tab as seen below.
4. Next, click on TAKE CHECKPOINT to proceed with creating the checkpoint of the VPS.
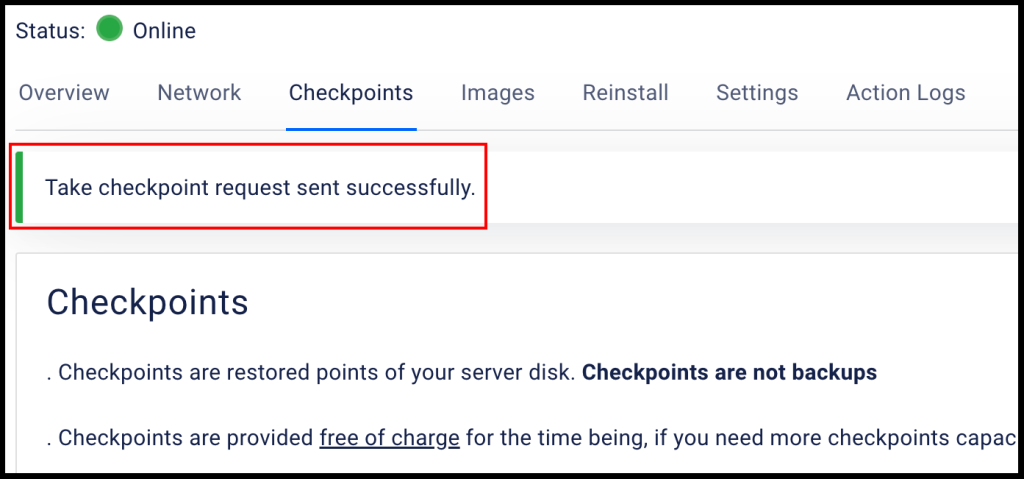
5. Next, you will see the following message pop up Take checkpoint request sent successfully.
Restore Snapshot or Checkpoint from Hyonix Portal.
1. To start off, log in to the Hyonix Portal with your registered email address and password.
2. Then, navigate to VPS/Server Control Panel by clicking on the “⚙️” icon.
3. Next, click the Checkpoints tab as seen below.
4. In the Checkpoints tab you can find all the created checkpoints at the bottom of the page.
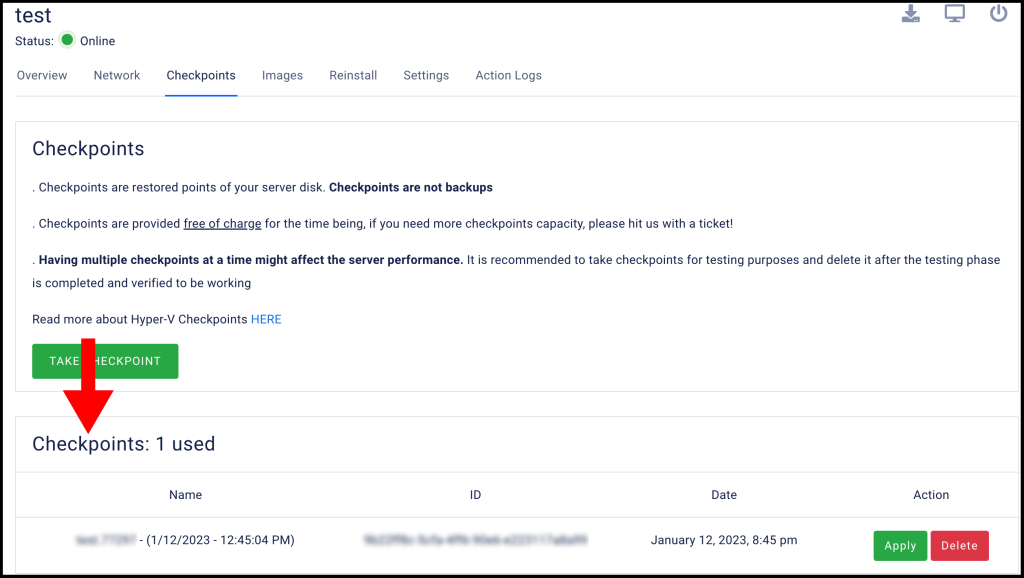
5. Next, click on the green Apply button to restore your Windows VPS back to the created Checkpoint.

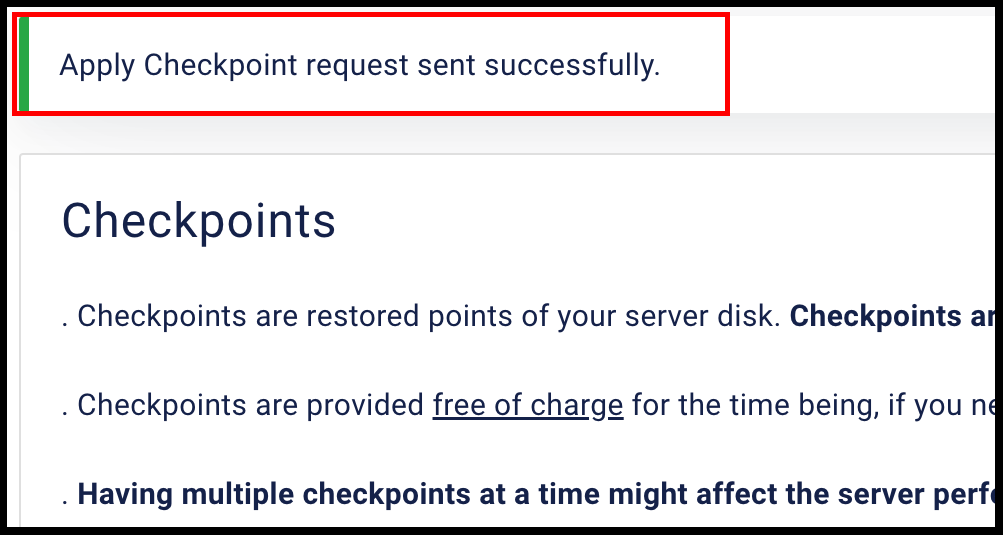
6. Then, you will see a confirmation message Apply Checkpoint request sent successfully.