A RAM disk is a virtual disk created in free memory (RAM) that is recognized by the operating system as a separate physical disk. Its storage in fast RAM allows for extremely fast read and write operations on this disk. In this article, we will guide you on how to create a RAM disk on Windows Server.
Install iSCSI Target Server
In this section, we will go over how to install iSCSI Target Server in order to create a RAM Disk on a Windows server via Server Manager.
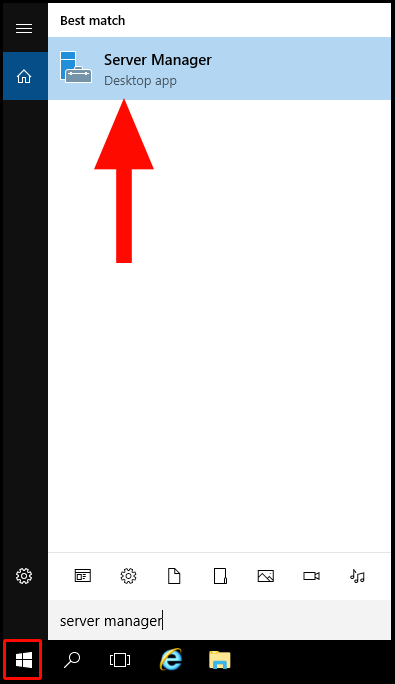
1. To start, log into your Windows Server and use the Windows search function to search and open Server Manager.
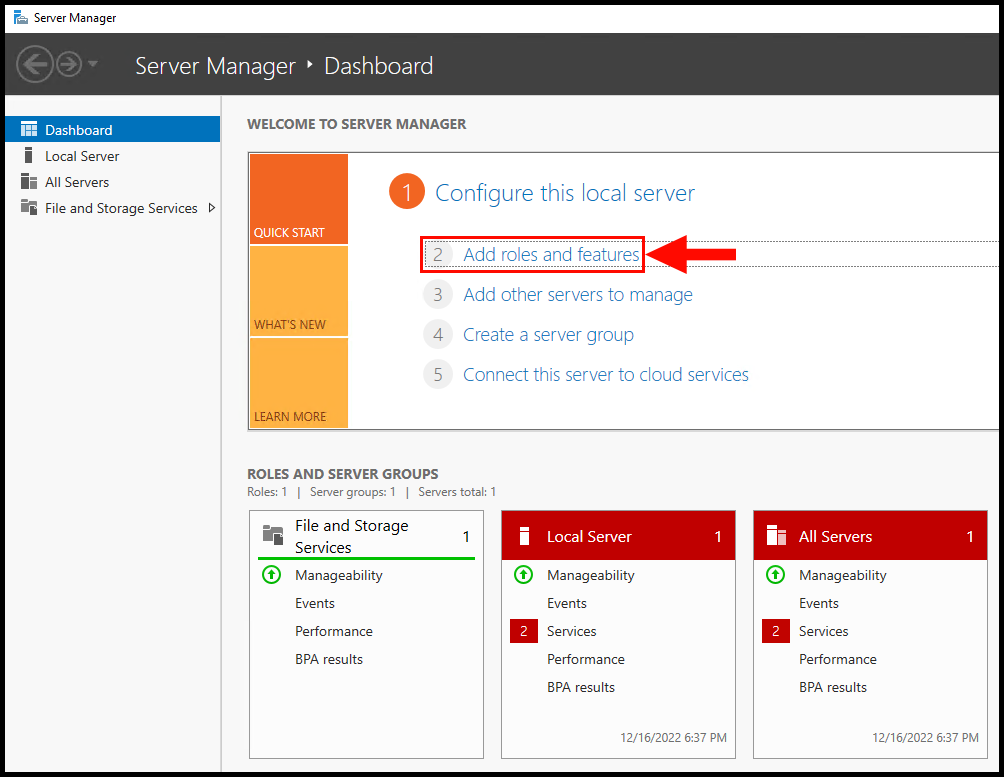
2. Next, click on Add Roles and Features.
3. Next, the Add Roles and Features Wizard screen will appear. Click Next to move on from the Before You Begin tab.

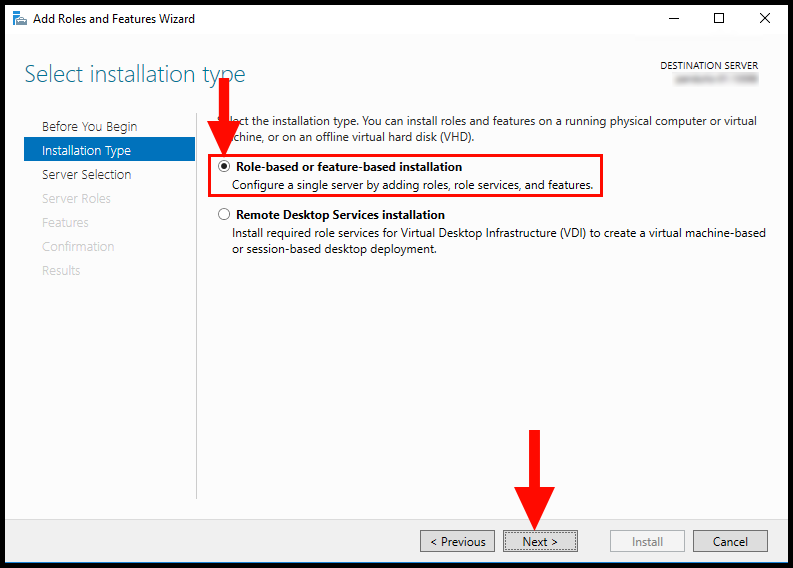
4. In the Installation Type tab, select Role-based or feature-based installation and then click Next to move on.
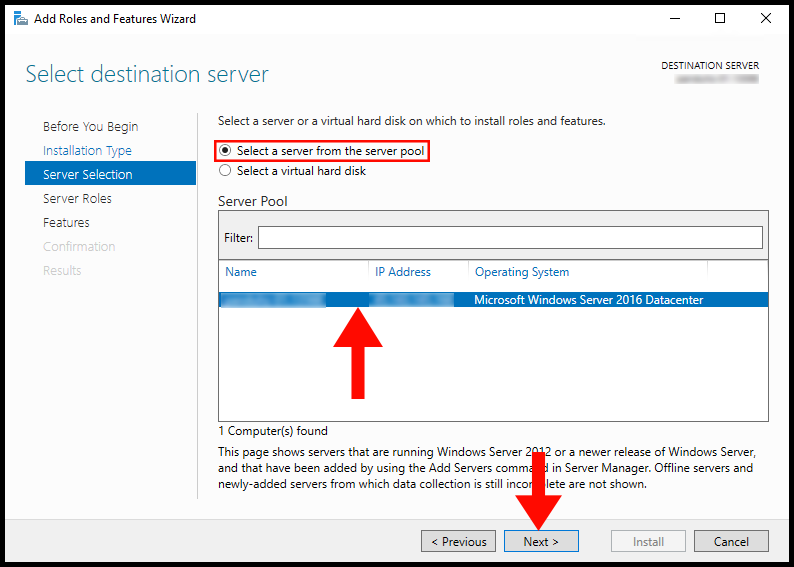
5. Now in the Server Selection tab, select your Windows Server and then click Next to continue.
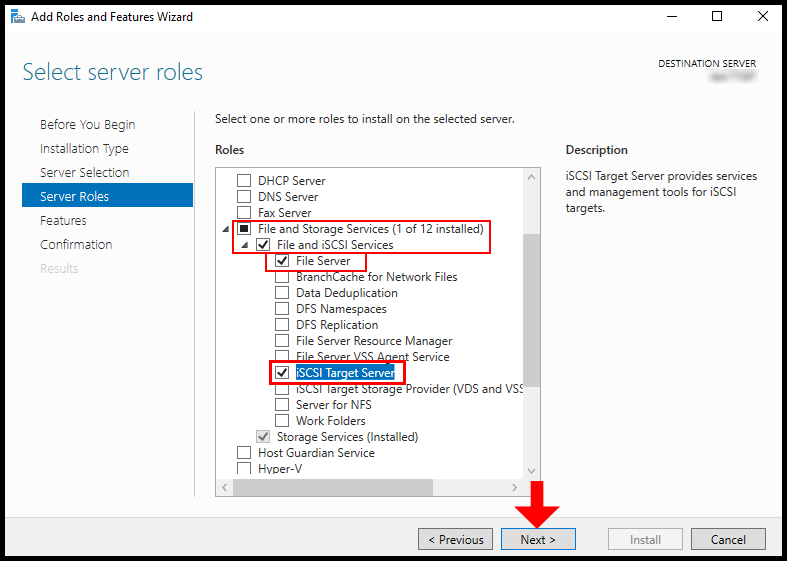
6. On the Server Roles tab, expand File and Storage Services, then expand File and iSCSI Services, and from the options check the boxes for File Server and iSCSI Target Server.
7. On the Features tab, refrain from making any modifications, then click Next to proceed.
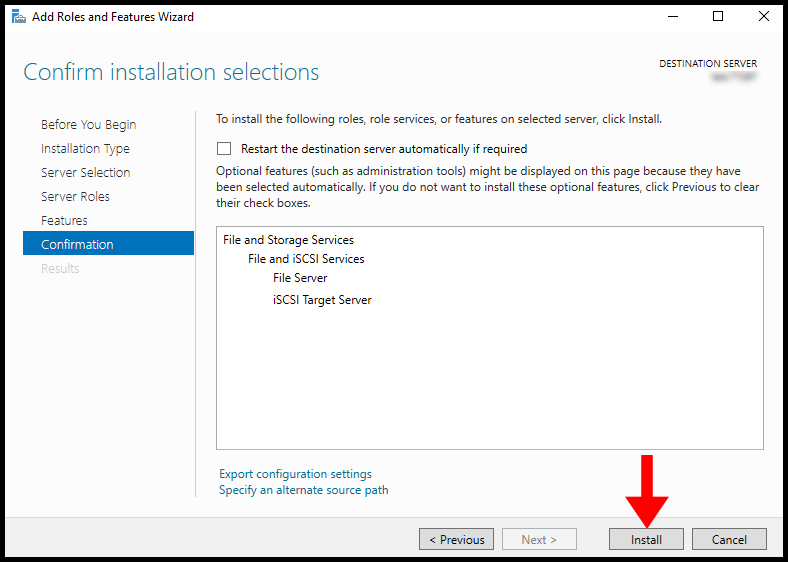
8. In the Confirmation section, click on Install.
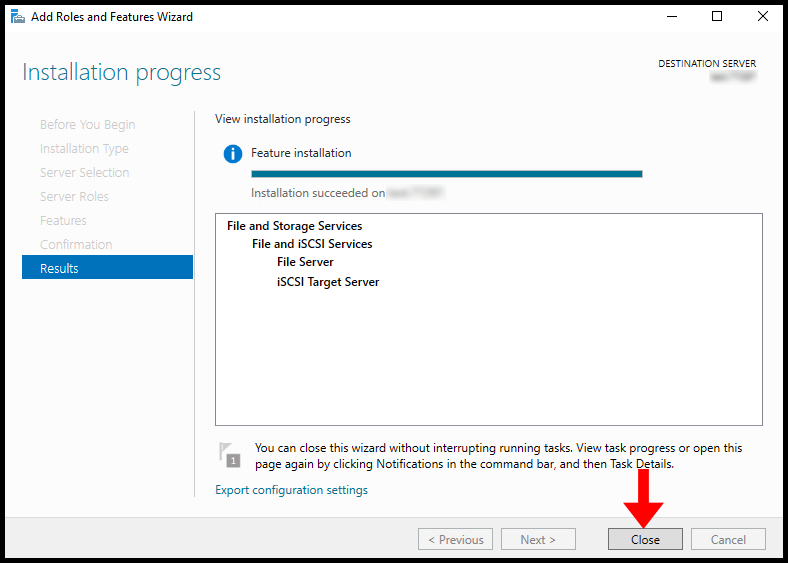
9. Once the installation is complete the window will say Installation succeeded, then you can click Close.
Enable iSCSI Service Traffic
Once we are done with the installation of the iSCSI Service, we will need to make sure to allow its traffic through Windows. In this section, we will be using regedit to allow traffic.
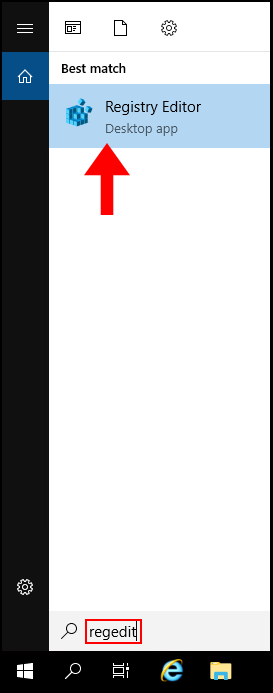
1. To start, use the Windows search function to search and open regedit.
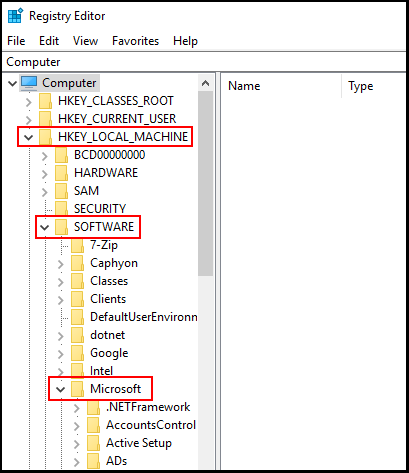
2. Then, expand the following items HKEY_LOCAL-MACHINE, SOFTWARE, and Microsoft.
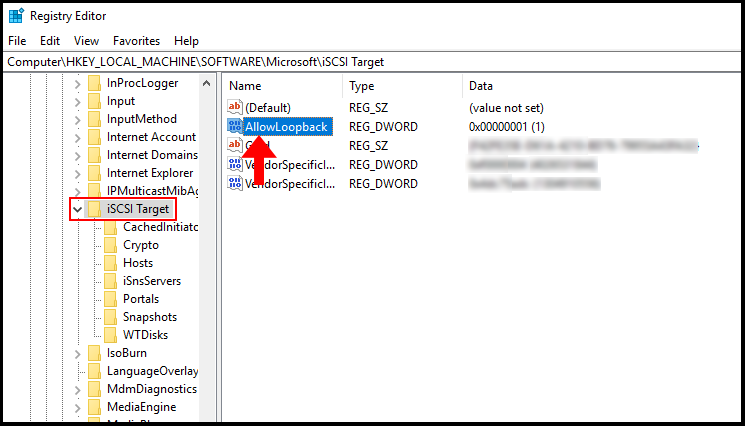
3. Next, in the left-hand menu scroll down and locate iSCSI Target, then click on it, and in the middle of the window double click AllowLoopback.
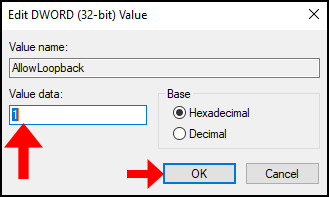
4. Now, change the value to 1 and click OK to finish.
Create a Virtual RAM Disk
In this section, we will guide you through the steps to create the virtual RAM disk via PowerShell.
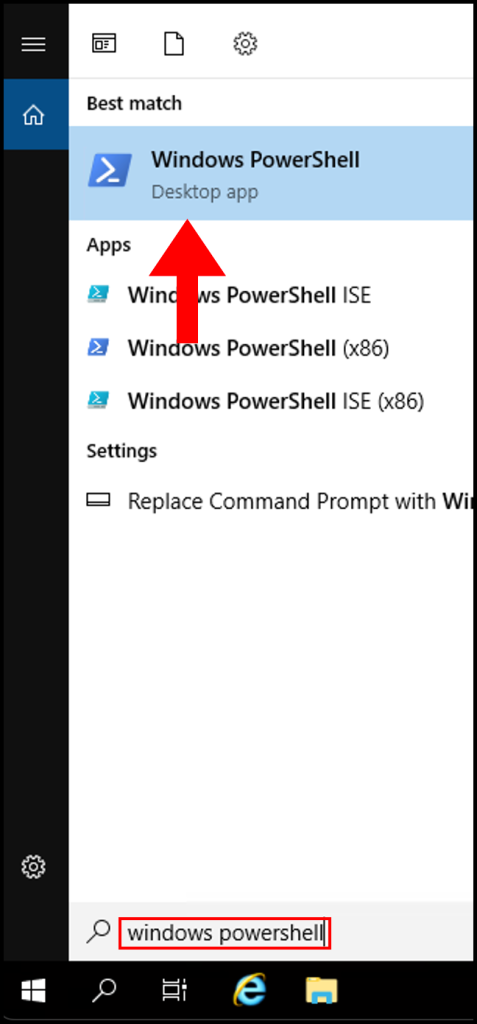
1. To start, log into your Windows Server, and use the Windows search function to search and open PowerShell.
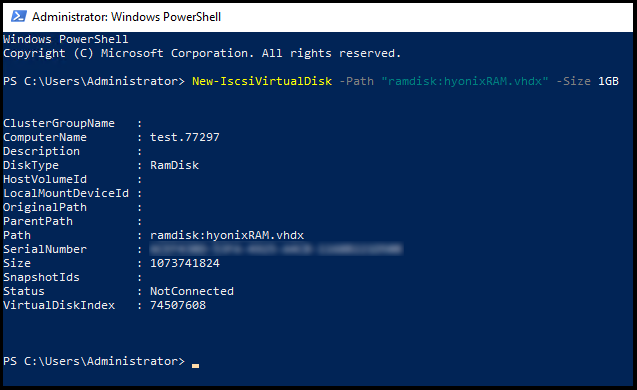
2. Next, run the following command to create a 1 GB virtual RAM Disk,
New-IscsiVirtualDisk -Path "ramdisk:hyonixRAM.vhdx" -Size 1GB
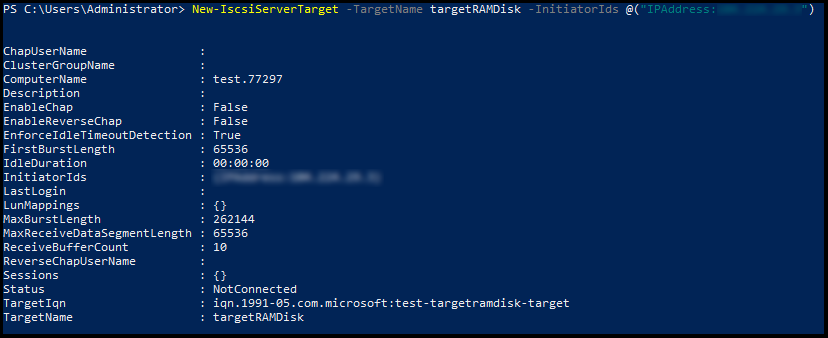
2. Then, create an iSCSI target using the following command and fill in the x‘s with your server’s IPv4 address.
New-IscsiServerTarget -TargetName targetRAMDisk -InitiatorIds @("IPAddress:xxx.xxx.xxx.xxx")
3. Now connect the created RAM Disk using the following command,
Add-IscsiVirtualDiskTargetMapping -TargetName targetRAMDisk -DevicePath "ramdisk:hyonixRAM.vhdx"

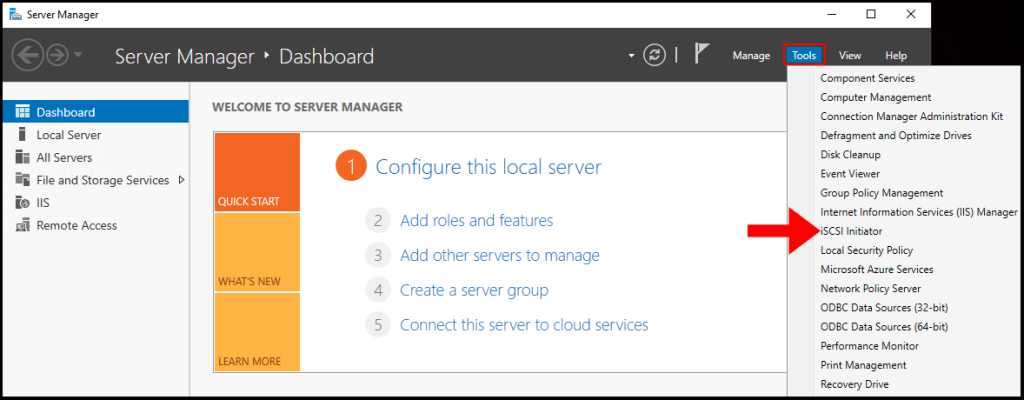
4. Now return to the Server Manager window and click Tools in the top right-hand corner, then select iSCSI Initiator.
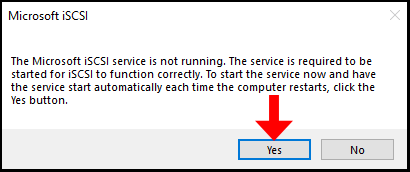
5. A pop-up will appear prompting you to start the iSCSI service, if you’d like to start the iSCSI service on startup of Windows, click Yes to proceed.
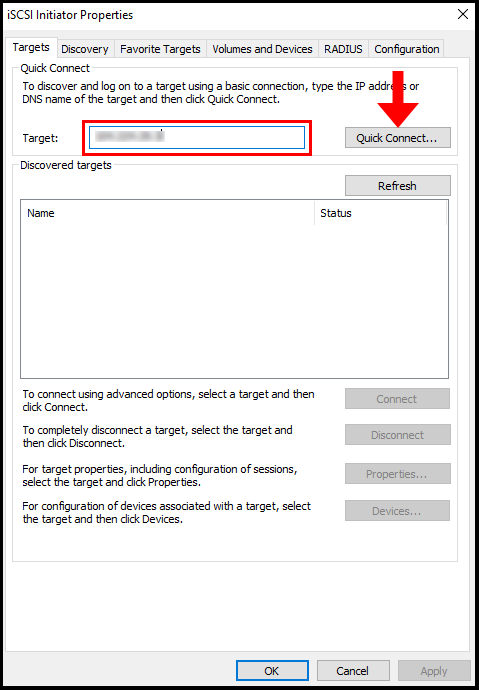
6. Then the iSCSI Initiator Properties window will appear, enter your server’s IP address in the Target text field as seen below, then click Quick Connect.
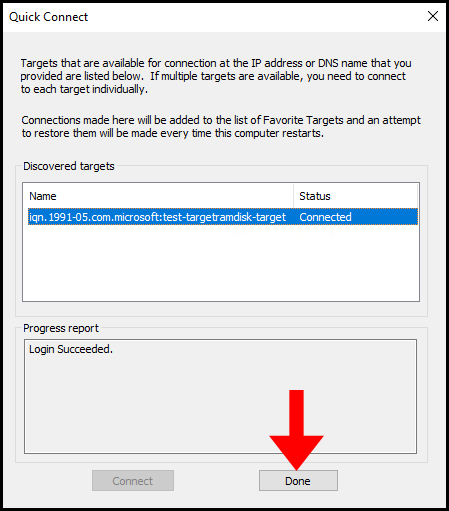
7. Now the Quick Connect page will open to show that our connection has been successful, click Done to close out of this window.
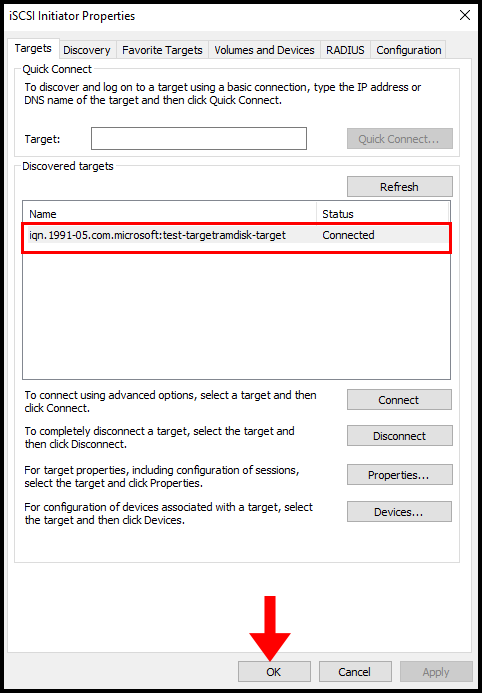
8. Now in the iSCSI Initiator Properties we will see the name of our target and the status as Connected, then click OK to close the window.
Initialize Ram Disk
In this section, we will go over how to initialize the RAM Disk so Windows can recognize it.
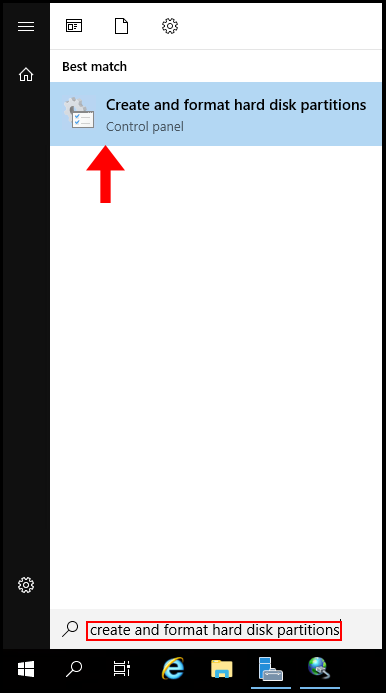
1. To start, use the Windows search function to search and open Create and format hard disk partitions.
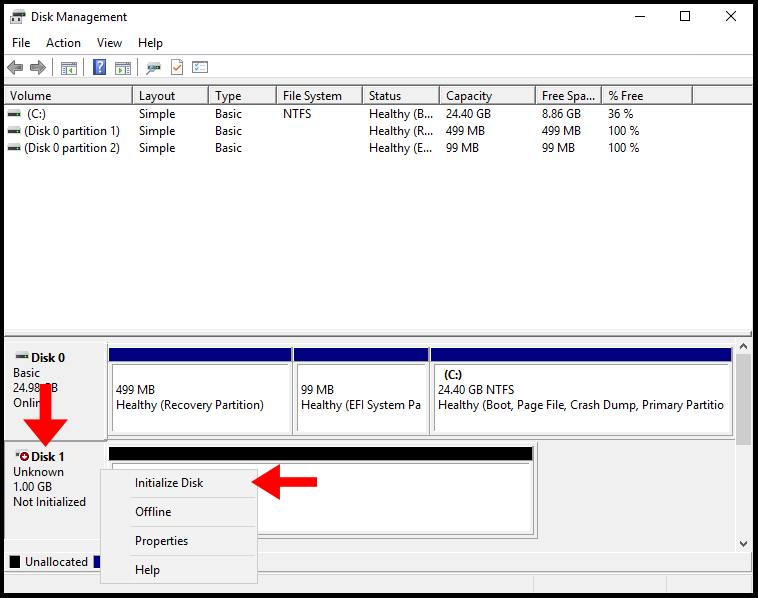
2. Now in the Disk Management window, locate the disk that is labeled as Offline, then right-click the disk and click Online.

3. Now, the disk will be labeled as Not Initialized in order to initialize it, right-click the disk and click Initialize Disk.
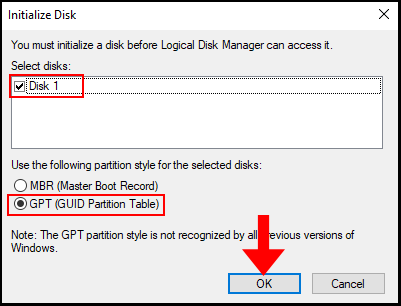
4. Then the Initialize Disk window will appear, select the Disk you’d like to initialize (in this case, it is Disk 1) and select GPT (GUID Partition Table) as the partition style. Now click OK to complete the initialization.
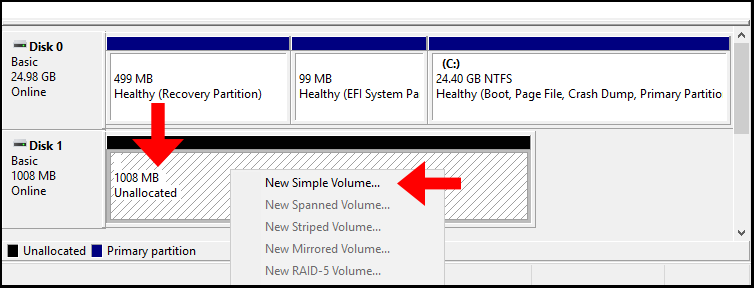
5. Now in the Disk Management window, we will see the disk is now Online. Next, right-click the unallocated space and click New Simple Volume.
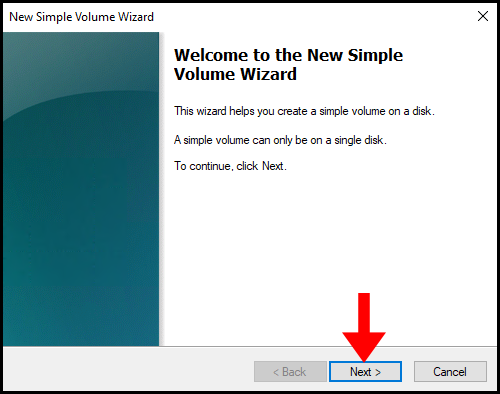
6. The New Simple Volume Wizard will open, click Next to continue.
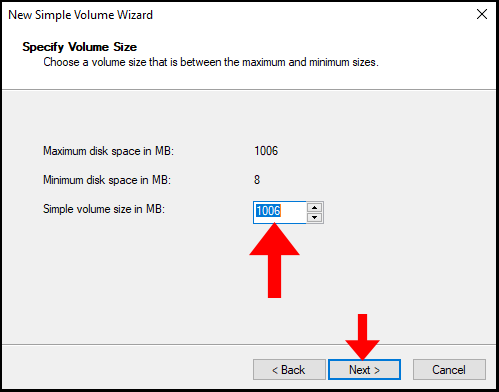
7. Then in the Specify Volume Size enter how much disk space we would like for our RAM Disk, in this case, we will be utilizing the full amount which is 1006 MB. Click Next to move on.
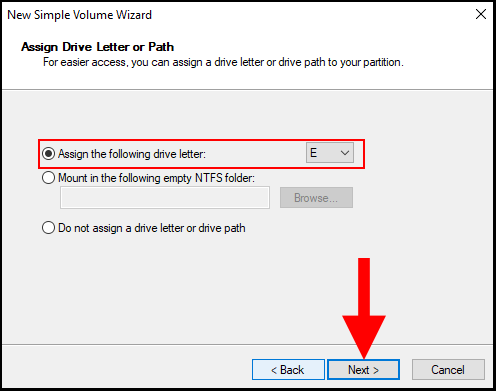
8. On the next page, you can assign a Drive Letter to your newly initialized RAM Disk. In this case, we will be assigning it the letter E. Click Next to continue.
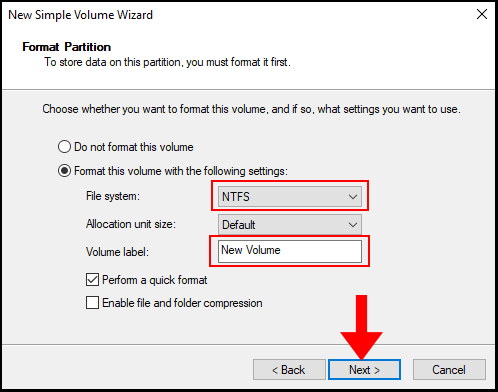
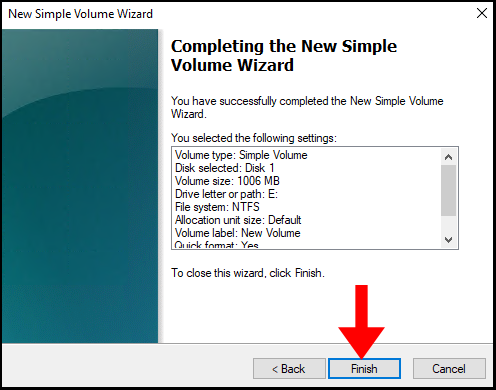
9. In the Format Partition section, make sure the File System is selected as NTFS. Additionally, you may change the Volume label, in this case, we will leave it as default. Click Next to move on.
10. The next page, will confirm that we have successfully completed the New Simple Volume Wizard and Windows has formatted the RAM Disk. Now we can click Finish to close out of the wizard.
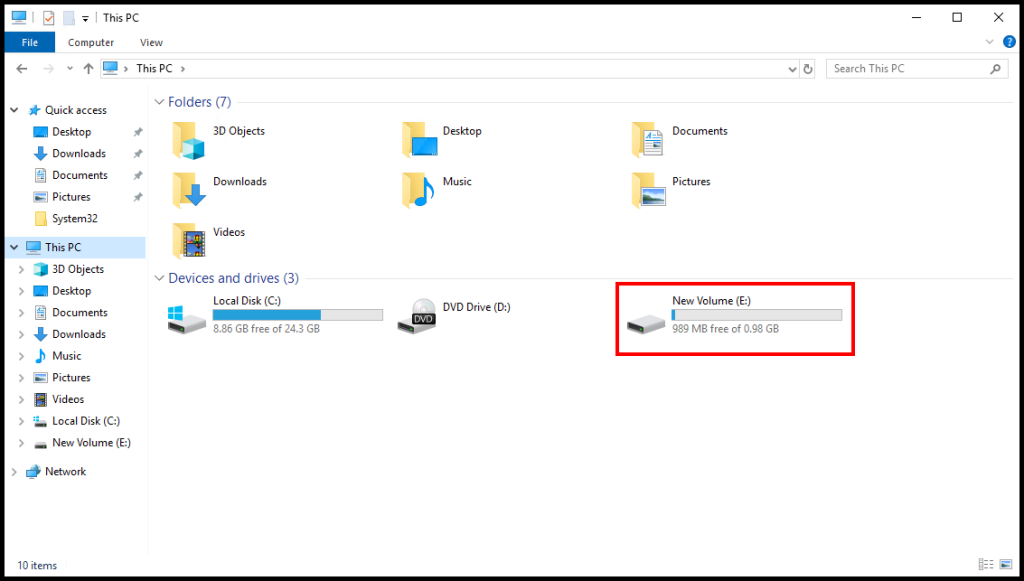
11. Lastly, to verify we created the RAM Disk we can go to File Explorer and verify that there is a new drive with our selected drive letter and volume label. We have successfully learned how to create a RAM disk on a Windows server.