What is Network Profile in Windows?
A network connection in Windows (whether Ethernet or Wi-Fi) can be assigned one of three network profiles:
1. Private or Home network – a profile for a trusted network (home or office network). In such a network, the computer will be available for discovery by other devices and you can share your files and printers;
2. Public network (Guest/Open) – a profile for untrusted networks (public Wi-Fi network in the subway, cafe, or airport). You don’t trust other devices on such a network, your computer will be hidden from other network devices, and no one will be able to access shared folders and printers on your computer;
3. Domain network – a profile for computers joined to an Active Directory domain. Applies automatically after joining the Windows device to the AD domain. You can apply domain firewall policies for this profile.
Please follow the below steps to change the network profile to Private/Public
Step 1: Login to your Windows server.
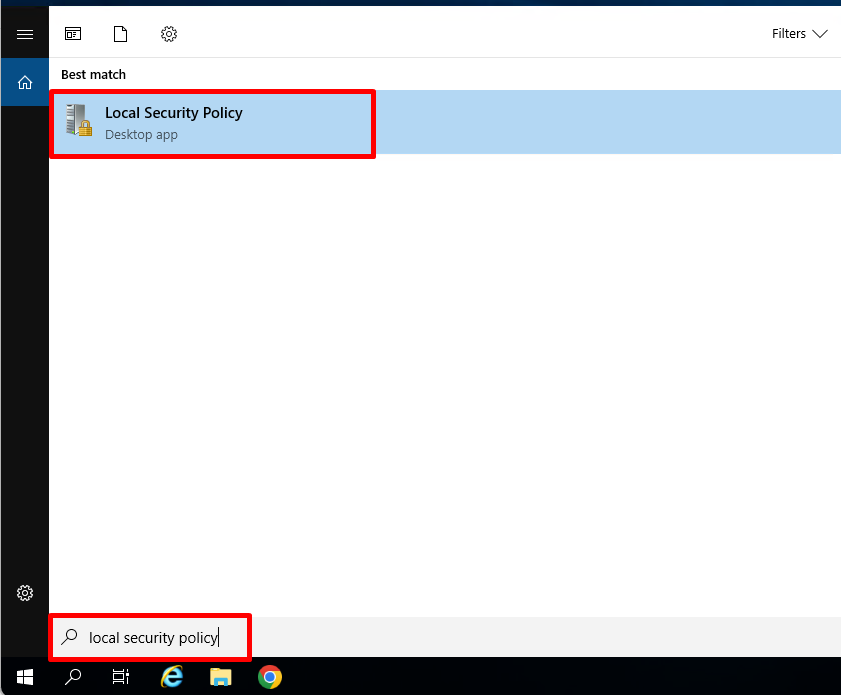
Step 2: Open Local Security Policy from Windows search bar
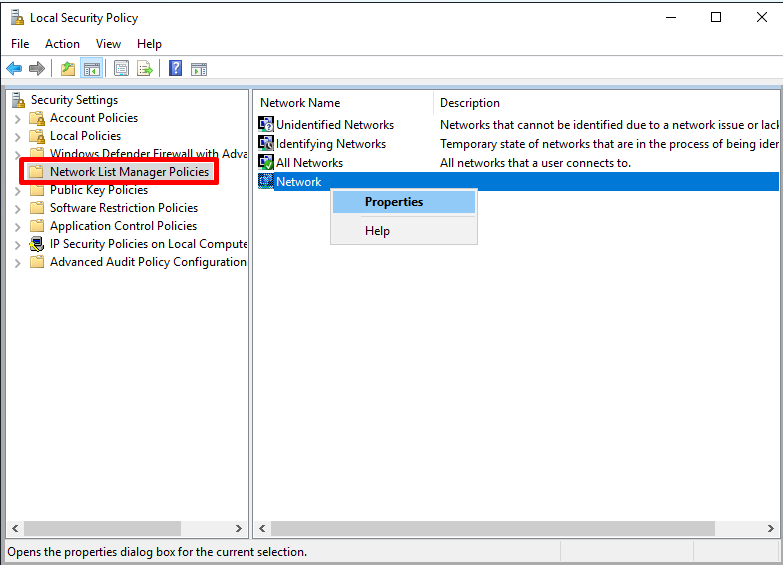
Step 3: Go to Network List Manager Policies > right-click on the network you wanted to change > open Properties
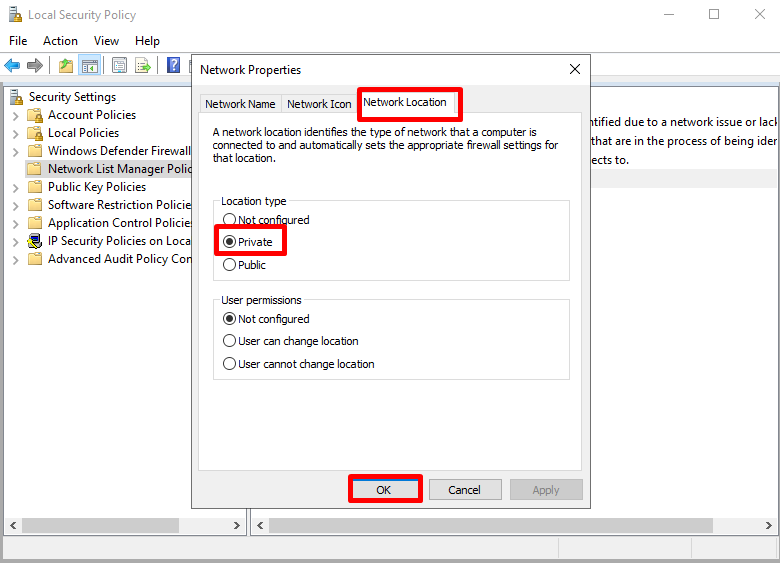
Step 4: Go to tab Network Location > change the network type from Not configured to Private/Public based on your preferrences and save the changes. For this demonstration, I will choose Private
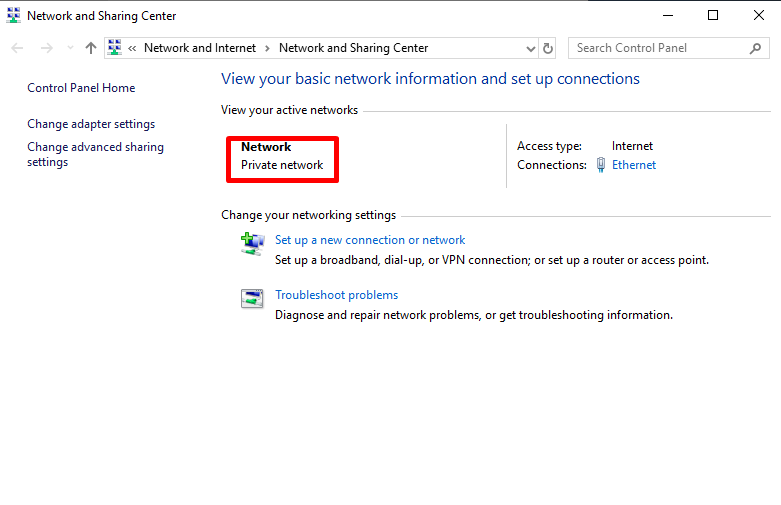
Your network has been changed to Private