To strengthen security and majorly reduce the hacking attempt, we can change the RDP default port from default to a different port. In this article, you will learn how to change the remote desktop RDP port.
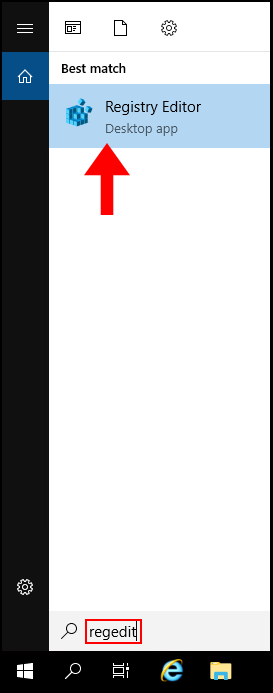
1. To start off, log in to your Windows VPS then search and open regedit.
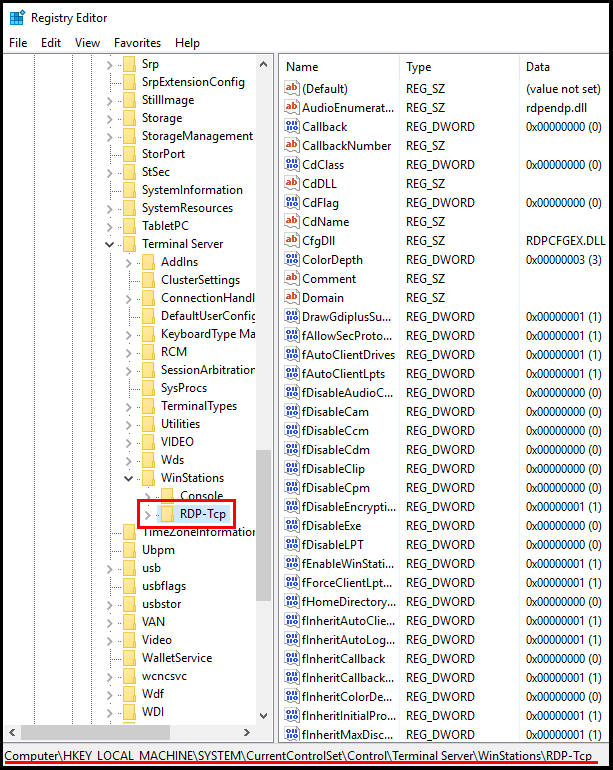
2. Once the Registry Editor window is open, navigate through the following folders from the left menu. HKEY_LOCAL_MACHINE → SYSTEM → CurrentControlSet → Control → Terminal Server → WinStations→ RDP-Tcp.
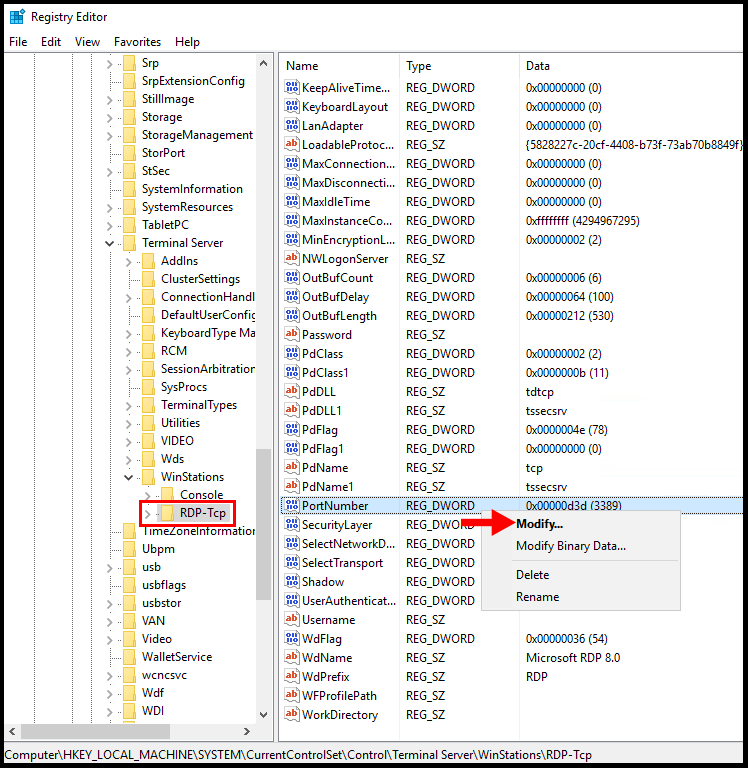
3. Now, on the right-hand side locate and right-click PortNumber then click Modify.
4. A pop-up will then appear, click Decimal and enter a new port under Value data.
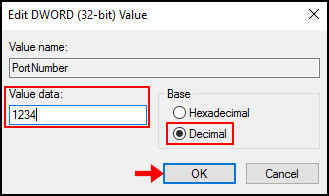
You can use a port number between 1025 and 65535; which is not currently used.
Adding Inbound Rule for Custom Port
Once we configure the Port within Registry Editor, now we need to add the custom port in Firewall to make it work. To do that, follow the below steps:
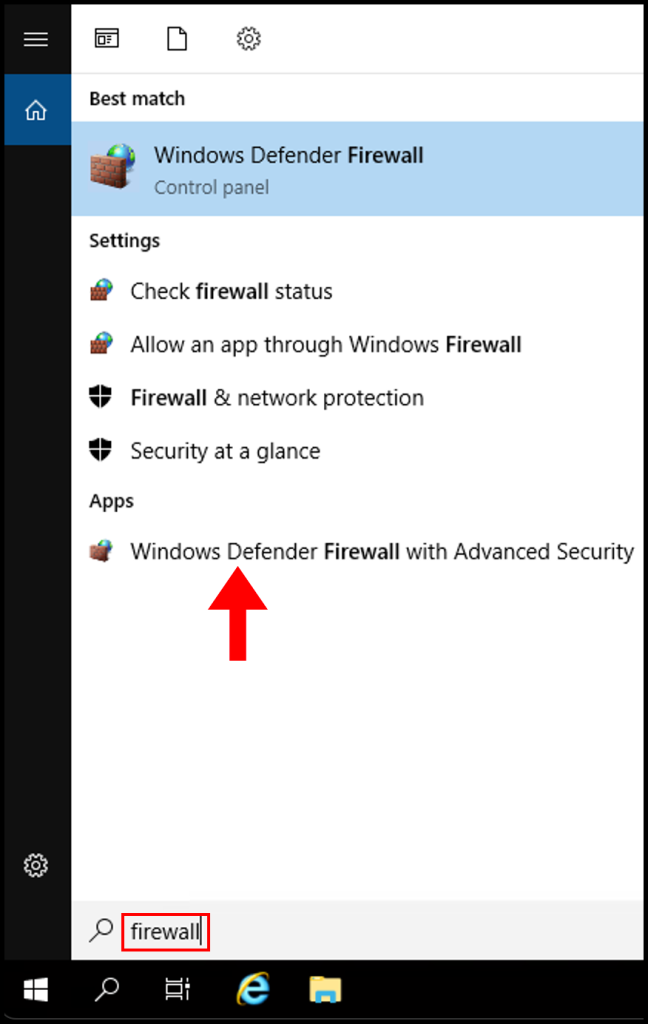
1. On your Windows server, search and open Windows Firewall with Advanced Security.
2. Navigate to Inbound Rules on the left menu.
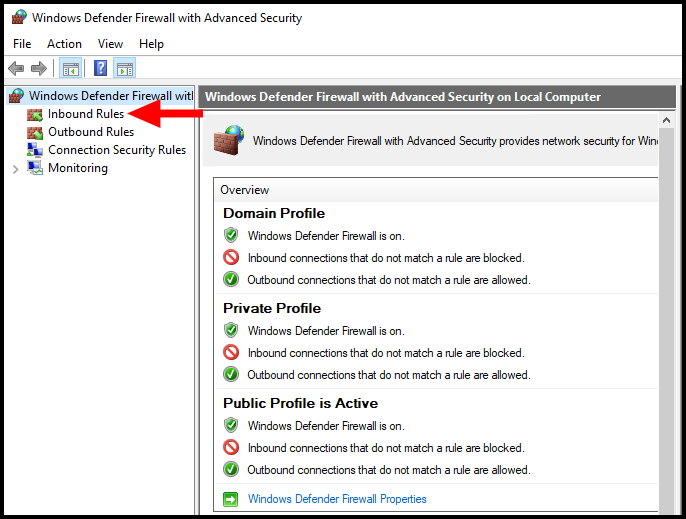
3. Then click New Rule from the menu on the right side.

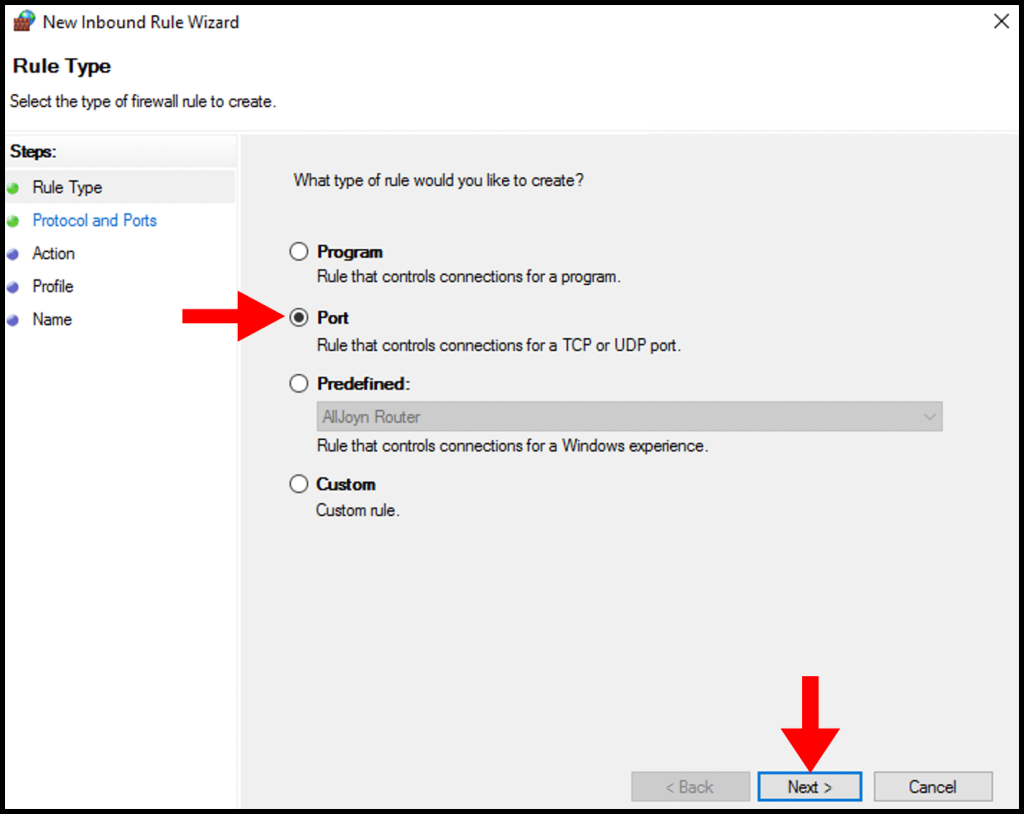
4. On the Rule Type section, click the circle to select Port. Once done, click Next to move on.
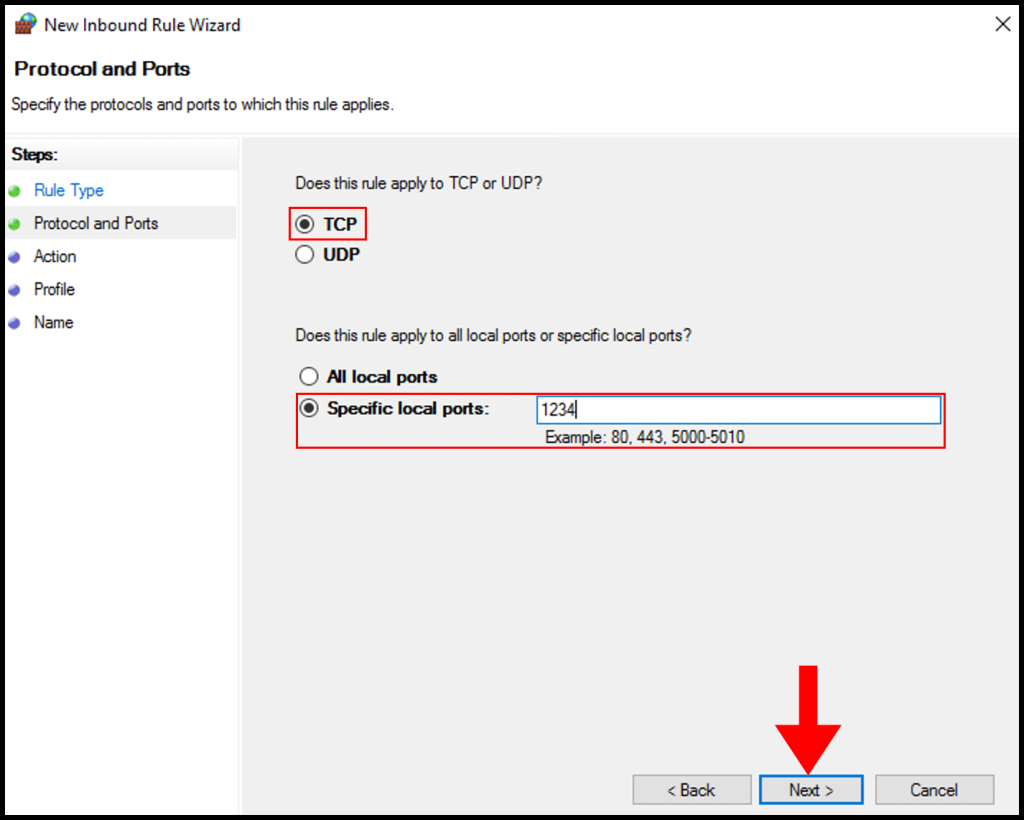
5. In the Protocol and Ports section, select TCP and Specific local ports then enter the port from step 4 in the text box next to Specific local ports.
6. In the Action tab, select Allow the connection or Allow the connection if it is secured and click Next.
Allow the connection: This includes connections that are protected with IPsec as well as those that are not. (Recommended)
Allow the connection if it is secure: This includes only connections that have been authenticated by using IPsec. Connections will e secured using the settings in IPsec properties and rules in the Connection Security Rule node. (For more advanced users)

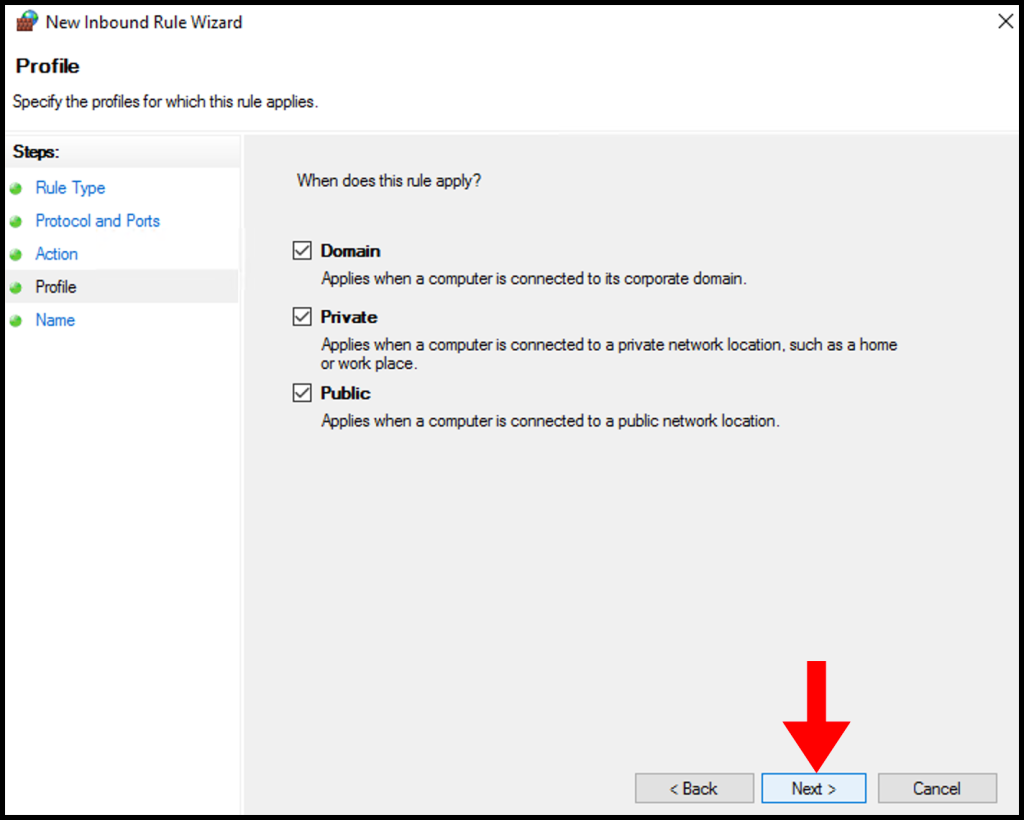
7. In the Profile tab, you need to select all three options and click Next.
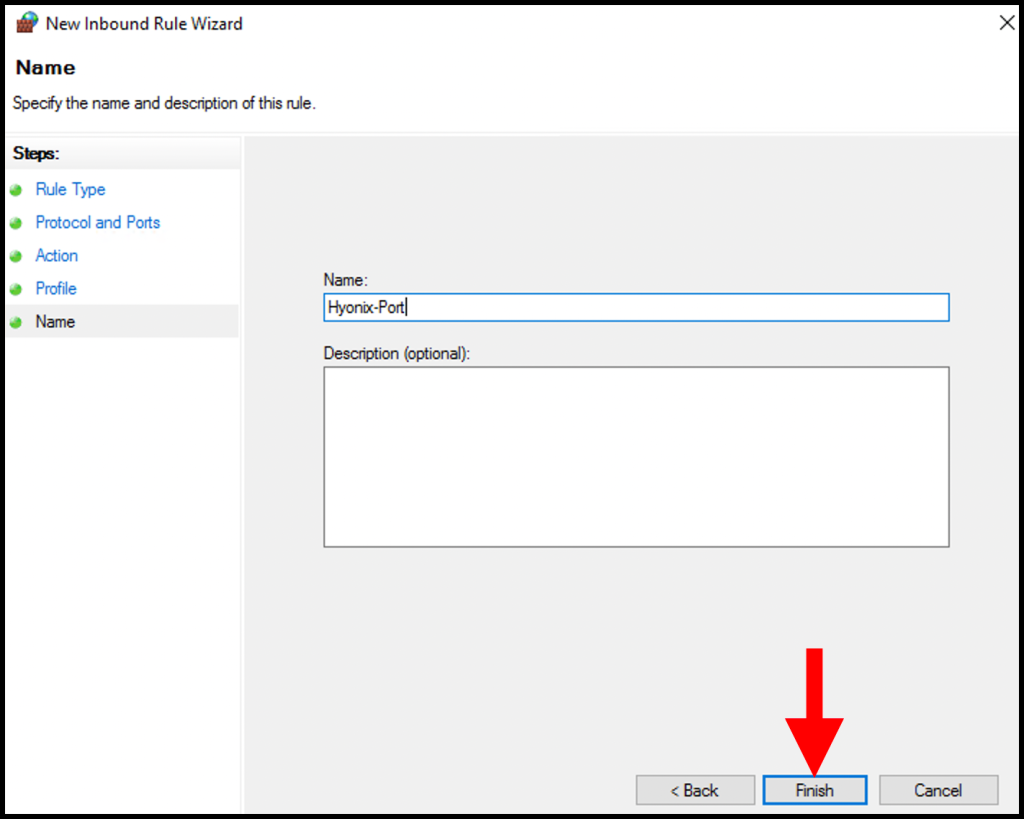
8. In the Name section, you need to specify a Name for your inbound role and optionally a description. Click Finish once you are done.
9. Finally, reboot the windows server to implement the changes

10 . After reboot, please try to connect to your server again using IP:Port format (eg: 1.2.3.4:3333 instead of 1.2.3.4) 1.2.3.4 will be your IP and 3333 will be the port you have established.