To change Metatrader language, please follow these steps:
Step 1: Change Language on Metatrader
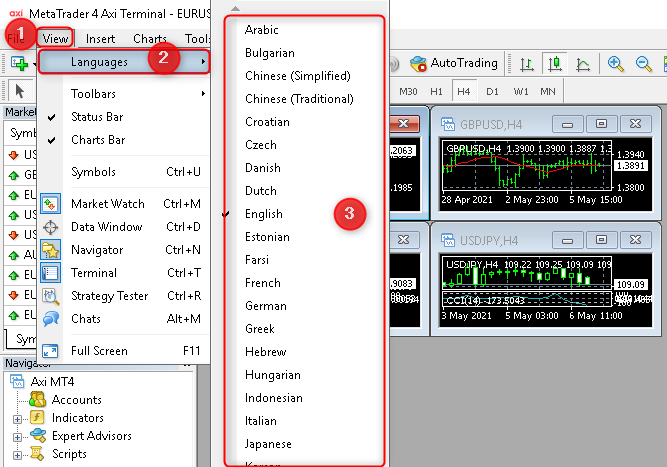
Open Metatrader, navigate to View, click on Language and choose your preferred language
If after step 1 and your metatrader language still has any problem, then please follow step 2 and step 3 to resolve this.
Step 2: Configure Language & Region
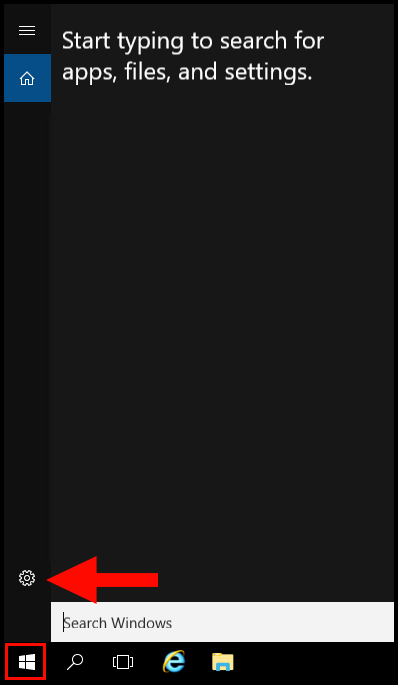
1. To start off, log in to your Windows server and navigate to the settings.
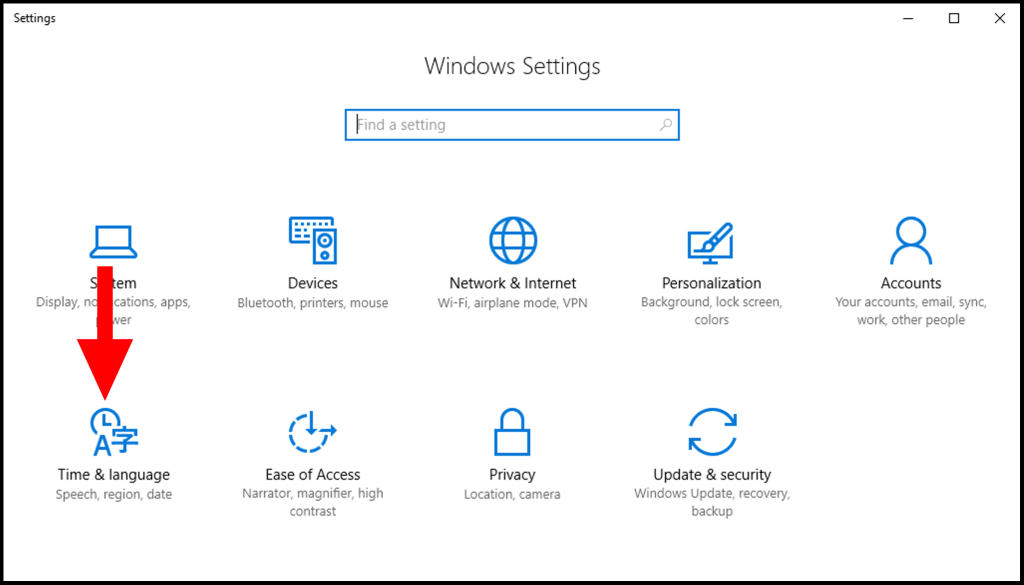
2. Once the Windows Settings window appears, click Time & language.
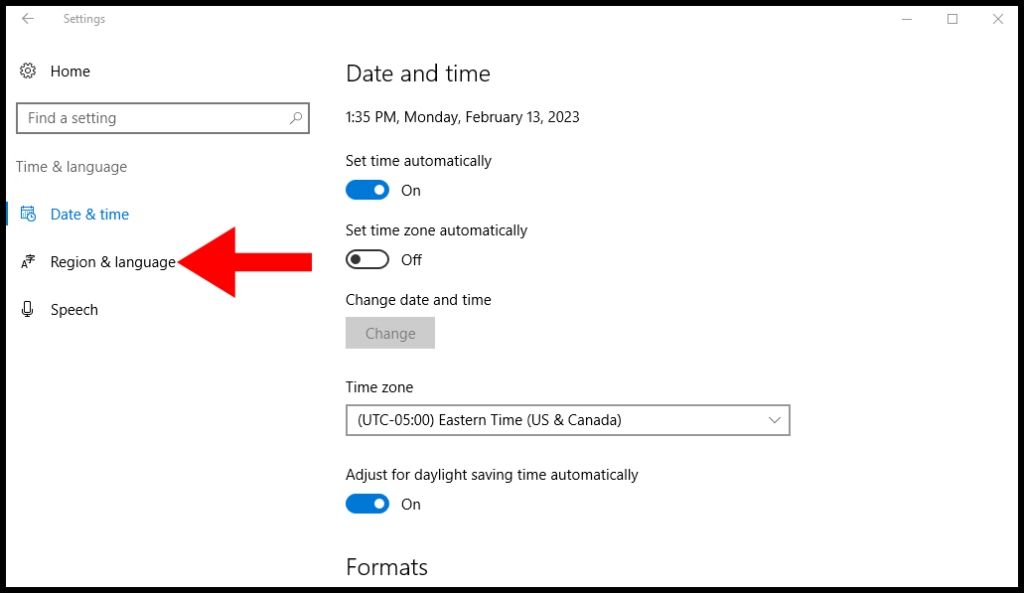
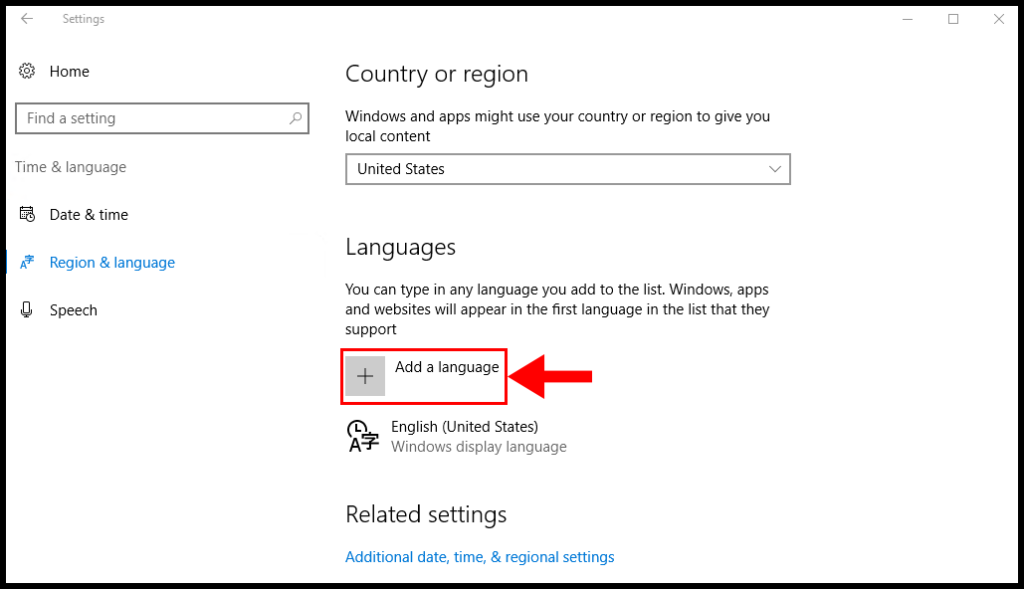
3. Now navigate to the Region & language tab.
4. Next, click on Add a language.
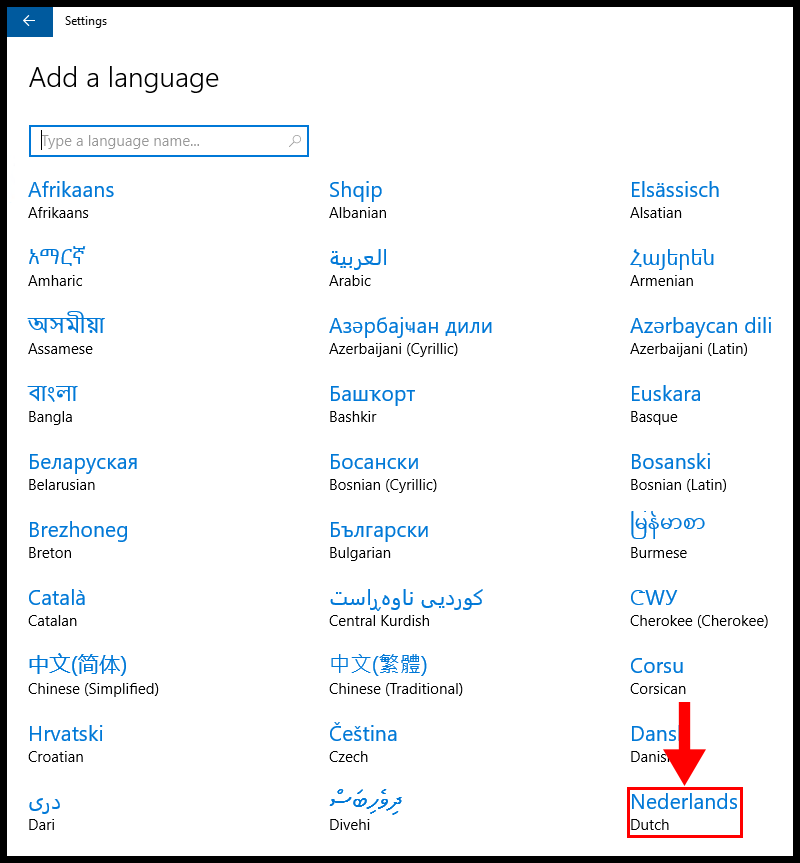
5. On the Add a language page, select the language you want to install to your Windows server. For this example, we will be installing Dutch.
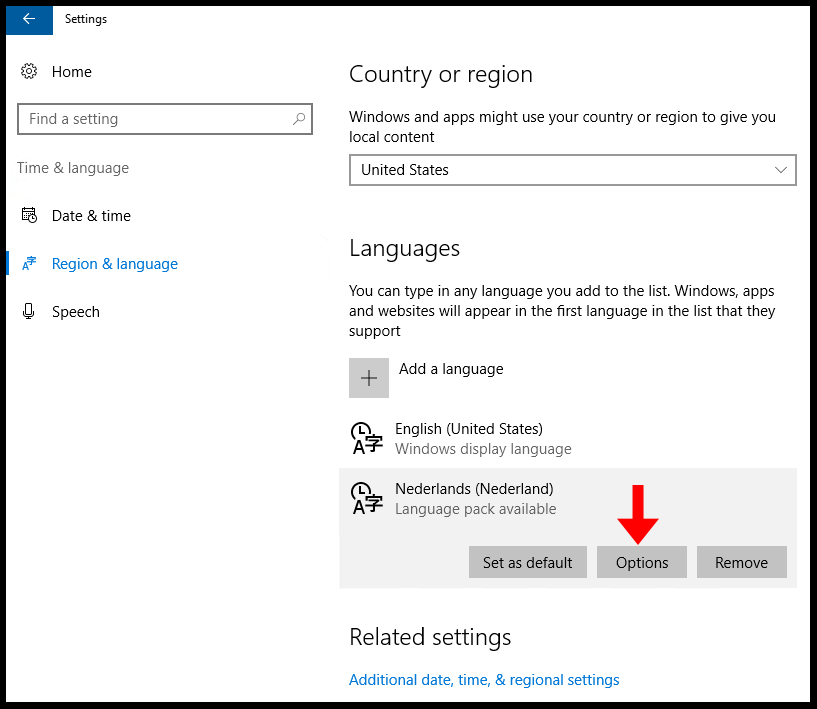
6. Then click the language you selected in the previous step and click Options.
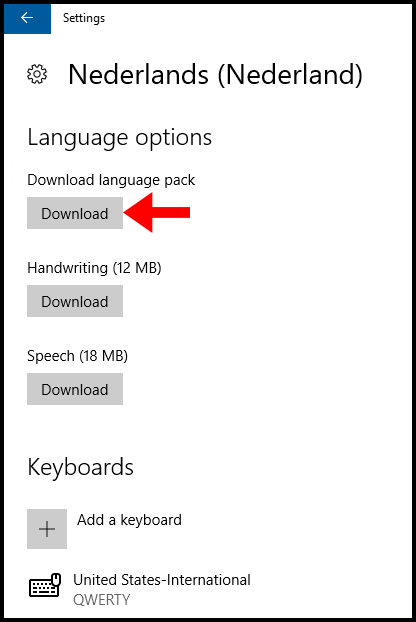
7. Download the language pack by clicking the Download button under Download language pack.
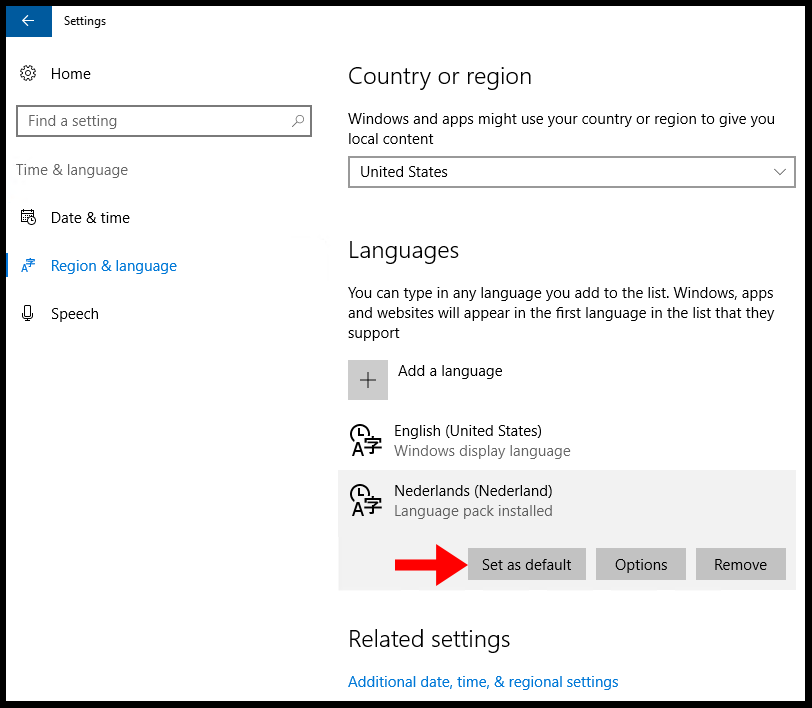
8. Next, we will set the language pack we just installed as default. Click the language pack you installed and then click Set as default as seen below.
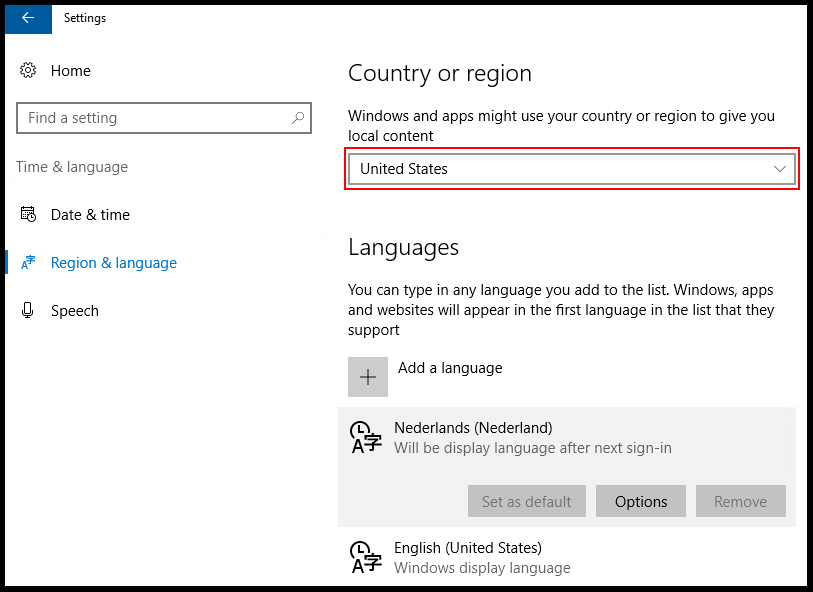
9. Now change the Country or region to the one that you desire from the drop-down menu highlighted below. Once you’re done, restart your Windows VPS for the changes to take effect.
Step 3: Copy Settings To All Users
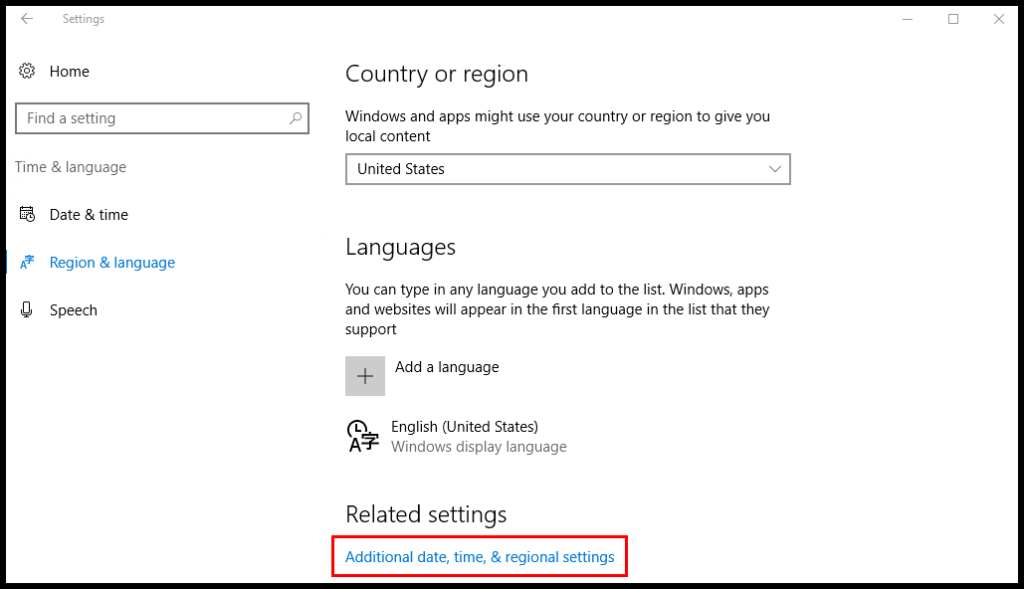
1. You can copy the above-configured settings to all users. Click on Additional, date, time, & regional settings.
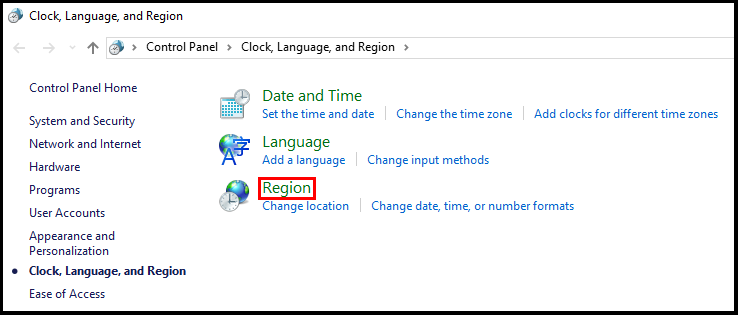
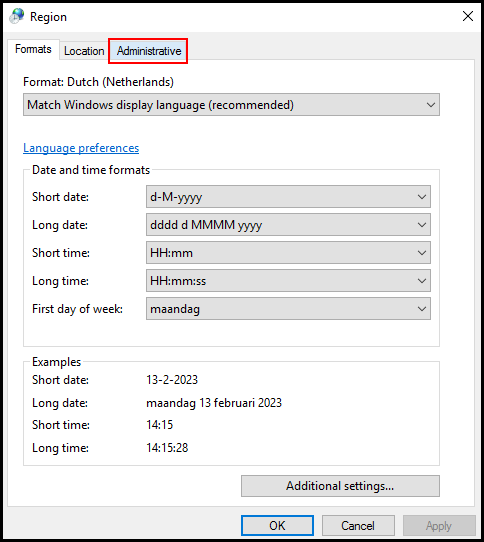
2. Next, click on Region.
3. Once the Region window opens, navigate to the Administrative tab.
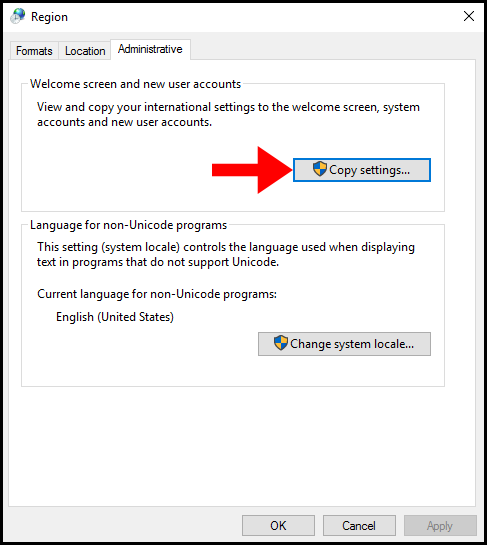
4. Next, click Copy settings under Welcome screen and new user accounts.
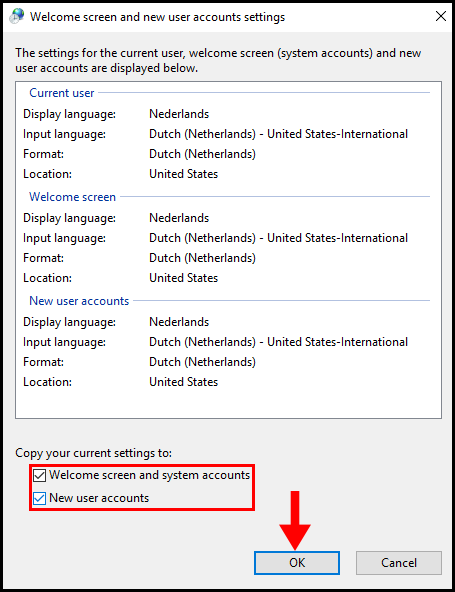
5. Then check the boxes next to Welcome screen and system accounts and New user accounts, once done click OK.
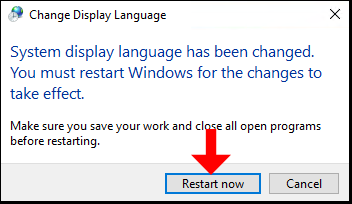
6. Windows will then prompt you to restart the VPS in order for the changes to take effect.
7. Go back to Administrative tab and choose “Change system locale”
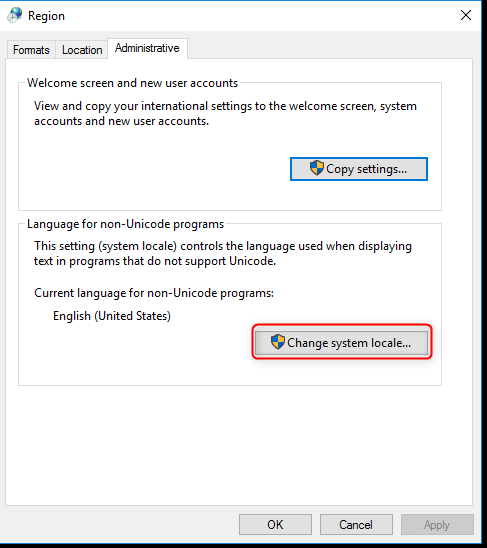
Choose your preferred language and click OK

Restart the server for the changes to take effect.