Earlier, we covered two options to back up your data, Duplicati and Veeam. Among both, if you are looking for the most simplistic way to back up windows server data, you can use Windows Server Backup, which is built into the Windows Servers. In this article, we will go over how to backup windows server data with Windows Server Backup.
Step 1: Install Windows Server Backup
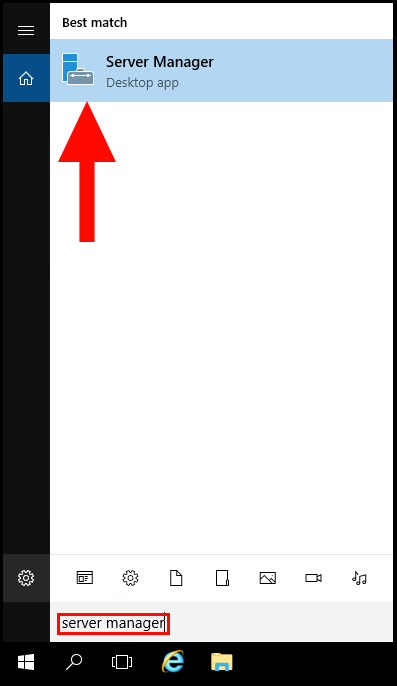
1. To start, log into your Windows Server and use the Windows search function to search and open Server Manager.
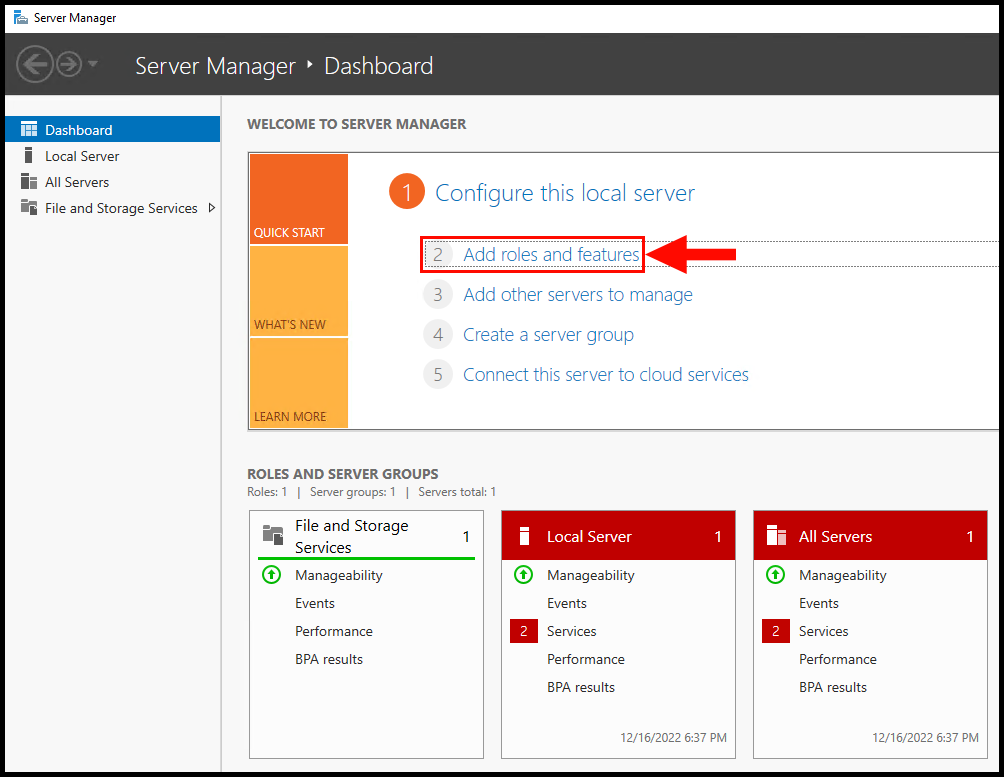
2. Next, click on Add roles and features as seen below.
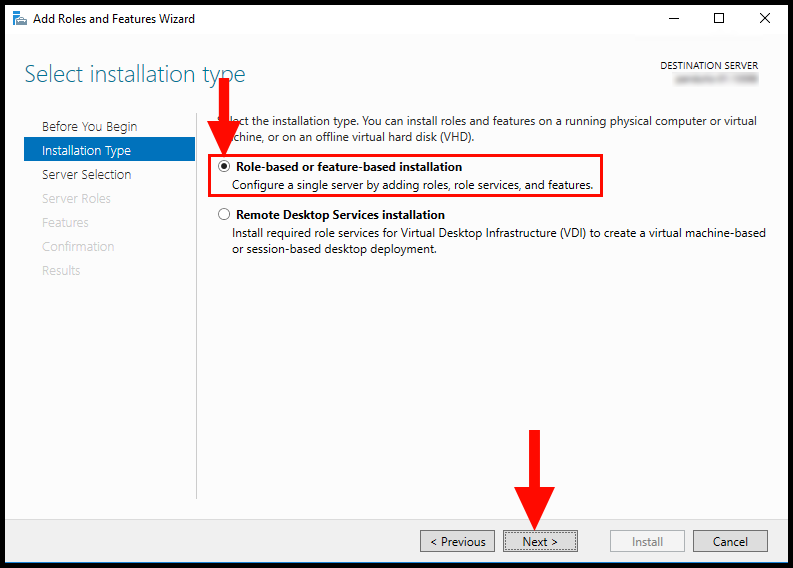
3. Then on the Installation Type page, select Role-based or feature-based installation and click Next to move on.
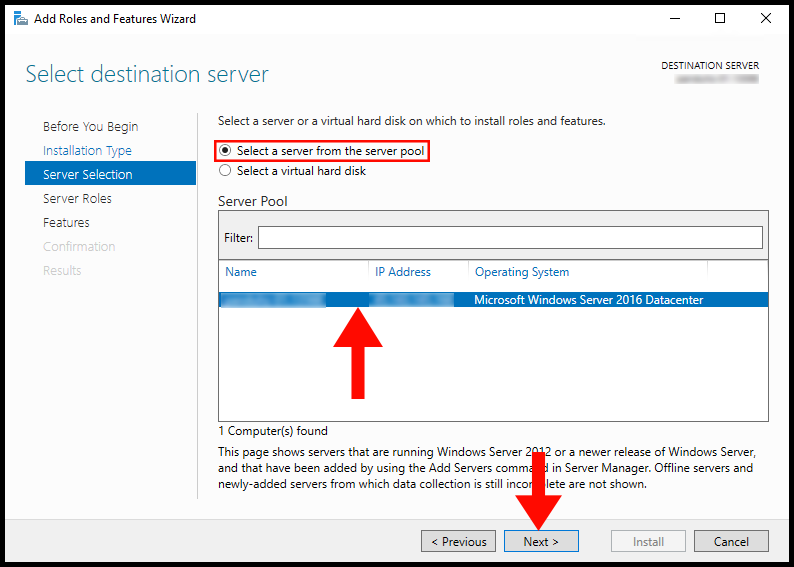
4. On the Server Selection page, make sure Select a server from the server pool is checked and select your server. Click Next to move on.
5. Ignore the Server Roles page and click Next.
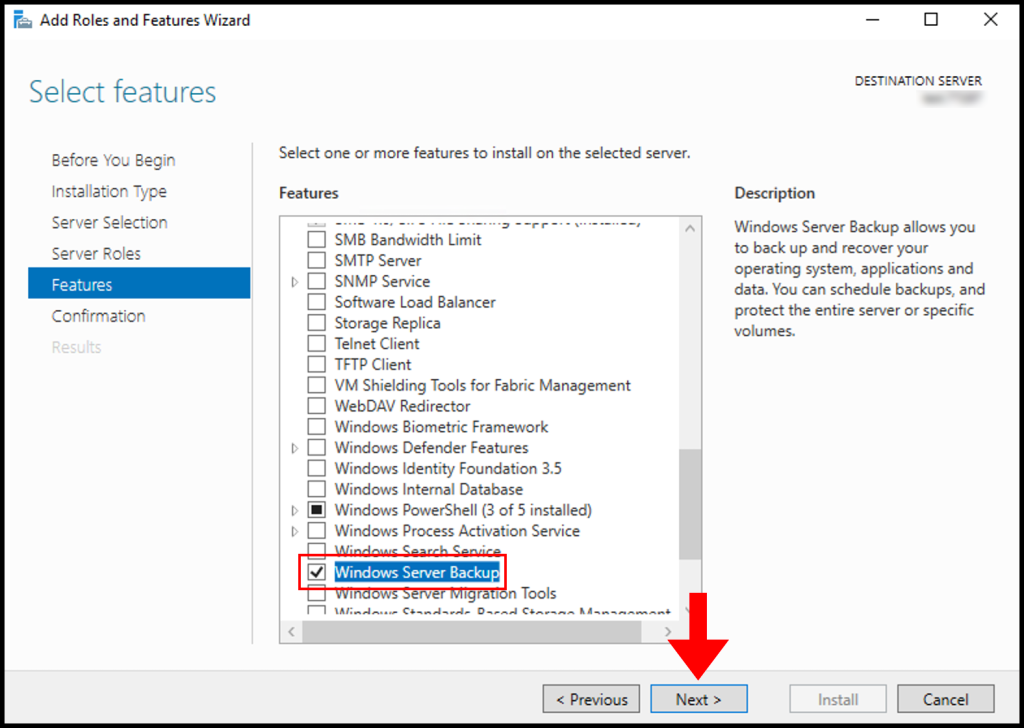
6. On the Features page, locate Windows Server Backup and check the box next to it. Then, click Next to move on.
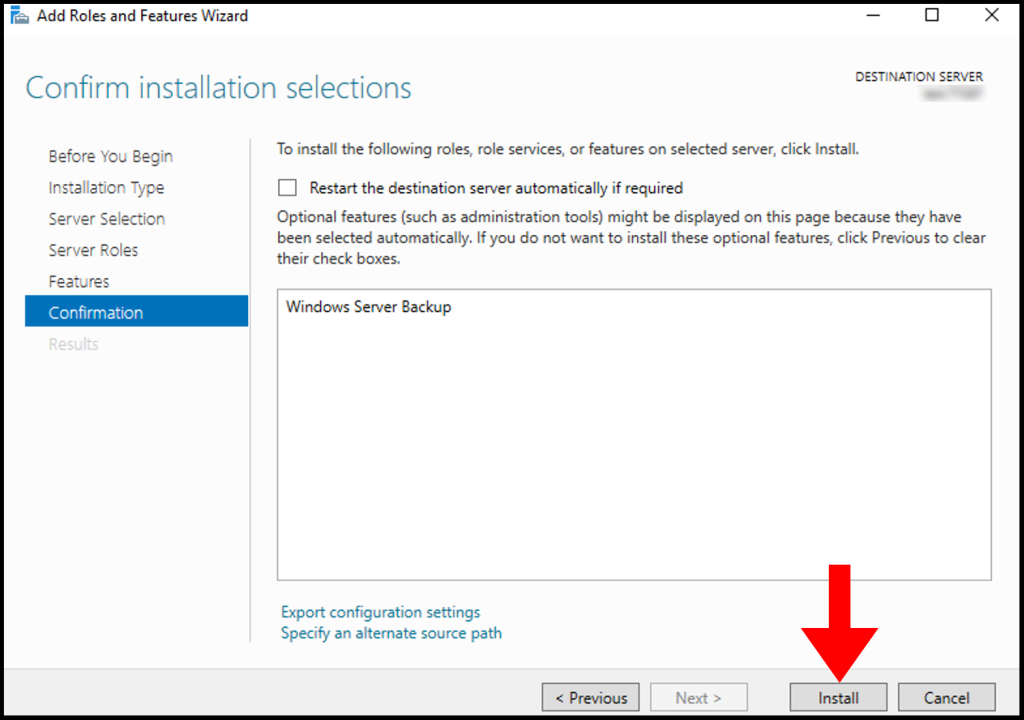
7. Then click Install on the Confirmation page, and wait until the installation is complete, once it is done you can close out of the wizard.
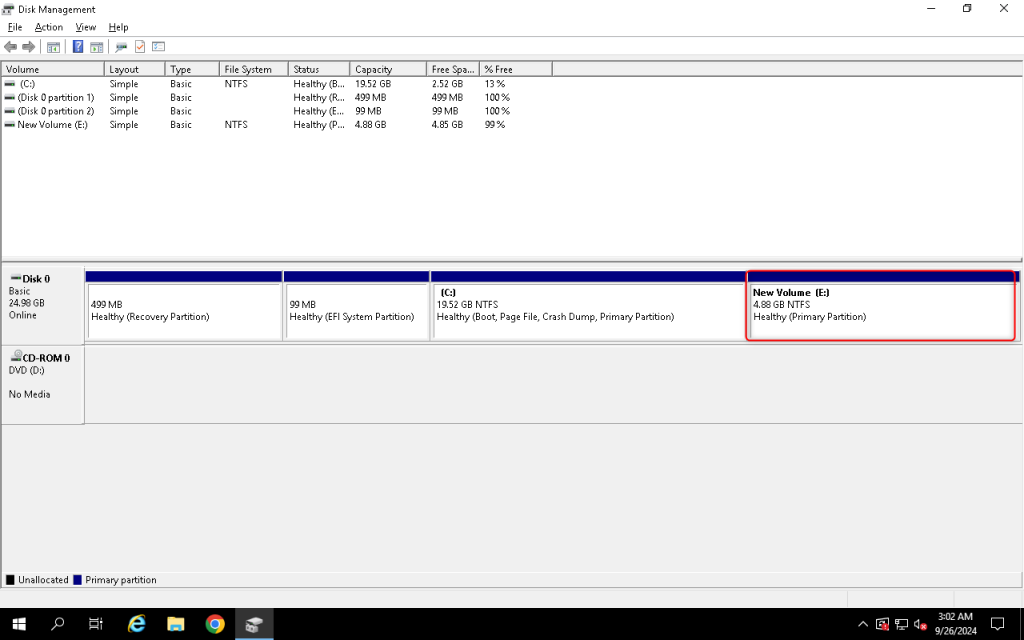
Step 2: Create a new volume (new disk) for backup
We need a new volume (new disk) where to store the backup
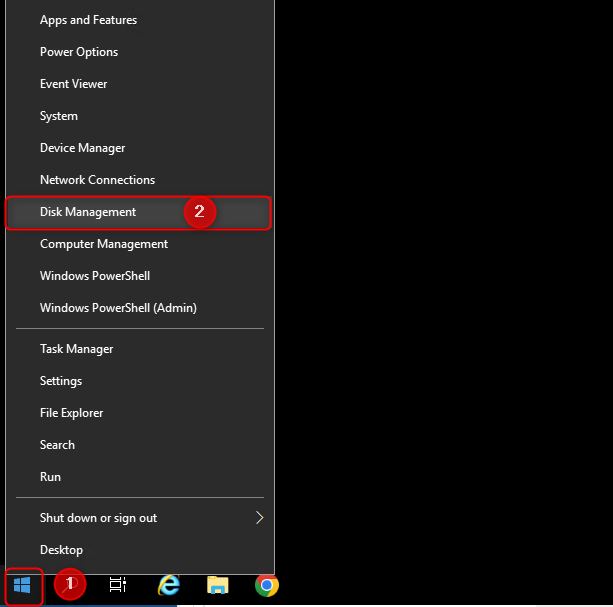
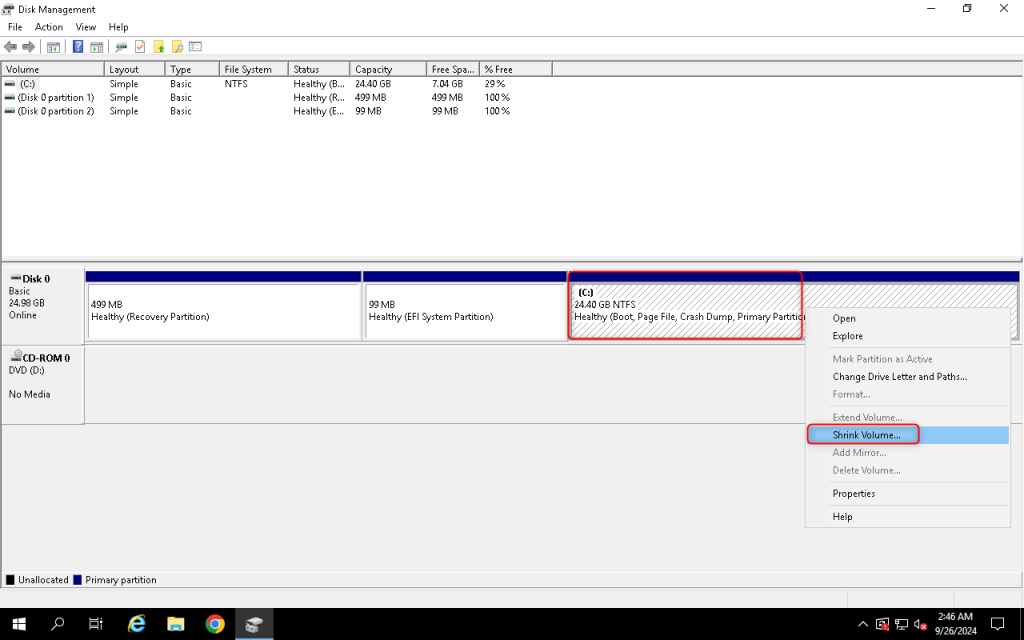
Step 1: Right-click on the Windows icon and navigate to Disk Management
Step 2: Right-click on your main disk and select Shrink Volume
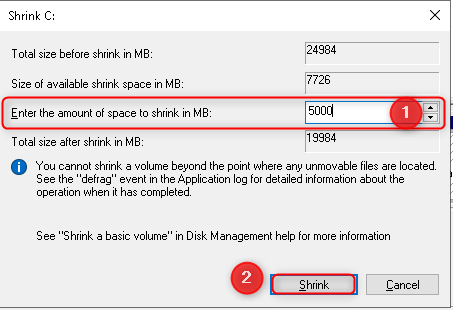
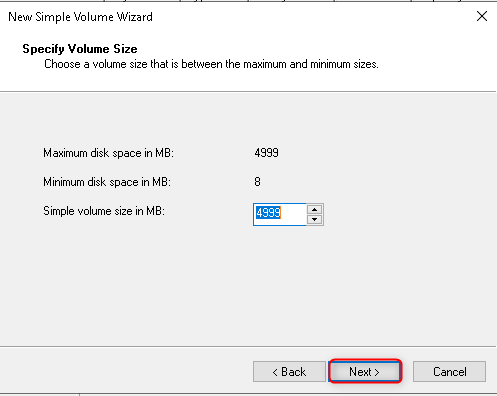
Step 3: Enter the amount for the new disk that has enough space to backup your data. For this demonstration, I will enter 5000 MB (which is around 4.88GB for my case)
Step 4: Now you have Unallocated storage. Please right-click on it and select New Simple Volume
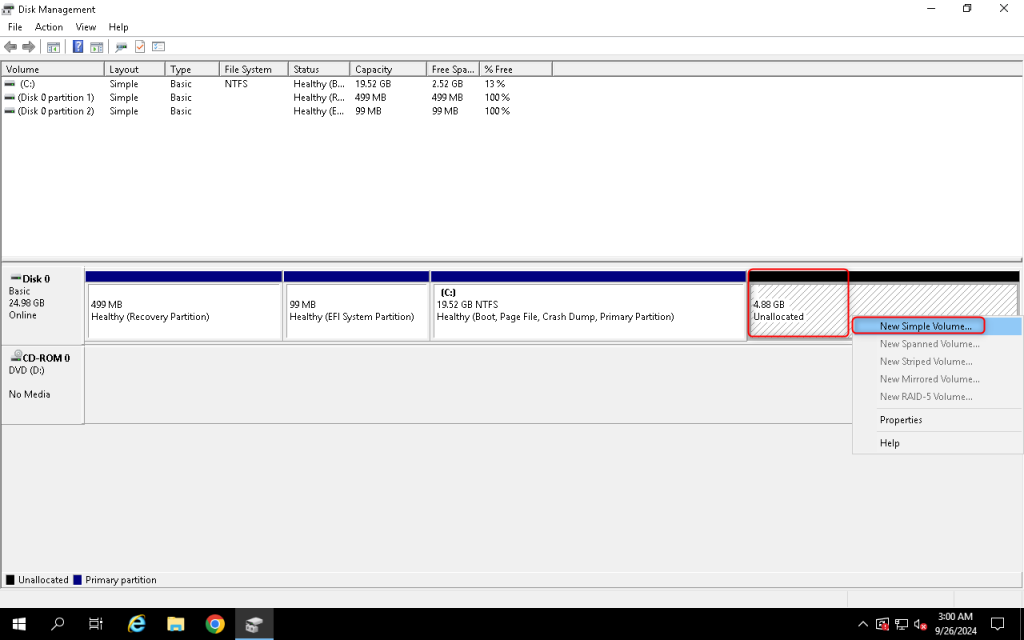
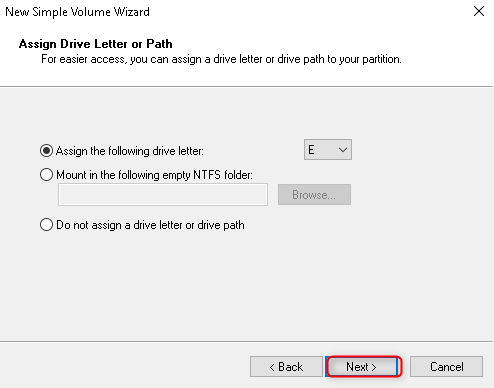
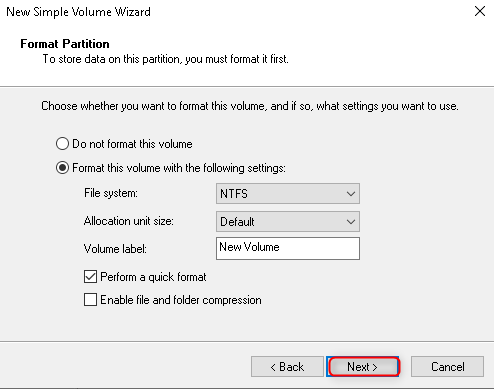
Step 5: Next -> Next -> Next -> Finish
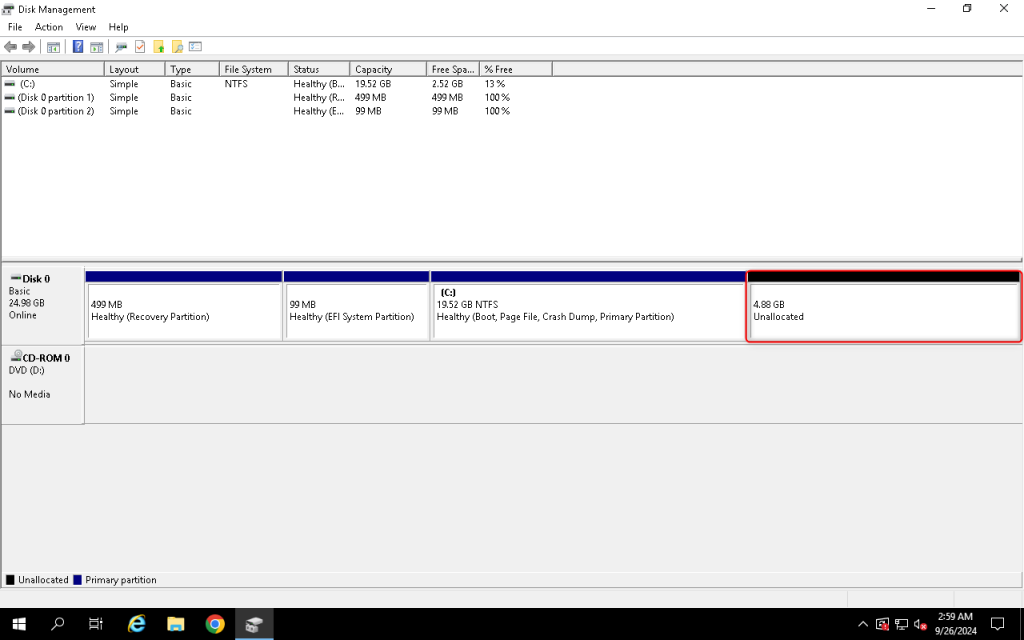
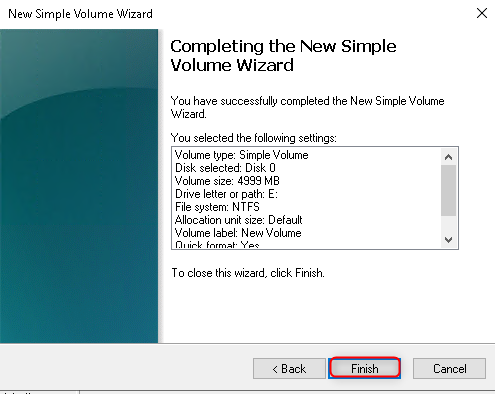
You will have new disk (new volume) now
Step 3: Setting up Windows Server Backup
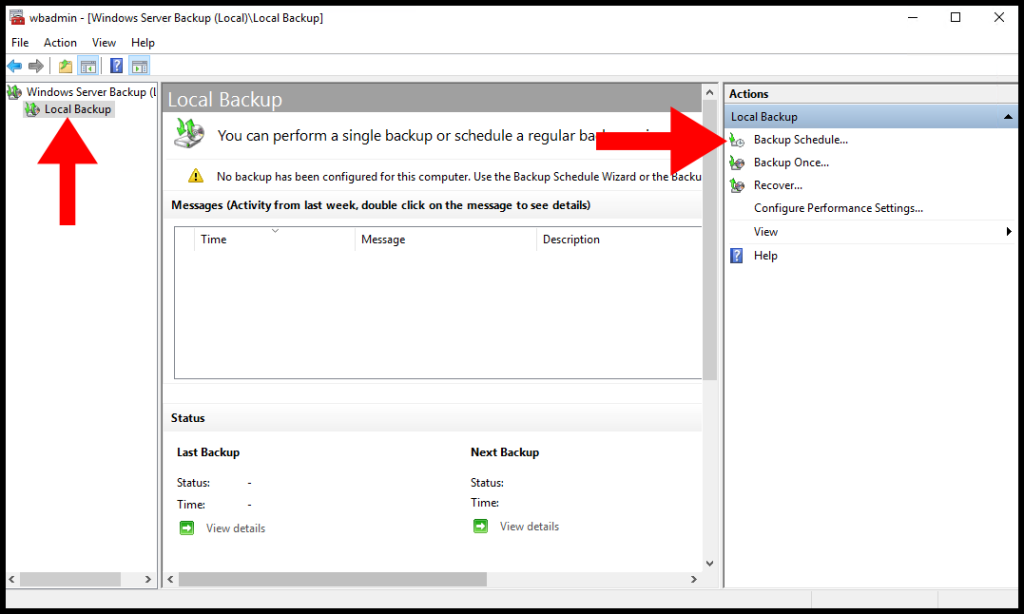
1. On your Windows server, search and open Windows server backup.

2. Once the Windows Server Backup window opens, click Local Backup from the left menu, and then click Backup Schedule from the right menu.
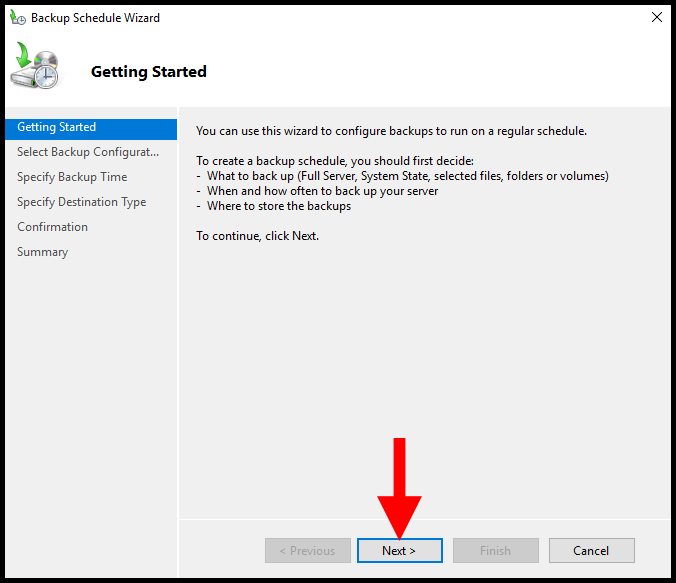
3. The Backup Schedule Wizard will then appear, click Next to move on to the next step.
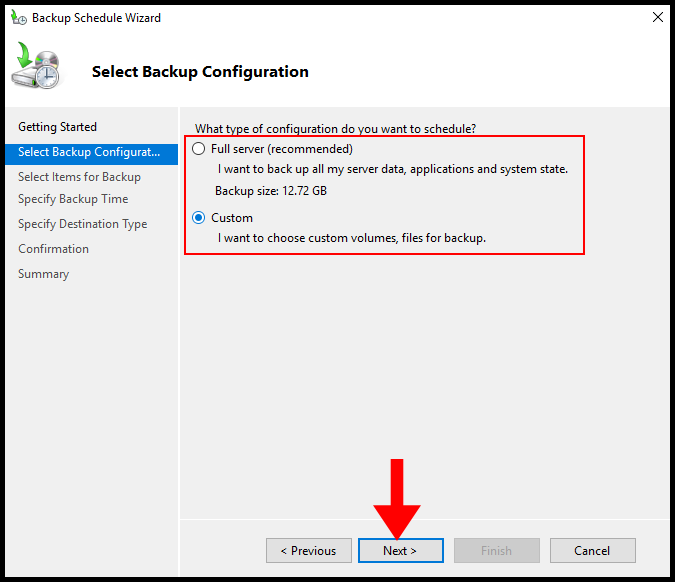
4. On the Select Backup Configuration tab, you have the option to backup either the Full server, where it will backup all the data on your server, or Custom, where you can pick and choose which items to back up. In this guide, we will be choosing Custom, click Next once you’ve selected an option.
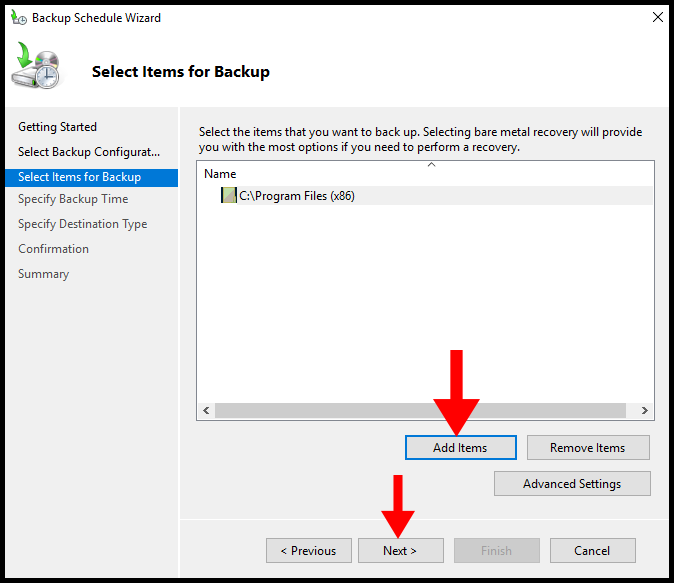
5. If you selected Full server, you may skip this step. Otherwise, on the Select Items for Backup page, you can select items to back up by clicking Add Items. Then click Next once you’ve selected the items to back up.
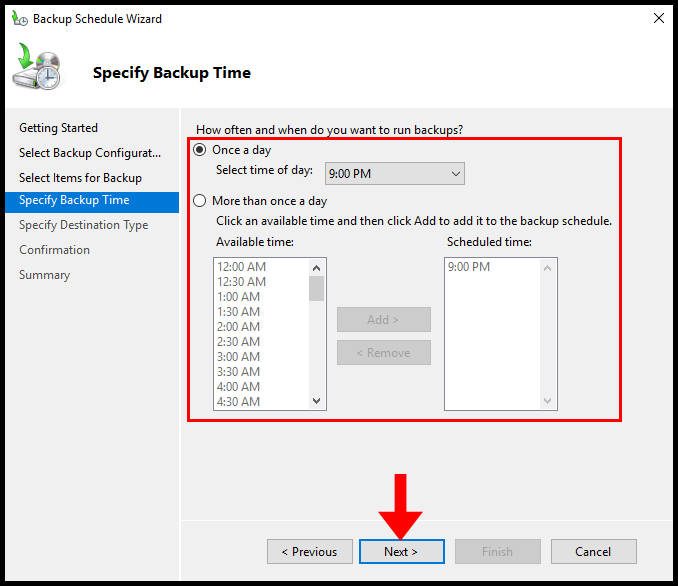
6. On the Specify Backup Time page, you can choose how often the backups run. For example, you can select once a day at a certain time or select more than once a day by selecting More than once a day and add certain times you’d like the back up to run.
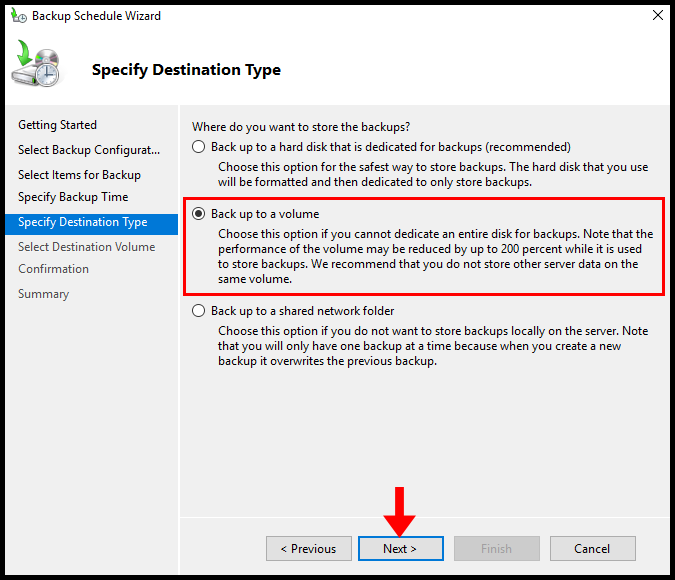
7. Next you can specify the destination for your backup from the below options:
Back up to a hard disk that is dedicated for backups: For this, you will need an entire free hard drive to store the backup on.
Back up to a volume: For this option, you do not need an extra hard drive to store the backup. Instead, the backup will be stored in a different volume on your current hard drive.
Back up to a shared network folder: For this option, you will need to set up a shared network folder that connects with the server to back up to.
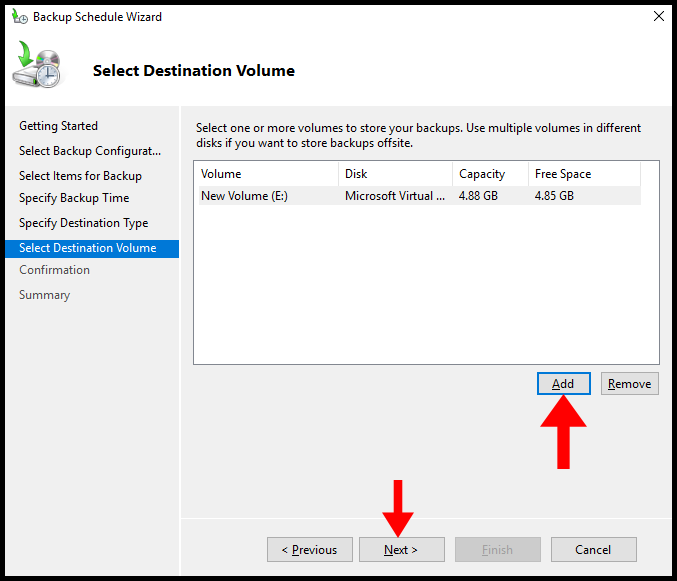
8. On the Select Destination Volume page, click Add to select the volume you want to back up to and then click Next to move on.
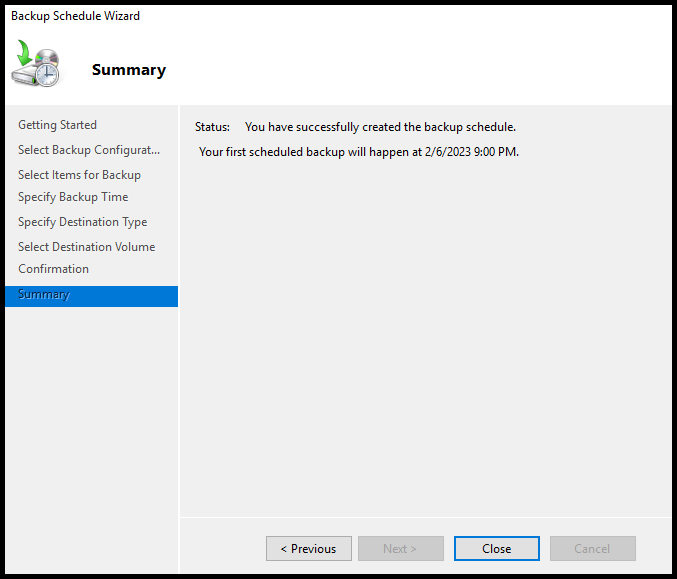
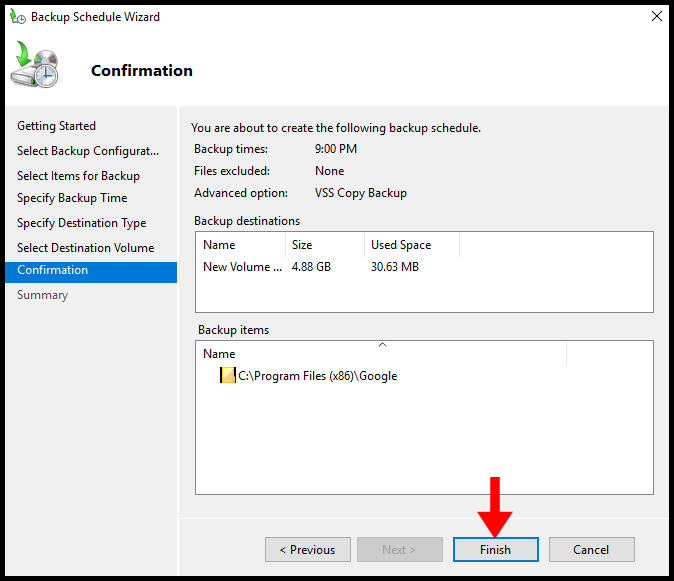
9. Now we have reached the Confirmation page, click Finish to finalize setting up the backup schedule.
10. Once the backup has been created, you will see something similar to the below screen. We have now gone over how to back up windows server data with Windows Server Backup.