It is essential nowadays to keep a backup of your data. There is no guarantee of hardware failure; for our safety and to avoid future unexpected, unplanned disasters, KEEP BACKUP OF THE DATA! On the windows server earlier, we have covered how to backup the windows server with Duplicati. Learn, How to backup windows server data with Veeam Backup Agent?
Download the Veeam backup application using: https://www.veeam.com/windows-backup-free-download.html
Setup Recovery Media
First, once you install and open the Veeam application, you will be asked to set up the recovery media. It is a .iso template that will be created for the backup and to avoid the unexpected problem.
1. Install and Open Veeam application.
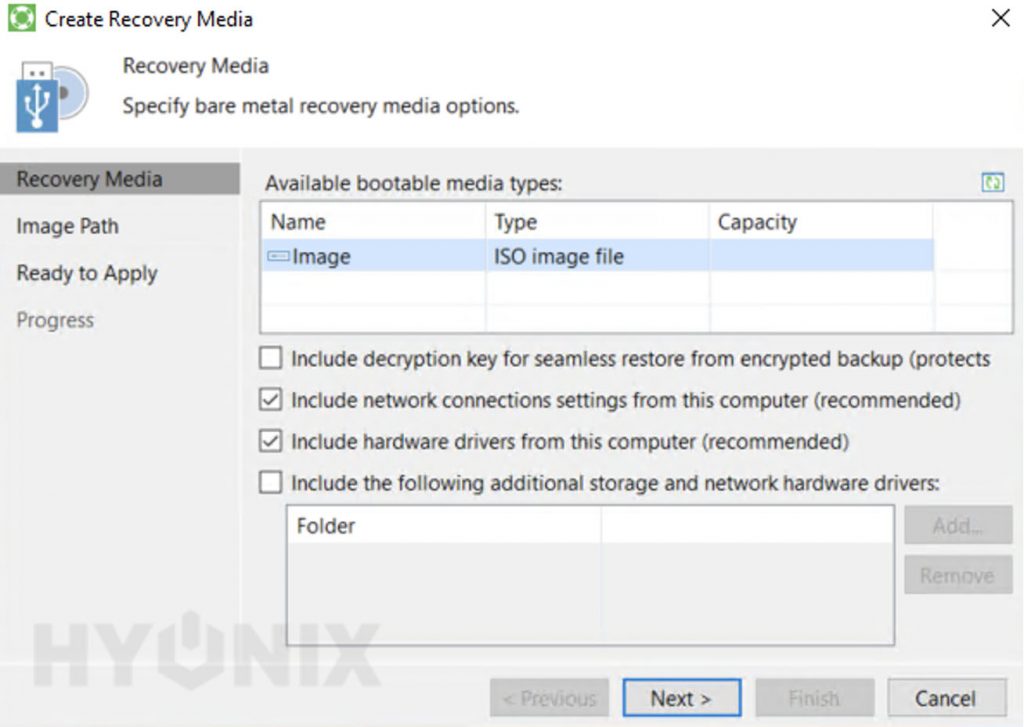
2. Recovery Media, here you can see ISO Image File is pre-selected → Click on Next.
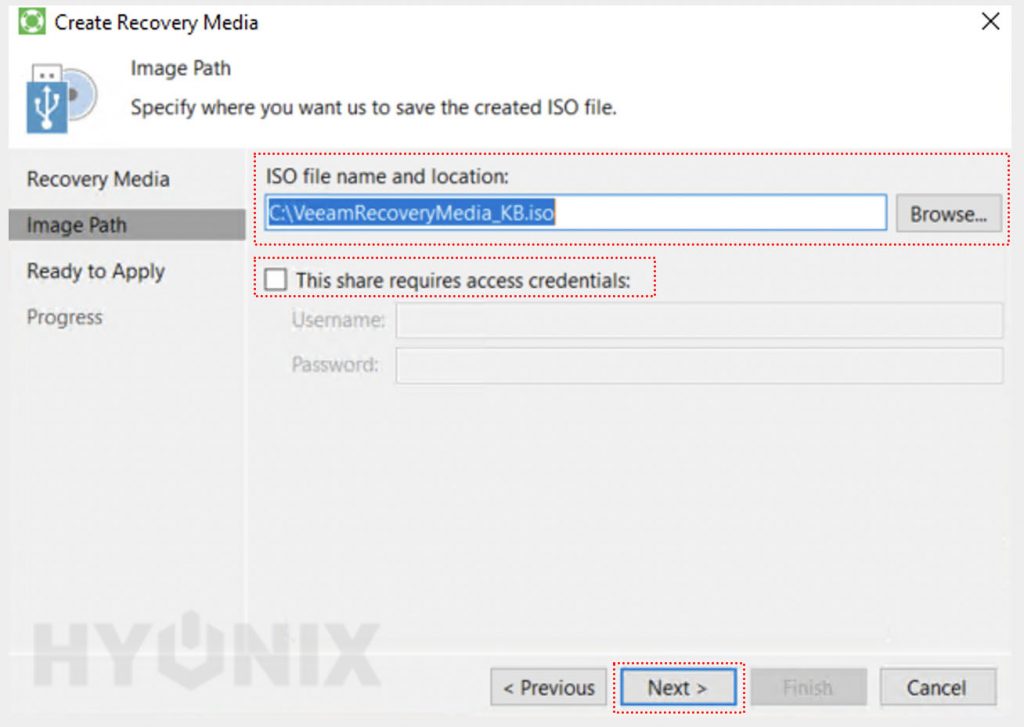
3. Enter the ISO Filename and the location → If location is user-protected, check “This share required credentials” and enter the username, password → Click on Next.
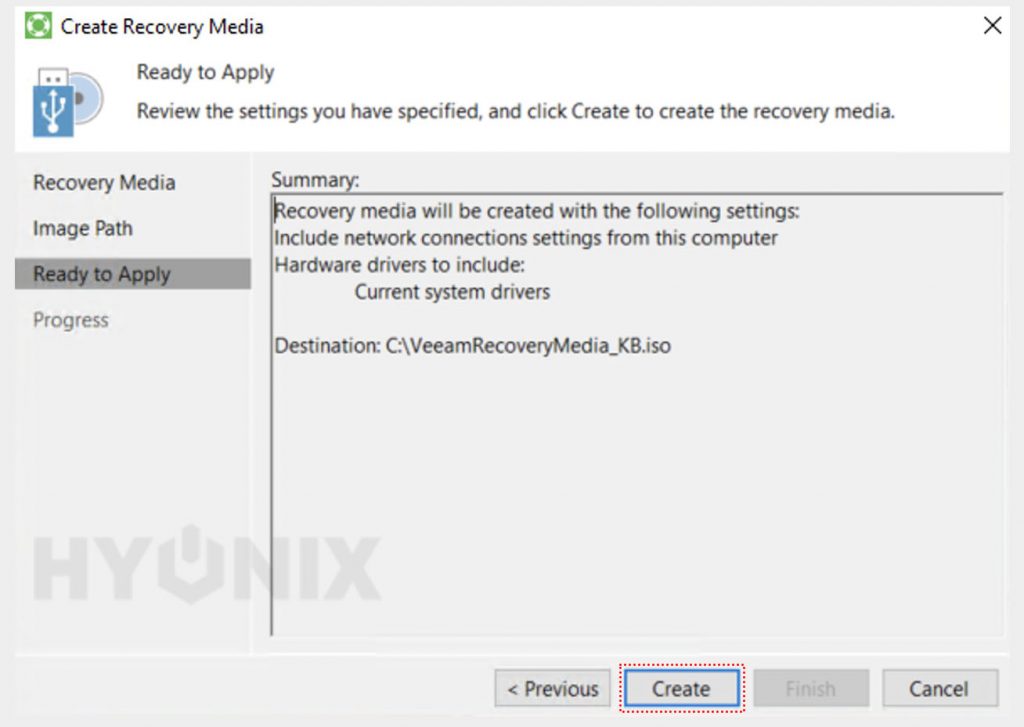
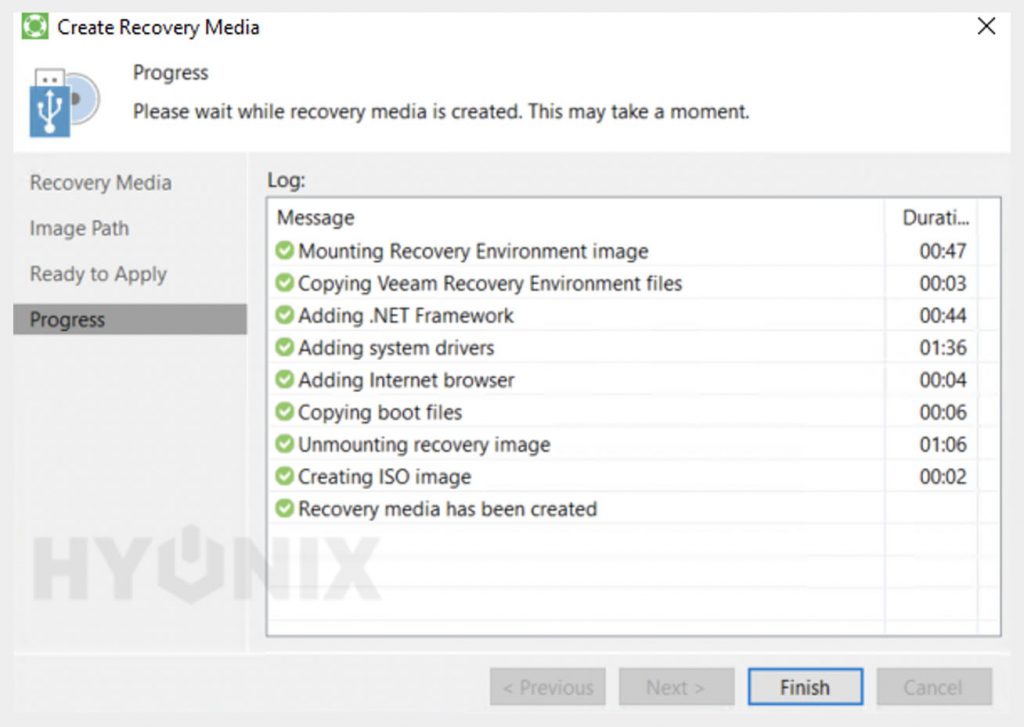
4. Ready To Apply, here you have summary of the recovery media ISO file → Click on Create.
5. Congratulations! Veeam Reovery Media has been created → Click on Finish.
Configure Veeam Backup Agent
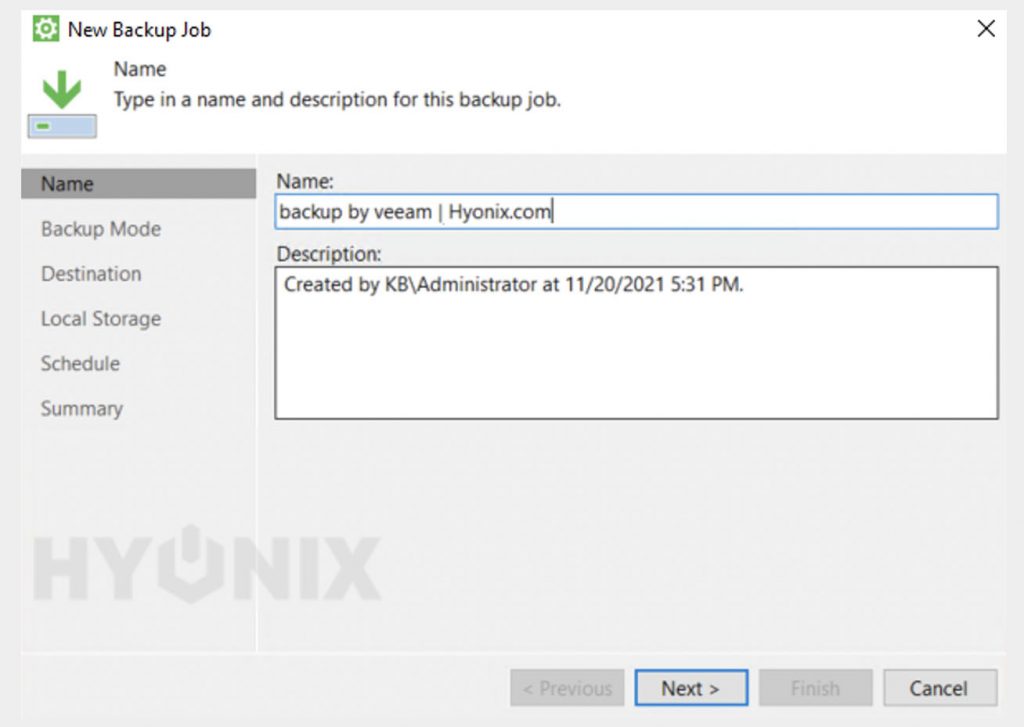
1. Open Configure Backup → Enter the name → Click on Next.
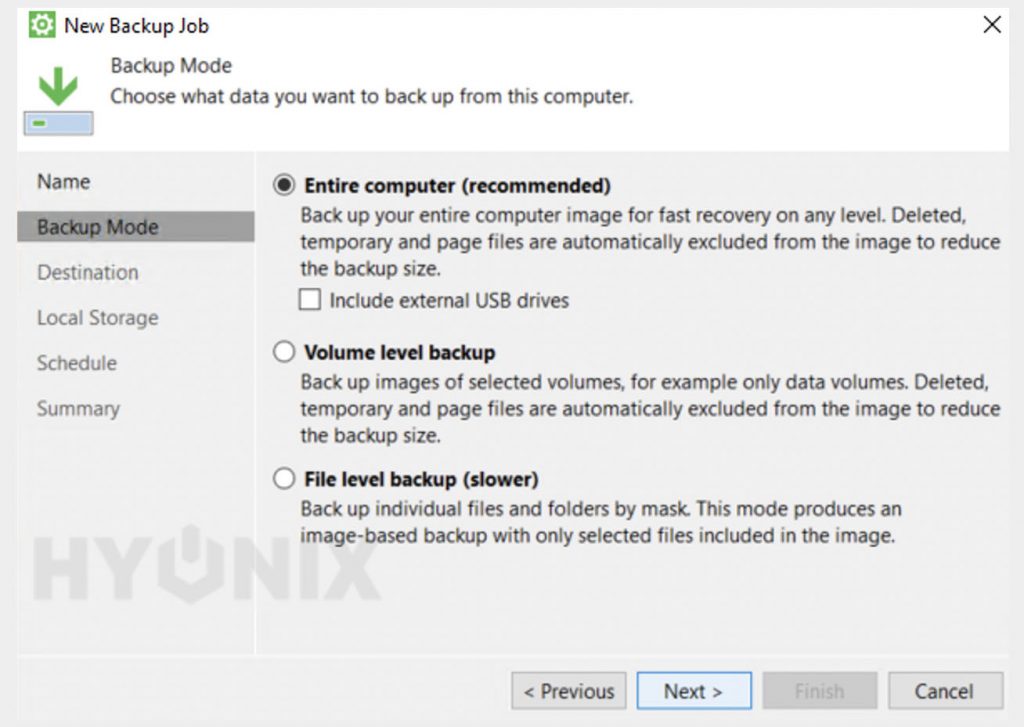
2. Select the required backup mode → Click on Next.
Entire computer: Back up your entire computer image for fast recovery on any level.
Volume level backup: Back up images off selected volumes.
File-level backup: Back up individual files and folders by mask.
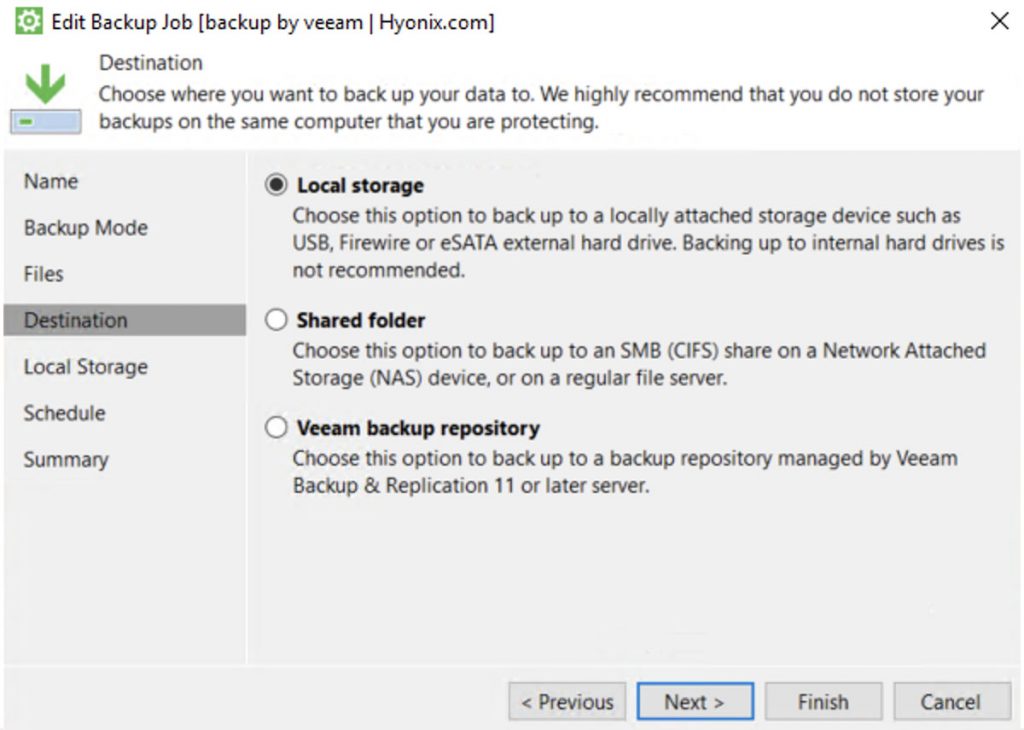
3. Destination, here you need to select the destination to save the backups. For this article, we are going ahead with Local storage → Click on Next.
Local storage: Store the backups locally.
Shared Folder: Choose this option to backup up to an SMB.
Veeam backup repository: It is paid option to save the backups on the cloud.
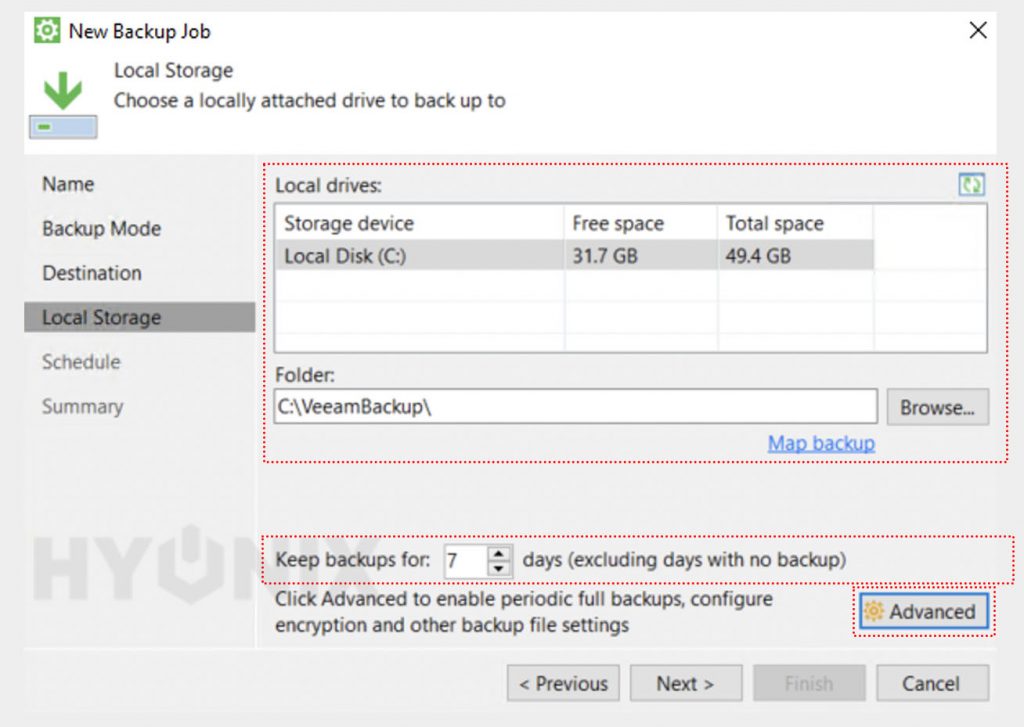
4. Configure the local storage for the backup or you can specify the Folder to save the backups. On the same interface specify the days to keep the backup (Keep backup for X days). To configure the advance option click on Advance.
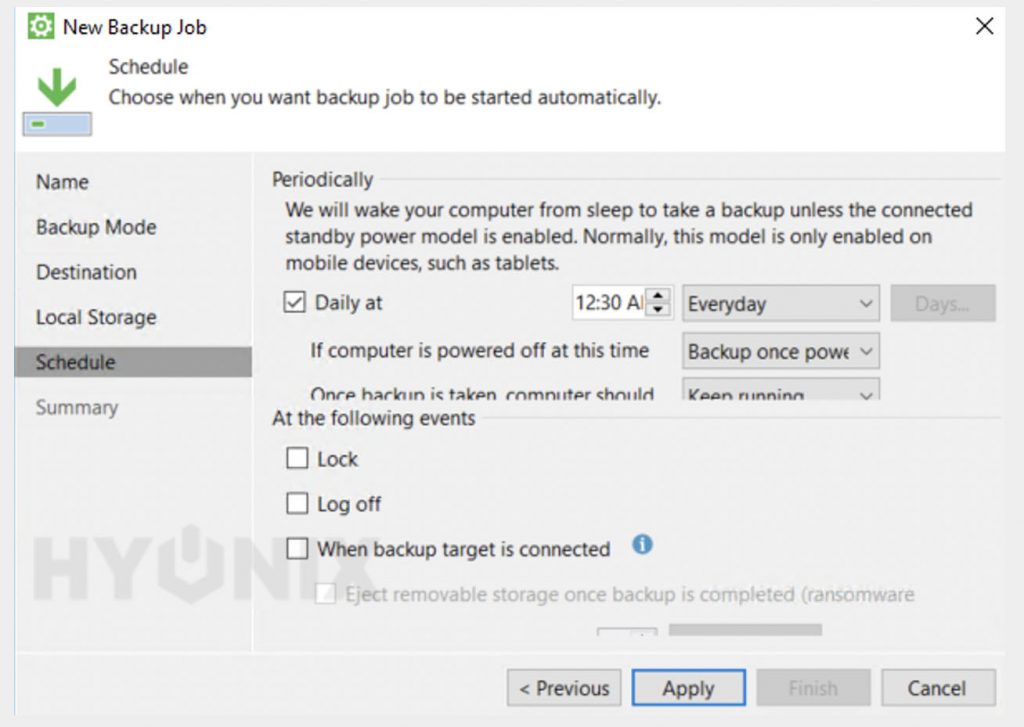
5. Now, configure the schedule for the backup → Click on Apply.
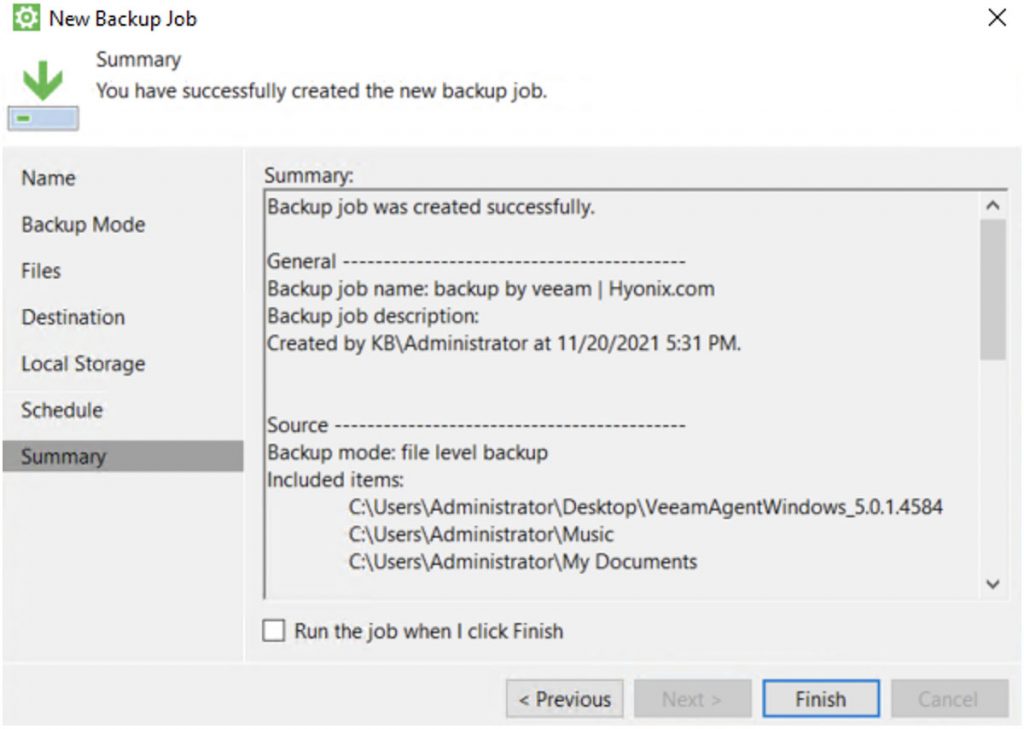
6. Finally, click on Finish.
Conclusion
In the article, we went through how to backup windows server data with Veeam Backup Agent. The free version has limitation on the backup but its worth to try and use for the windows server backup.
Hyonix was founded in early 2018, as we believed the current pricing of Windows VPS was far too overpriced for most consumers. This makes it nonuser and budget-friendly for many people around the world. Our main goal is to change that – providing powerful licensed Windows VPS at a reasonable price so that everyone can grab one without thinking twice about the performance/price that you will get. Get yourself fully optimized Windows VPS starting @ $6.5/mo from Hyonix.com.