EZWinban will automatically add your local IPv4 to the server’s blacklist if you make too many failed-login attempts to the server. The reason EZWinban blocks this local IPv4 because it wants to protect the server in case any hackers attempt to brute force your server.
Please follow this tutorial on how to add your local IPv4 to the server’s whitelist and remove your local IPv4 from the server’s blacklist.
Step 1: Login to your server using our Console feature
(https://howto.hyonix.com/article/how-to-access-the-server-console/)
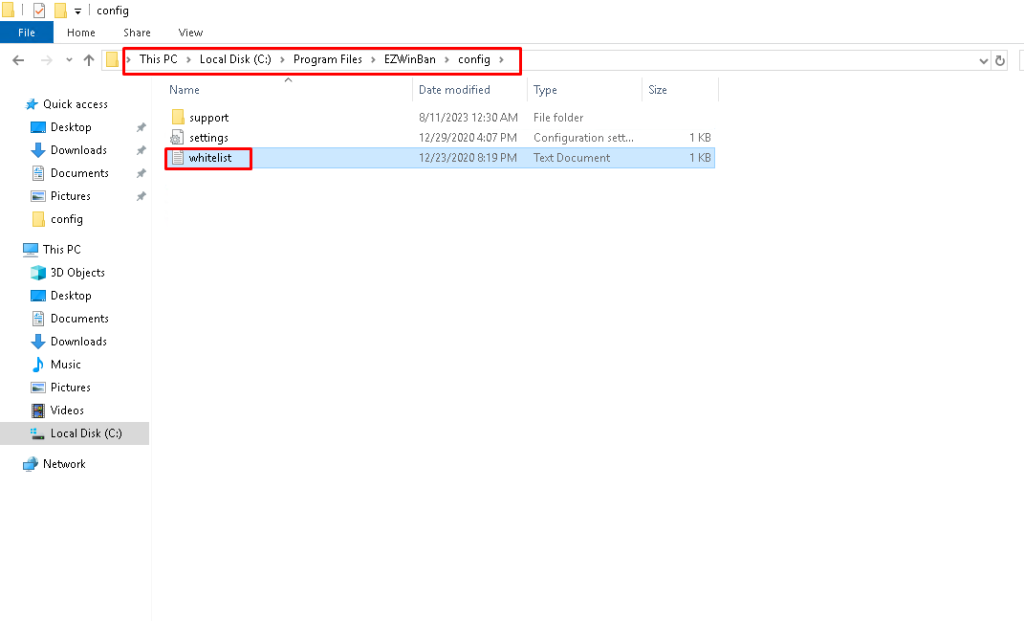
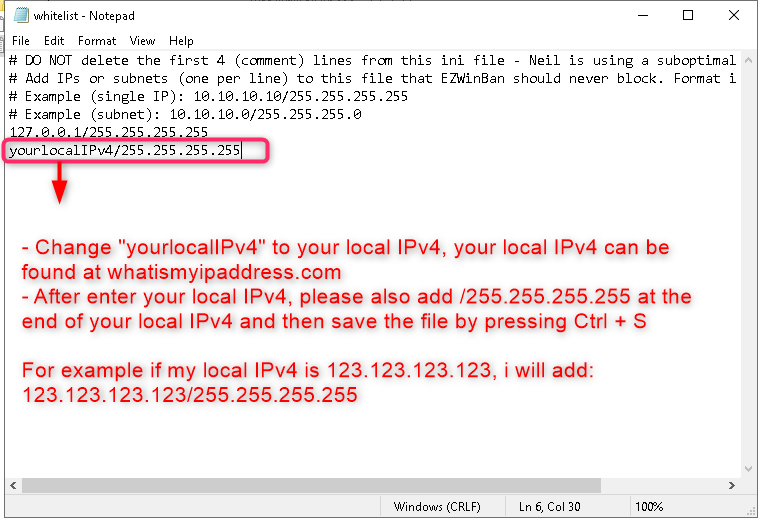
Step 2: Navigate to the following path and add your local IPv4 to EZWinban whitelist:
Open File Explorer -> Local Disk (C) -> Program Files -> EZWinban -> config -> whitelist
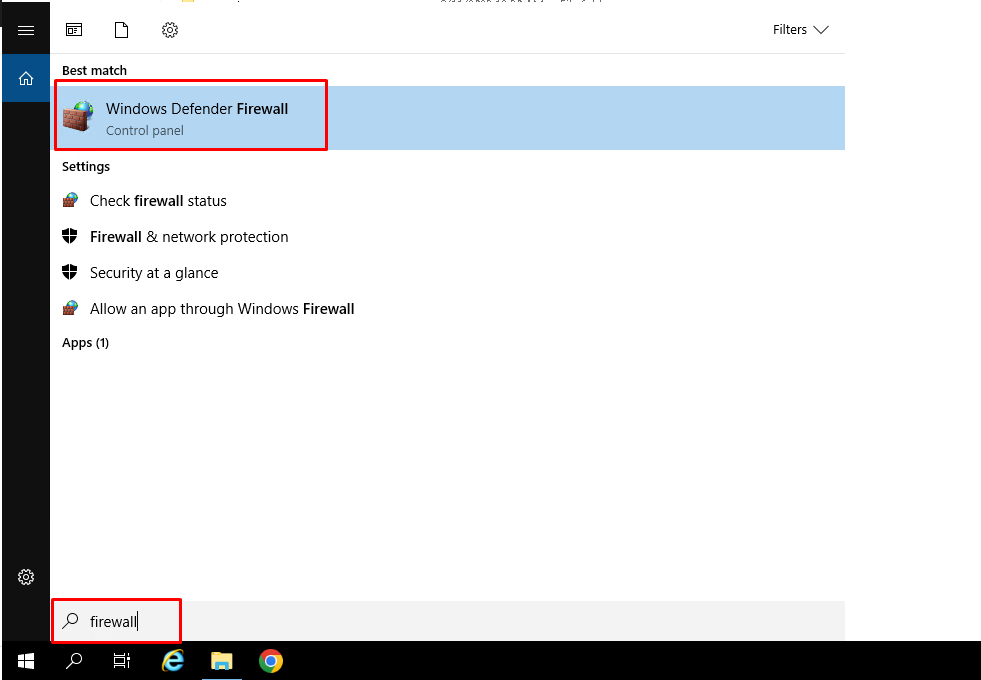
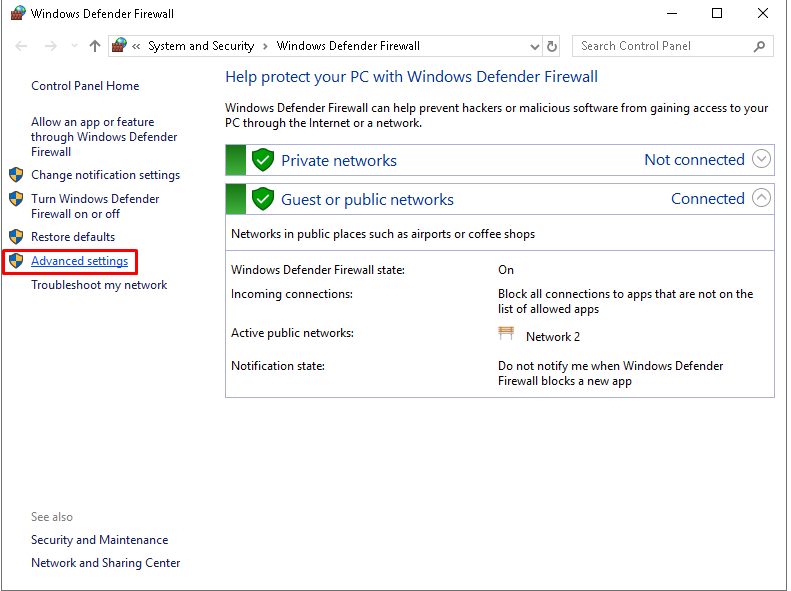
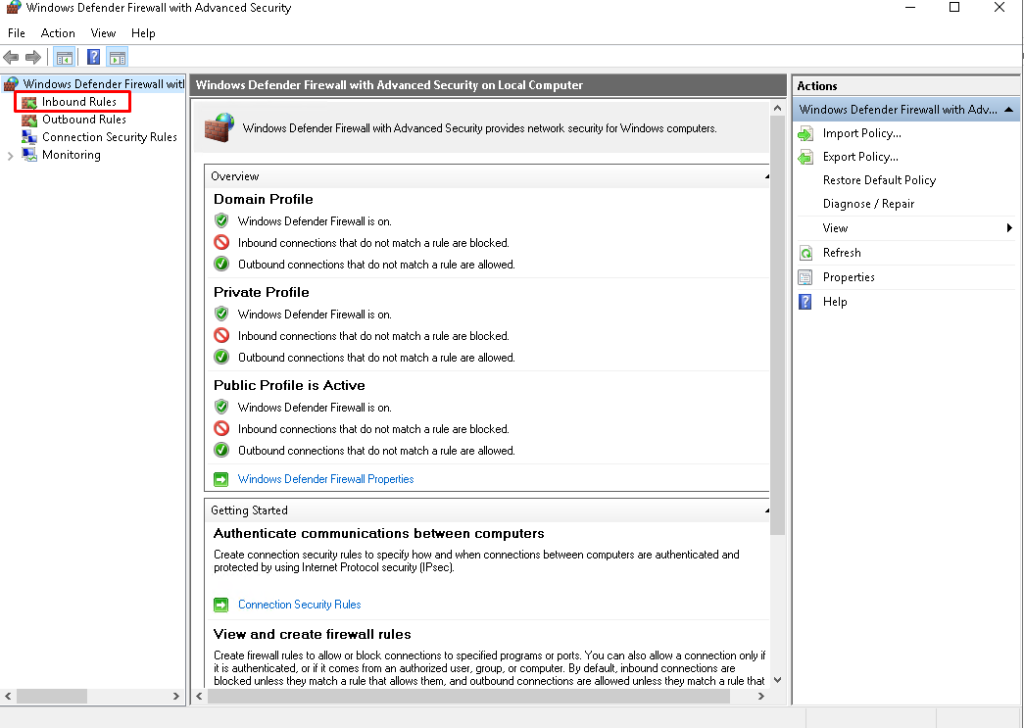
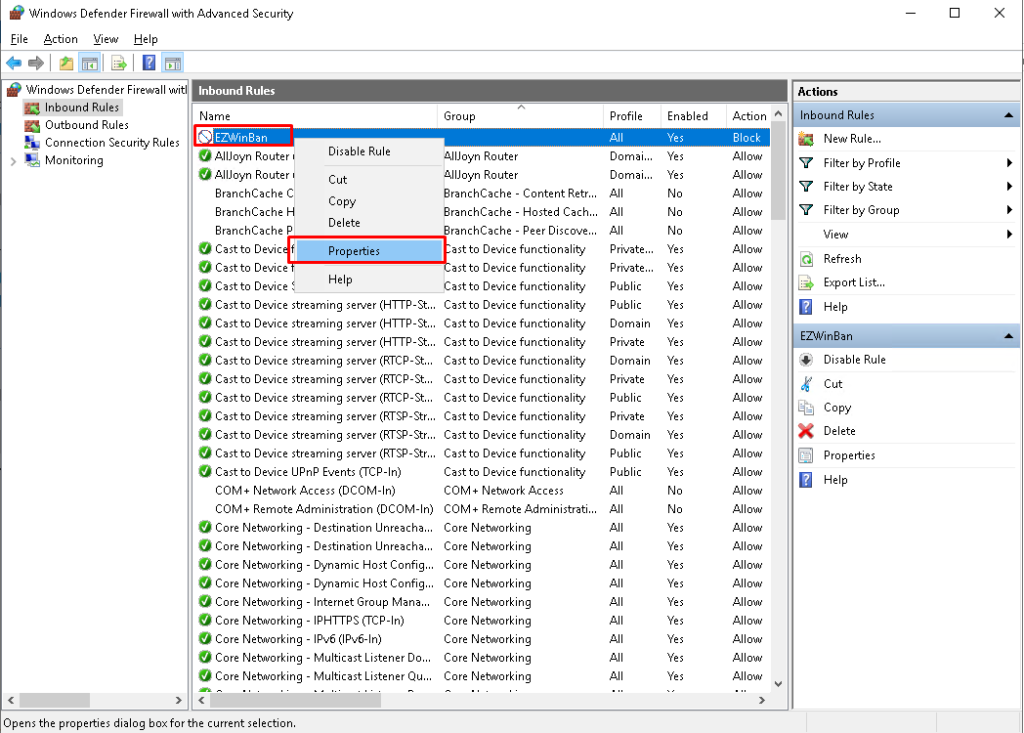
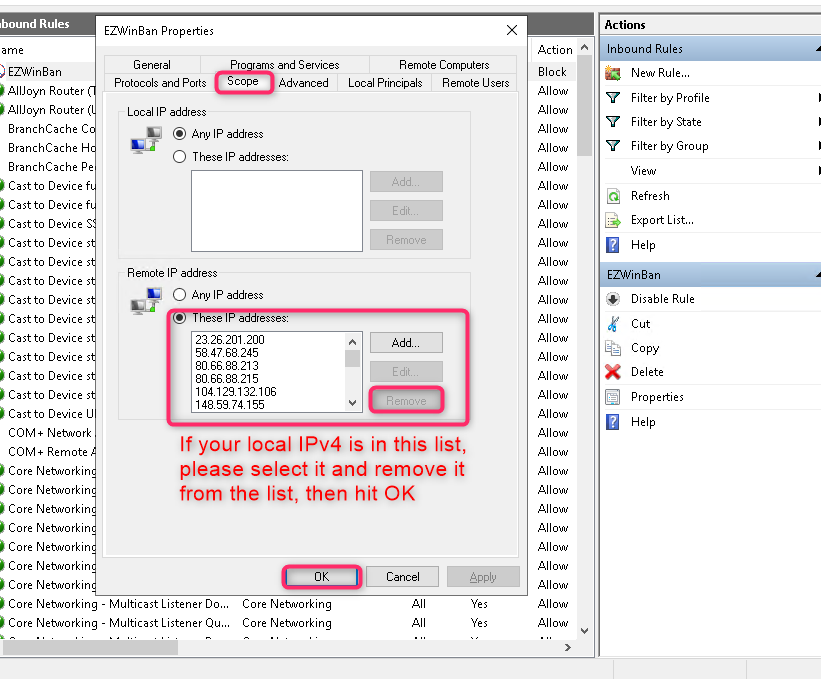
Step 3: Go to your server firewall and remove your local IPv4 from the blacklist (if any)